Category: Bread

  • One Year of Homesteading Stories: Thank You for Being Here

    This is a little bonus post because today marks one year since I started this blog.


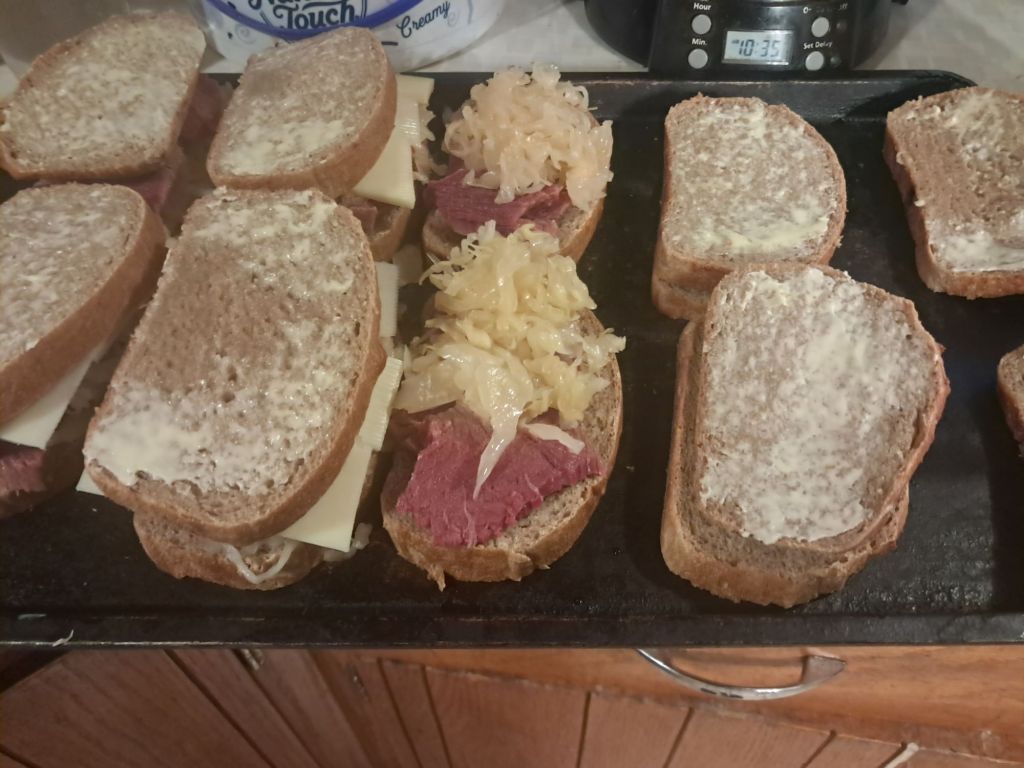
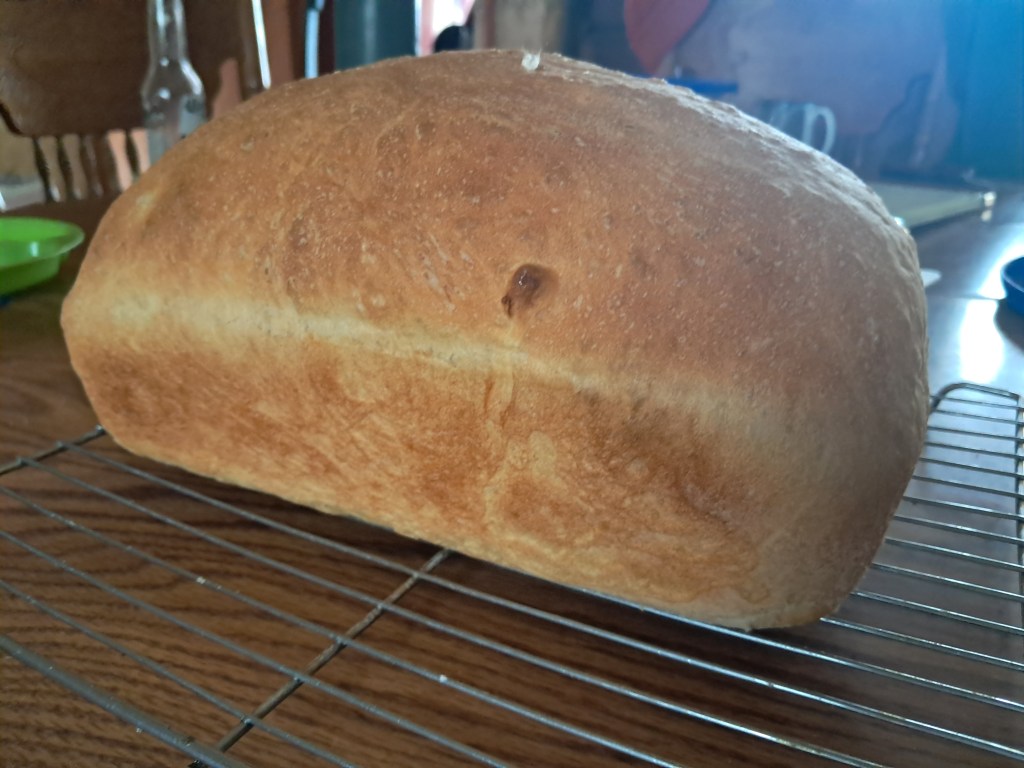
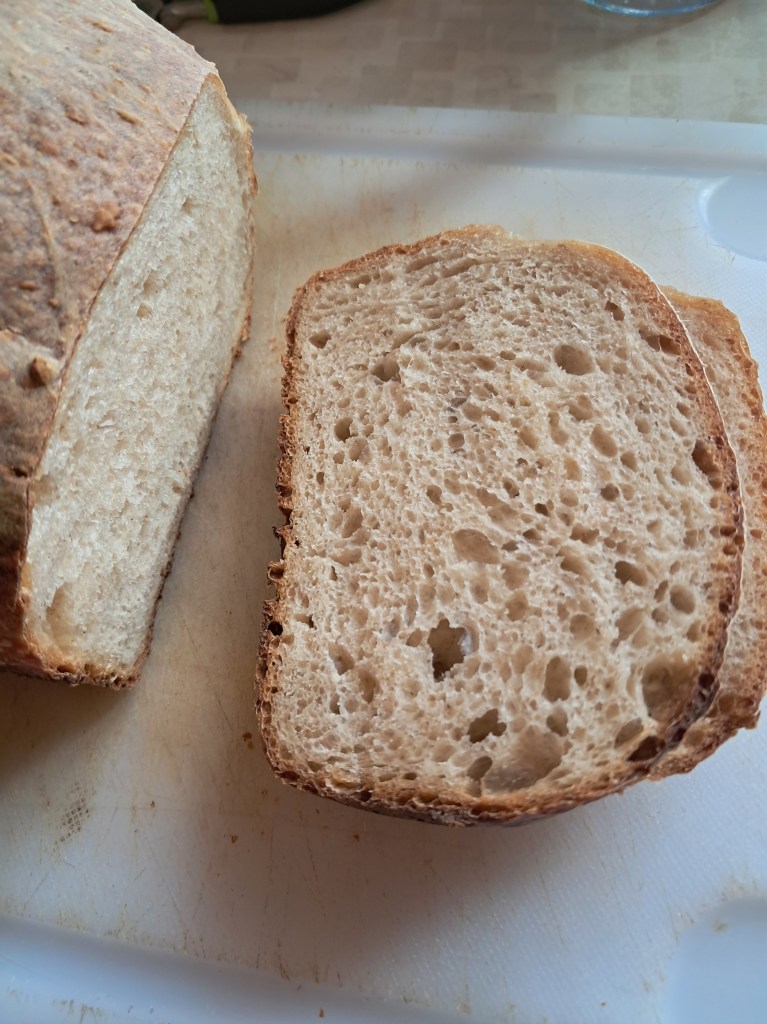
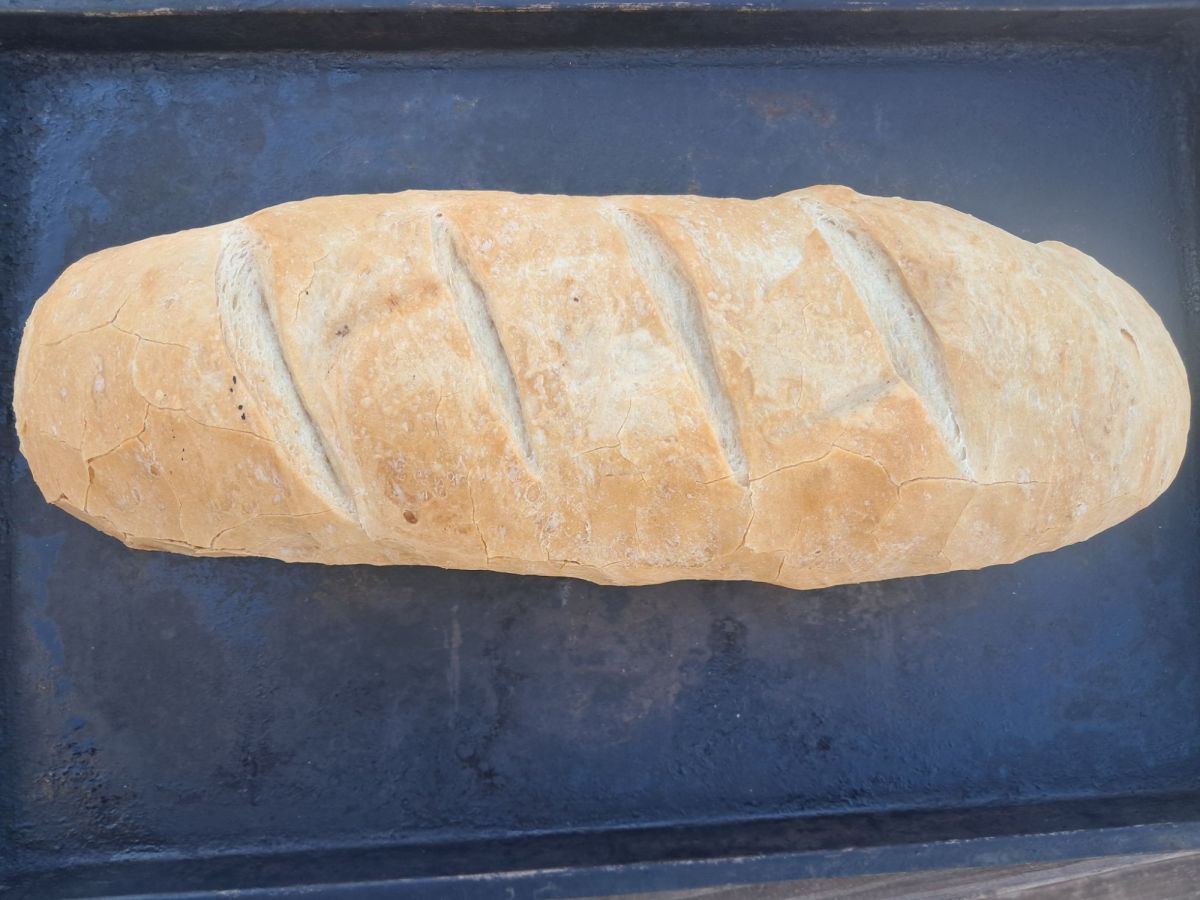
    One year ago today, I hit publish on my very first blog post: a piece called “Sourdough Bread,” a humorous take on how something as simple as baking bread can be both maddeningly difficult and deeply rewarding all at once. It felt like the perfect metaphor for the kind of life I wanted to write about—messy, slow, sometimes sticky, but full of small wins that make the effort worth it.

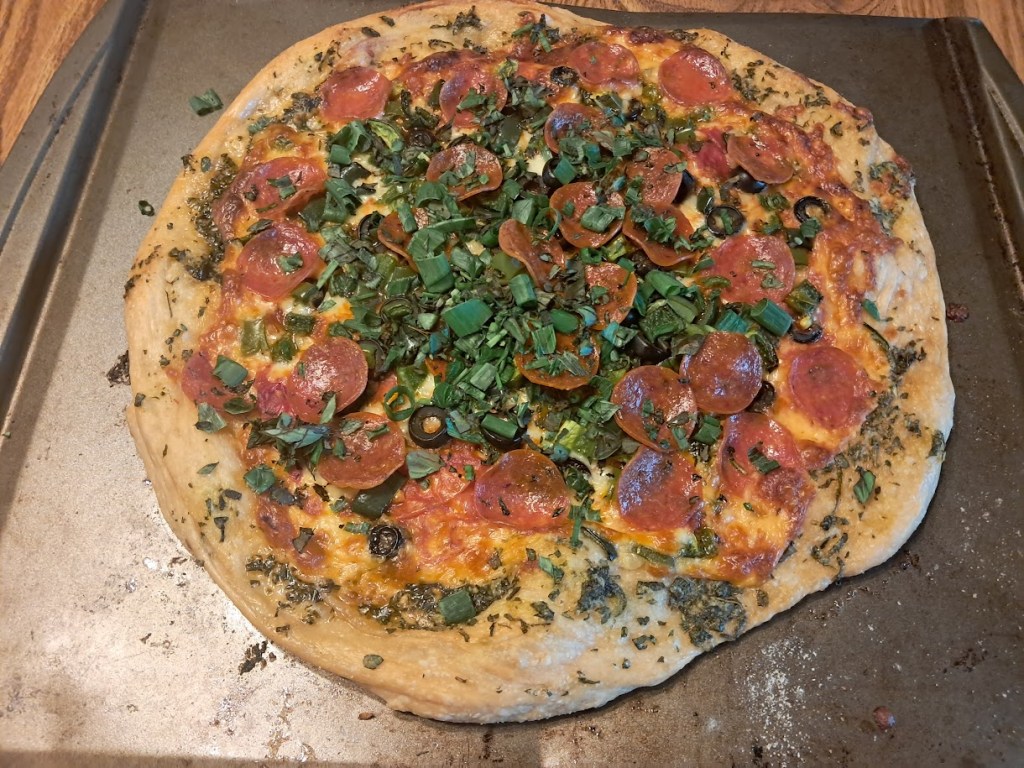
    Since then, this little corner of the internet has branched out in all sorts of directions. I’ve shared anecdotes from our homestead and family life, how-tos, reflections, and everything in between, all delivered in my own quirky, hopefully humorous voice. Some posts have been practical, some have been tender, and some have just been me trying to make sense of the chaos of growing food, raising kids, and building community. One of my poems, “If You Buy Your Wife a Chicken,” even made it into GRIT Magazine—something I didn’t think was possible when I started.

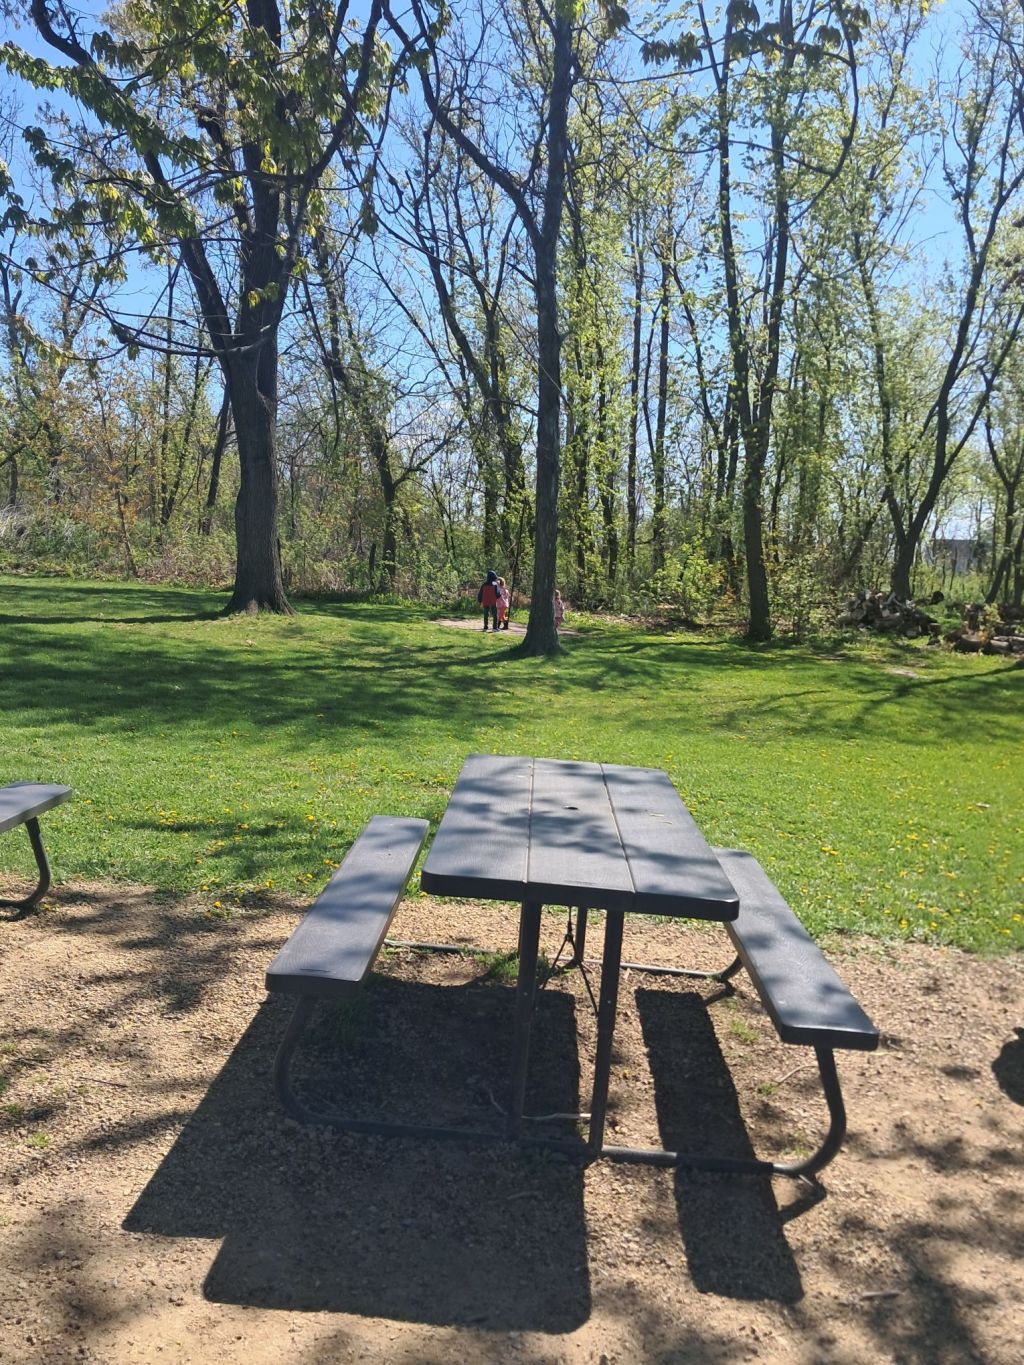
    What has surprised me most, though, are the connections that have grown beyond the screen. Friends have mentioned a post at the park or over coffee, neighbors have told me they tried a recipe or related to a story about the kids, and people I barely knew have said, “Hey, I read your blog.” Those little in-person moments have made this space feel less abstract and more like part of my real, everyday community.

    What you may not know is that, before I started writing here, I had mostly convinced myself that my voice didn’t really matter—that what I noticed or felt wasn’t worth saying out loud. Hitting “publish” that first time felt like stepping out of a very familiar pattern of staying quiet. Your encouragement over this past year hasn’t just kept the blog going; it’s helped me find my footing again and rediscover the things that have always brought me joy, like writing and gardening.

    To everyone who has taken the time to read a post, click like, leave a comment, or hit ‘subscribe’ over this past year: thank you. Truly. Every view, every “like,” every “I’ve been there too” in the comments has meant more to me than I can put into words. You’ve given this aspiring writer the affirmation that maybe, just maybe, I can do this.

    It means so much that you’ve let me show up in your inbox or feed with stories about bread that refuses to rise, kids who say the most unexpected things, garden experiments that sometimes flop, and the small moments that make it all feel worthwhile. I’m also deeply grateful for your patience when life got hectic and I took a hiatus, and for the way you still showed up as I found my way back to a more consistent rhythm.

    I’m so thankful for each of you who has stuck around, cheered me on, and made this space feel less like I’m talking into the void and more like a real community gathered around a virtual kitchen table.

    Here’s to year one of this blog—and to whatever year two brings. I can’t wait to keep writing, experimenting, and sharing the journey with you. Thank you, from the bottom of my quirky, homesteading, bread-obsessed heart, for being here.


    If you’ve been reading along this year, I’d love to know: what post or topic has stuck with you the most, or what would you like to see more of in year two?


    If this blog has encouraged you, made you laugh, or given you a helpful idea this year, would you take a moment to like, comment, or share this post with a friend who might enjoy it too?

    Subscribe for weekly homesteading tips:

    Read Next: Century Farm Renovation: Most Ambitious Homestead DIY (2026)

  • Amish Bakery Visit for Bulk Groceries: A Homesteading Family Tradition

    Amish Bakery Visit for Bulk Groceries: A Homesteading Family Tradition

    About every two months, I make the hour-long trip to the nearest Amish settlement to stock up on bulk groceries. It’s a steady rhythm in our homesteading life—bringing home 50-pound bags of bread flour, dried vegetables, bulk pasta, and active dry yeast that stock our pantry and turn into loaves of bread, tortillas, and buns in the weeks that follow.

    But if you ask my kids, the highlight of every trip is the same: the Amish bakery.

    On this particular Saturday, it seemed like everyone else had the same idea. The parking lot was full, and the line stretched halfway across the gravel lot. For a moment, I considered turning around—but one look at my 6-year-old son and 2-year-old daughter made it clear we were staying.

    So, we settled in.

    There was a chill in the wind, but standing in the sun made it feel like a perfect spring day. Nearby, a little Amish boy—maybe three—chased a chicken across the yard, getting just close enough each time to keep trying.

    We started with a round of “I Spy,” which didn’t last long. Soon, we were watching horses in the pasture, sheep grazing in the distance, and pigeons circling overhead—much to my daughter’s delight, who confidently called them all “ducks.”

    As the line slowly moved, the wait began to shift. What felt long at first softened into something slower and more enjoyable. People started talking. A couple behind us—one from Sun Prairie, another from Watertown—struck up an easy conversation about travel, baking, and everyday life.

    The line as I got closer to the entrance. The smell of freshly baked bread and pastries was intoxicating.

    Meanwhile, my kids wandered off and found a little girl to play with, disappearing into their own world for nearly twenty minutes.

    My kids found a little girl to play with while I waited in line.

    By the time we reached the door, the smell of the Amish bakery had already found us—warm bread, sweet glaze, and something deeply comforting. Inside, shelves were lined with cakes, pies, and fresh-baked goods, but there was no question what we came for.

    We walked out with warm donuts in hand—chocolate for my daughter and me, glazed for my son—and barely said a word as we ate them back at the car.

    Somehow, the hour-long wait didn’t feel long at all.

    Trips like this are never just about bulk groceries or even the Amish bakery itself. They’re about filling a pantry that feeds our family, giving our kids space to grow and learn patience, and finding small moments of connection with people we might not otherwise meet.

    It’s growing food, raising kids, and building community—sometimes in the most unexpected places.

    And yes… the donuts help, too.


    Have you ever stuck out a long wait and realized it was actually the best part of the day?


    If you’re trying to slow down, raise your kids a little differently, or build a more intentional life—like and share this with someone on that path too.

    Subscribe for weekly homesteading tips:

    Read Next: How Curiosity Keeps Me From Feeling Bored (Even on Long Car Rides With Kids)

  • Homemade Reuben from Scratch: Sauerkraut to Success

    Homemade Reuben from Scratch: Sauerkraut to Success

    Daily writing prompt
    What is the last thing you learned?

    Mastering a homemade Reuben sandwich from scratch taught me that real learning comes through patient layers—sauerkraut, rye bread, corned beef. Each step built skills I didn’t know I needed.

    From Garden to Ferment

    It started last fall with Megaton hybrid cabbages from our garden. Shredded fine, salted at 2% by weight, packed into our antique Red Wing crock with a water-filled garbage bag seal. Three and a half months later in the basement, it emerged tangy, crisp, golden—pure magic. This homemade sauerkraut became the tangy heart of every bite.

    Curing Corned Beef at Home

    Winter freed up freezer space for a 4-lb sirloin tip roast from Gruenberger Farms. Brined 5-7 days in kosher salt, pink curing salt, brown sugar, and pickling spices (ground + whole), flipped daily at first. Slow-cooked 6 hours low in the crock pot, finished high for tenderness at 195-205°F. Sliced thin against the grain, it was pink, flavorful—worked as well as a brisket for this homestead experiment.

    Rye Bread Reality Check

    Rye dough is sticky and stubborn—no big lift like wheat. Mixed bread flour, rye flour, honey, yeast, olive oil; proofed twice, baked in a steam-trapped roasting pan setup at 425°F. Flatter than ideal, but the hearty tang paired perfectly with no caraway on hand. Homemade rye bread held up under melty Swiss and Thousand Island (store-bought, no shame).

    Reuben Night Triumph

    Twelve sandwiches baked golden on sheet trays: rye, corned beef, sauerkraut, cheese, dressing. Family devoured 10 immediately—only two leftovers by lunch. The kitchen smelled like a deli dream.

    The Real Lesson Learned

    This homemade Reuben quest showed me iteration through failure—soggy ferments avoided, lean cuts perfected, stubborn dough humbled. Homesteading scratches teach that last lesson sticks deepest when you taste the payoff. Garden to plate, one sandwich at a time.


    What’s the last thing you learned making food from scratch? Share below!

    Loved this Reuben quest? Like + share so fellow homesteaders can taste the scratch-made magic! 💚 What’s your latest kitchen win?

    Loved this? Subscribe for more homestead reflections:

    Read Next: Our Biggest Homesteading Challenge: First-Time Pig Farrowing

  • How My Pizza Fail Built Homesteading Confidence

    How My Pizza Fail Built Homesteading Confidence

    Daily writing prompt
    How has a failure, or apparent failure, set you up for later success?

    A cooking disaster in my freshman dorm set me up for homesteading success I never expected. One apparent failure became the foundation for kitchen confidence.

    Freshman Year Pizza Disaster

    My first “from-scratch” pizza took three times longer than delivery. The crust was a brick, sauce too acidic, toppings slid everywhere. My future husband politely choked it down. Mortifying.

    That flop taught me two things: failure stings less when shared, and every kitchen mistake teaches something concrete. I started measuring flour properly, tasting as I went. Zucchini bread followed (once ruined by tablespoons of salt instead of teaspoons—inedible).

    Homesteading Kitchen Payoff

    Fast forward to our rural homestead. Now I confidently make:

    • Pizza dough my kids beg for weekly
    • Sourdough from wild yeast I captured
    • Crockpot meals filling our home with irresistible smells
    • Garden sauces from our own tomatoes

    A couple of weeks ago, I pulled winter carrots (candy-sweet from the freeze) for pot roast. No one would guess this calm came from serving weaponized pizza.

    Failure’s Gift: Iteration Over Perfection

    Cooking disasters built my homesteading confidence through kitchen iteration:

    • Mushroom logs fruited after many soggy failures
    • Morning routines work after dozens of meltdowns
    • Patience grew through dysregulation disasters

    Apparent failure = practice reps for real skills. That freshman flop was my first composting lesson: even burnt crust feeds future growth.


    What’s a failure that set YOU up for success? Share below!

    If this pizza-to-homestead arc resonates, like + share so other makers see failure’s power!

    Loved this? Subscribe for more homestead reflections:

    Read Next: Our Biggest Homesteading Challenge: First-Time Pig Farrowing

  • Homemade Bread for Busy Moms: Easy Stand Mixer Loaf

    Homemade Bread for Busy Moms: Easy Stand Mixer Loaf

    Homemade Bread Recipe: Easy Stand Mixer Loaf for Busy Moms

    Nothing beats the smell, warmth, and flavor of freshly baked bread—the perfect side for any dinner. Baking bread at home doesn’t require fancy equipment, just a bowl, measuring spoons, a stand mixer (or strong arms), a loaf pan, and a few pantry staples: flour, yeast, water, salt, and sugar.

    Proofing Yeast (5-Minute Magic)

    I start by proofing the yeast: 1¼ cups of warm water go into my stand mixer bowl with 1 tablespoon of sugar, then I sprinkle in 1 tablespoon of active dry yeast. I gently stir with a fork and wait. After about five minutes, the surface foams with that sweet, earthy yeast smell—like bread meets beer. At that point, I know the yeast is alive and ready.

    Mixing the Easiest Bread Dough

    In a separate bowl, I whisk together 3½ cups of bread flour and 1 teaspoon of salt until evenly mixed, feeling that familiar powdery texture between my fingers. I pour the foamy yeast mixture into the dry ingredients and start mixing with the dough hook on my stand mixer.

    Soon, it comes together into a sticky shaggy dough—not pretty yet, but exactly where it should be.

    I cover the bowl and let the dough rest (autolyse) for about 20 minutes. This lets the flour hydrate and makes the dough much easier to work with. When I uncover it, the transformation begins—shaggy mess to elastic dough ball. It still amazes me every time.

    Kneading + First Rise (Therapy Time)

    The kneading process is fun to watch. At first, the dough resists, but as the mixer works (or your hands knead), it slowly becomes smooth and supple, yielding to pressure and then springing back. After about 8–10 minutes of kneading, it’s ready for the first rise.

    I leave the dough in the bowl, cover it, and let it rise for about an hour, until it has doubled in size.

    While I wait, I prep my loaf pan with a thin layer of lard and flour for a natural nonstick surface—no special sprays or chemical coatings needed.

    Shaping + Final Rise (Roasting Pan Hack)

    After the first rise, I gently deflate the dough and turn it out onto a lightly floured surface. To shape the loaf, I stretch the top surface to create tension, pinch the bottom seam together, and roll it into a tight cylinder until I’m happy with the shape.

    Then I place the shaped loaf into the prepared loaf pan. Here’s my busy mom hack: I set that loaf pan inside a medium-size roasting pan with a lid. I cover the roasting pan and let the dough rise again until it just crests above the edge of the loaf pan. This setup creates a Dutch-oven-style environment without needing to preheat a heavy Dutch oven.

    Baking Perfect Bread Crumb

    While the dough finishes its second rise, I preheat the oven to 425°F.

    When the oven is ready, I slide the covered roasting pan (with the loaf pan inside) into the oven. The lid traps steam and helps the bread rise beautifully. I bake it covered for 25 minutes, then carefully remove the lid and bake for another 10 minutes, until the top is deeply golden.

    The kitchen fills with that irresistible fresh bread aroma. Through the oven window, I watch the crust caramelize as the steam inside gives the loaf that gorgeous oven spring.

    Cutting Fresh Bread (Patience Test)

    This is the hardest part: waiting. I resist cutting the bread right away. The crust crackles softly as it cools, and I take that as my signal. Cutting too soon can squish the loaf and collapse the airy interior.

    Once it’s cooled just enough, I slice into the loaf with a bread knife. Steam rushes out, and I see a soft, well-aerated crumb—those lovely little holes all the way through. A pat of butter melts on contact. Crunchy crust meets soft, tender interior. Simple, homestead perfection.


    What’s your favorite way to eat fresh bread? As a dinner side, French toast, toast with jam?
    ❤️ Like if you can almost smell it through the screen.
    📲 Share with a busy friend who’s always wanted to try baking bread.
    💬 Comment your go-to topping: butter, honey, jam, or all of the above?

  • How to Make Homemade Rye Bread (Perfect for Reubens & Soups!)

    How to Make Homemade Rye Bread (Perfect for Reubens & Soups!)

    Disclosure: This post contains affiliate links. As an Amazon Associate, I earn from qualifying purchases. Thanks for supporting Practical Homesteading!


    Last week, we started this Homemade Reuben Quest with garden-grown sauerkraut. This week, it’s all about the loaf that holds it all together—rye bread.

    I’ll be honest: rye baking isn’t my strong suit. I’ve made plenty of bread over the years, but rye feels like a different animal. It’s sticky, heavy, and doesn’t spring up quite like a soft wheat loaf. Still, homesteading is about learning as you go, so I decided to give it another honest try.


    The Recipe

    Here’s what went into my loaf:

    • 1½ cups warm water
    • 2 tablespoons honey
    • 2 teaspoons active dry yeast (affiliate link)
    • 2¾ cups bread flour (affiliate link)
    • 1½ cups rye flour (affiliate link)
    • 1 tablespoon vegetable oil (I used olive oil instead)
    • 1 tablespoon caraway seeds (I didn’t have any on hand, but they really do make a difference.)
    • 1¾ teaspoons salt

    The Process

    I started by mixing the warm water, honey, and yeast, letting it proof until bubbly and alive. Then in went the flours, olive oil, and salt—all combined using the stand mixer’s dough hook.

    The dough was wetter than what I’m used to, almost too soft to handle, but I resisted the urge to fix it. Bread teaches patience if you let it. I covered the bowl, set it aside, and gave the yeast time to do its work.

    Once the dough had doubled, I turned it out onto the counter, flattened it into a rectangle, and rolled it up like a cigar, pinching the ends to seal. For the second rise, I nestled the loaf into a bread pan (affiliate link) and set the pan inside a larger roasting pan (affiliate link)—a quick Dutch oven substitute that traps steam and builds a crisp crust.

    The bread baked at 425°F (220°C) for 20 minutes covered, then 10 minutes uncovered to finish.


    The Results

    The finished loaf came out a bit flatter than my usual bakes—rye just doesn’t have the lift of wheat—but the flavor made up for it. Deep and hearty, with a touch of tang and sweetness from the honey. The crust was firm but not tough, and the scent when I sliced into it… earthy, warm, and comforting.

    Even without the caraway seeds, it paired beautifully with my homemade sauerkraut and corned beef (coming next week!). The truth is, sometimes the less-than-perfect loaves are the ones that teach us most.

    Homesteading has a way of humbling you in all the best ways—it’s not about reaching perfection but trusting the process, one loaf at a time.


    Have you ever baked rye bread before? Did you use caraway seeds, or leave them out like I did? I’d love to hear your favorite blends, flours, or fermentation tricks in the comments.

    🥖 If you enjoyed this post, please take a moment to like, share, or subscribe!
    Every share helps our little homestead community grow. Subscribe to get next week’s post in your inbox—Part 3: home‑cured corned beef—and finish the ultimate homemade Reuben!

    Related Posts

    Sourdough Bread

    To me, sourdough is both fascinating and frustrating.  How can something based only on simple pantry staples:  flour, water, and salt, result in such a delicious cornerstone food of society?  Once you attempt your first few loaves, you begin to understand.  There’s a certain alchemy in the starter, the captured yeast on which the success…

    Keep reading
  • My Top 5 Essential Grocery Staples for Homesteading and Scratch Cooking

    My Top 5 Essential Grocery Staples for Homesteading and Scratch Cooking

    List your top 5 grocery store items.

    Disclosure: This post contains affiliate links. As an Amazon Associate, I earn from qualifying purchases. Thanks for supporting Practical Homesteading!


    If you walked down a typical grocery store aisle with me, you might think I’m lost. While most American shoppers reach for convenience, I’m the one squinting at sacks of flour, jars of yeast, and tubs of coconut oil — the same staples my great-grandmother probably chose 75 years ago. I don’t shop for ready-made meals; I shop for possibility.

    At home, those bulk ingredients become whatever we need — bread, tortillas, sauces, or even snacks. If I don’t know how to make something, I learn. A simple search and a quiet evening in the kitchen have taught me more than any cookbook could. This hands-on, old-fashioned approach has saved us thousands over the years, but more importantly, it’s built confidence, patience, and gratitude for every meal we share.

    Now, that doesn’t mean I don’t enjoy Chinese takeout once in a while! I’ve learned to make my own dumpling and stir-fry recipes — they’re delicious when they turn out, and hilarious when they don’t. (One of my most epic flops was a lemon pepper chicken so salty it could’ve been used as a salt lick.) Mistakes keep me humble, and in a way, they’re the best ingredient for growth.

    Homemade potato chips
    Bloody Mary with mostly homegrown ingredients

    So with gratitude — and a dash of humility — here are my five most essential grocery items and how they shape my kitchen life on the homestead.


    5. Coconut Oil

    Coconut oil (affiliate link) is my go-to multipurpose fat. It melts like butter and works wonders in place of lard or shortening. I use it to pop popcorn, bake desserts, and even blend it into homemade flour tortillas.

    Its aroma — faintly sweet and buttery — adds a subtle depth you can’t quite place but always appreciate.

    Tip: For tender baked goods, replace half the butter or shortening in your recipe with coconut oil, then reduce liquid slightly. It gives just enough chew without the greasy feel.


    4. Active Dry Yeast

    Yeast (affiliate link) is the quiet hero of my kitchen — small, simple, and full of potential. Watching dough rise never loses its magic, especially when the kitchen smells of warm, sweet yeast and anticipation.

    It symbolizes self-reliance: turning flour, water, and salt into something living, breathing, and nourishing.

    Tip: Always proof yeast with a pinch of sugar in warm water (around 110°F). If it bubbles within 10 minutes, your dough is ready to rise.


    3. Chicken and Beef Bouillon Powder

    I lean on chicken (affiliate link) and beef (affiliate link) bouillon powders for soups, gravies, and especially rice. Cooking rice in chicken or beef stock instead of water transforms it from plain to crave-worthy.

    I also mix beef bouillon into my homemade onion soup powder — it adds warmth and richness that store mixes can’t match.

    Tip: Swap half the water for stock when cooking noodles, grains, or vegetables. It’s the fastest way to round out flavor without extra sauces or salt.


    2. Plain White Sugar

    Plain old white sugar earns a spot near the top because it does so much more than sweeten desserts. It wakes up yeast, balances tomato acidity, and — lately — fuels our lemonade habit.

    My sister keeps me well-supplied with lemons, so I make fresh lemonade weekly. When the kids come in sun-dusted and thirsty, that chilled pitcher waiting in the fridge makes them light up.

    Tip: Add a teaspoon of sugar to tomato sauces or soups to tame acidity without losing depth of flavor.


    1. Flour

    If coconut oil is the heart of my pantry, flour is its backbone. I buy high-gluten flour for breadmaking (affiliate link), but I’m excited to experiment more with ancient grains soon.

    The feel of dough under my hands, the smell of a fresh loaf cooling on the counter, and the crackle as it’s sliced — it’s the rhythm that grounds my kitchen.

    Flour builds loaves, tortillas, focaccia, and even desserts. It’s humble, forgiving, and powerful — no one in my house has ever once complained about home-baked anything.


    We rarely buy vegetables from the store, relying instead on what we’ve grown and preserved — jars of tomatoes, beans, and pickles lining the pantry. They remind me that what we grow in summer sustains us long after the frost sets in.

    Our winter meals center around potatoes, onions, and frozen vegetables like broccoli and bell peppers. We’ve experimented with extending our garden season using a small greenhouse and straw. There’s something deeply satisfying about pulling greens or a carrot from a garden while snow still glitters outside.

    As for meat, we’re still building toward full independence. We raise our own pork, purchase beef from my sister’s grass-fed herd, and still buy chicken from the store — for now. One day soon, meat birds will join the homestead lineup, and the circle will feel more complete.

    Each grocery item on this list earns its place not for novelty but for versatility. They remind me that eating well doesn’t require endless ingredients — just a few solid building blocks and the creativity to make them shine.

    This slower, more deliberate approach to cooking has taught me creativity, patience, and gratitude — lessons that spill over into every other area of life.

    Homesteading has shown me that ingredients matter less than the care and love you pour into them. Every loaf, jar, and meal built from raw goods feels like an act of heritage — and hope — in a world that moves too fast.

    Homestead maple syrup

    What five grocery staples would make your list? Please share them in the comments. And if this post inspired you, please likeshare, or subscribe to follow more homesteading stories, seasonal recipes, and simple living tips.

    Related Posts

    The Choreography of Cattle and Grass

    Experience a vivid farm story about rotational grazing, resilience, and regenerative land stewardship through the eyes of a family and their Red Angus herd. Discover how cattle, people, and pasture move together in balance

    Keep reading
  • Sourdough Bread

    Sourdough Bread

    To me, sourdough is both fascinating and frustrating.  How can something based only on simple pantry staples:  flour, water, and salt, result in such a delicious cornerstone food of society?  Once you attempt your first few loaves, you begin to understand.  There’s a certain alchemy in the starter, the captured yeast on which the success of your culinary exploits rest.  I’ve observed that like all worthwhile things in life, sourdough is not just bread, but a lesson in patience, a crash course in humility, and a reminder that the messiest things in life often taste the best.  And even a failure is really just toast, breadcrumbs, or croutons waiting to happen.

    You begin by adopting a starter, a sentient lump of flour and water that demands more attention than the most finicky orchid.  The starter acts like a child who only communicates via bubbles and guilt.  Feed it too much flour and it floweth over, creating a bubbly mess.  Forget it for a day, and it develops both the boozy aroma and the clear liquid on top.  Nurturing a starter can be unpredictable, expensive, and prone to failure.  Meanwhile, your actual orchid withers away in jealousy.

    After mixing the dough, you begin the ultimate test of patience.  You’ll attempt to stretch and fold the dough, only to end up with a glue-like substance clinging to your hands like wet clay.  The dough metaphorically laughs as it oozes across the counter, mocking your attempts at control.  After much coaxing over several iterations, the dough relaxes and begins to cooperate.

    After stretching and folding, you enter the bulk fermentation phase, where time becomes a myth.  The recipe claims four to eight hours, but your dough adheres to its own cosmic clock.  If the dough is too cold, it will remain as dense as a rock.  If the dough is too warm, it will overproof into an exhausted heap.  You’ll obsessively poke the dough, whisper encouragement, and question your life choices as it defies every timeline you’ve read online.

    After bulk fermentation, the dough must be shaped into a loaf.  It’s the dough’s version of a spa day, where it is pampered, tucked, and rolled into a sleek new outfit before its big debut in the oven.  You gently flatten the dough into a rectangle. Next comes the folding, first the top third down, then the bottom third up, creating a snug little dough envelope that’s hopefully ready to rise to the occasion.  As you forgot to dust your hands, you now need to scrape dough off your elbows before beginning the roll.  After thoroughly cleaning your extremities, you pinch the seams with the seriousness of a detective sealing evidence, tuck in the ends, and flip the dough seam-side down into the loaf pan, ready for its oven transformation.

    You’ve shaped your loaf into something resembling art. Because you’re difficult and don’t like the fancy sourdough boule shape, you preheat a roasting pan like an oblong sarcophagus.  When you finally score the loaf, your razor either drags like a butter knife or gashes the dough like a horror movie prop. The result is a crust that resembles a topographical map of Greenland.  Into the oven it goes, and for the next half hour you pace and agonize more than an expectant parent.  Will it spring?  Will it split?  Or will it burn?  The smell of success fills the air.  You optimistically crack the lid, only to find a solid brick replacing the airy loaf of bread you expected.  Because you always finish what you start, you dutifully lower the oven heat to finish the bake, watching through the glass door as the crust turns darker than your humor.

    Sliding the pan from the oven, you wait until the loaf is cool enough to slice.  The knife skids across the bread crust as if it is duller than a spoon.  After much cajoling, the crumb finally stares back like a party guest trying desperately to impress.  Instead of a light, airy charm, the holes are somehow all wrong, tiny, and, tight.  The mouthfeel is wet and chewy rather than fluffy and inviting.  And yet, I will inevitably try again to make that elusively perfect loaf.  Kneading dough is cheaper and tastier than therapy, and I’ve learned to love my finicky starter.  It’s part pet, part science experiment, and entirely a reminder that chaos can, occasionally, rise to greatness.  Finally, I can bond with fellow bakers over our shared failures.  After all, misery loves company, especially if that company brings fresh bread.

    If you enjoy content like this, subscribe below to join a circle of readers who understand the frustrations, and joys, of a perfect loaf of bread.