This is a follow-up to my rice post because rice and beans are one of those classic combinations that show up in so many delicious meals. From Cuban black beans to Mexican-style pinto beans, there are countless ways to turn a simple pot of beans and rice into a filling meal.
When I was a kid, I did not know about the wonders of beans. The most exposure I had was to the cheap beef-and-bean frozen burritos my mom would sometimes get. They were delicious, but that was about as far as it went.
I learned more when I was in college. I was broke, and I was reading listicles about how to save money on food. Eating more beans was always near the top of the list, and there was a good reason why.
It turns out there are many different kinds of beans, and each one has a distinctly different flavor. My whole world opened up that day.
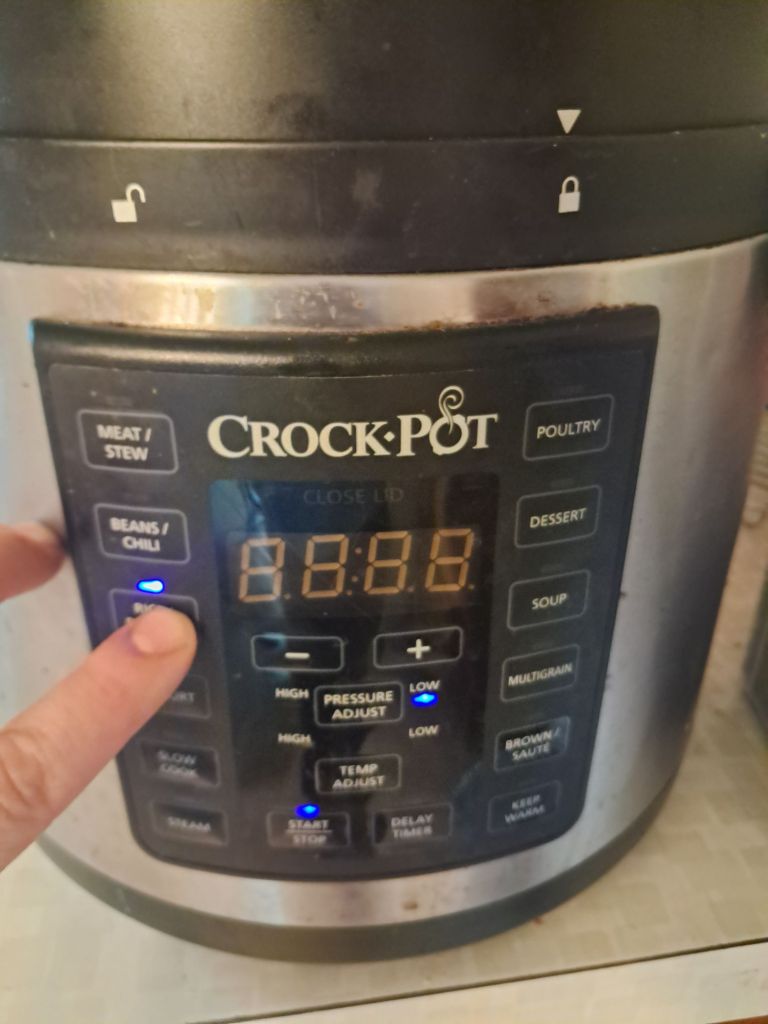
I started with canned beans, but quickly moved on to dried beans. Back then, I cooked them in a pot on the stove. But since getting my Crock-Pot Express pressure cooker, I have started making them that way instead. I am not paid to advertise it, and I do not even think it is still being made, but it has worked well for my kitchen.
Today, I am going to show you how I use my pressure cooker to cook dry beans. I use the Crock-Pot Express as an example, but these tips should work for many electric pressure cookers. I will also share some troubleshooting tips for the times they do not turn out perfectly.
Why Cook Dry Beans From Scratch?
Beans are one of my favorite ways to make meals more filling without spending much more money. They are inexpensive, shelf-stable, and soak up the flavor of whatever you cook them with.
A ham bone that might otherwise get thrown away can turn into a rich, smoky pot of beans. Add some onion, garlic, bay leaves, or clean vegetable trimmings, such as onion ends, celery leaves, or carrot tops, and you have the beginning of another meal.
Beans are also helpful when you want to stretch meat. Add black beans to taco meat, kidney beans to chili, or navy beans to soup, and you can make a smaller amount of meat feed more people. With the price of meat these days, that can make a noticeable difference in the grocery budget.
They are a good source of protein, fiber, and potassium, while also being naturally low in fat. A half-cup serving of cooked beans provides roughly 7 grams of fiber, depending on the variety. Beans and rice complement each other nutritionally, and together they make a filling, satisfying meal.
Choosing the Right Bean
Choose the type of bean you want to make. The basic cooking process is similar, but different beans work better in different meals.
| Bean | Good For |
| Kidney beans | Chili, soups, salads |
| Great Northern beans | Baked beans, ham and bean soup, creamy bean dishes |
| Navy beans | Baked beans, soups, and bean side dishes |
| Black beans | Cuban-style black bean soup, tacos, burrito bowls, rice dishes |
| Pinto beans | Tacos, refried beans, burritos, chili |
| Chickpeas or garbanzo beans | Hummus, salads, soups, roasted chickpeas |
How Much Do Dry Beans Make?
One cup of dry beans usually makes about 2 to 3 cups of cooked beans. That is enough for about four to six half-cup side-dish servings, depending on the bean and what else you are serving.
If beans are the main part of the meal, plan on larger portions. If you are using beans to stretch a meat-based meal, one cup of dry beans can go a long way.
I recently cooked 1½ cups of dry beans, then added them to 1½ pounds of taco meat. It nearly doubled the taco filling, which is nothing to complain about when you have a taco-loving family like mine.
Soaking Dry Beans
The night before you want to cook your beans, choose the type of bean you would like to make. Look through the dry beans and remove any stray rocks, broken beans, or debris.
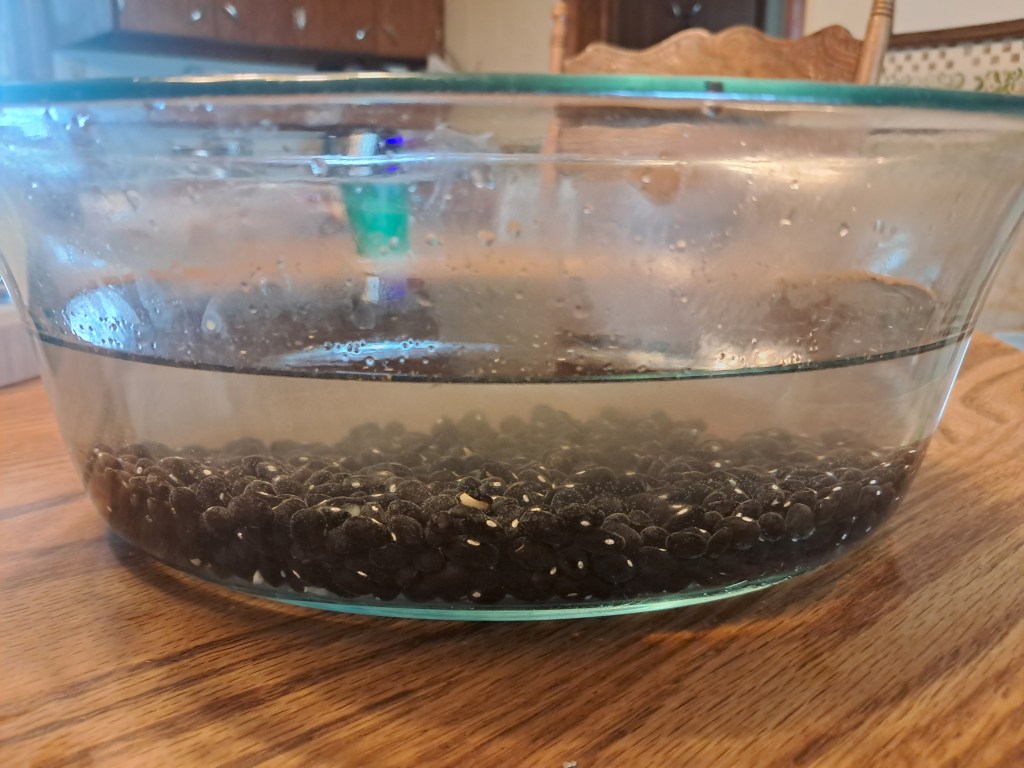
Place the beans in a large bowl or container and cover them generously with cold water. Beans expand while soaking, so make sure there are several inches of water above them.
I like to add about 1 tablespoon of salt to 3 quarts of soaking water, but plain water works well too if you prefer to keep things simple.
Cover the container and let the beans soak in the refrigerator overnight. An overnight soak helps the beans cook more evenly and makes the next day’s cooking much easier.
If you are in a pinch, you can soak beans for only a few hours. They may need a little extra cooking time, so check them after the first pressure-cooking cycle and add more time if they are still too firm.
How to Cook Soaked Dry Beans in a Pressure Cooker
Ingredients
- 1 cup dry beans, picked over and soaked overnight
- Fresh water
- 1 teaspoon salt per cup of dry beans
- 1–2 bay leaves, optional
- Clean vegetable trimmings, such as onion ends, celery leaves, or carrot tops, optional
- Ham bone or ham hock, optional
Instructions
- Pick through the beans and remove any damaged beans, debris, or small stones.
- Rinse the beans, cover them generously with cold water, and soak them in the refrigerator overnight.
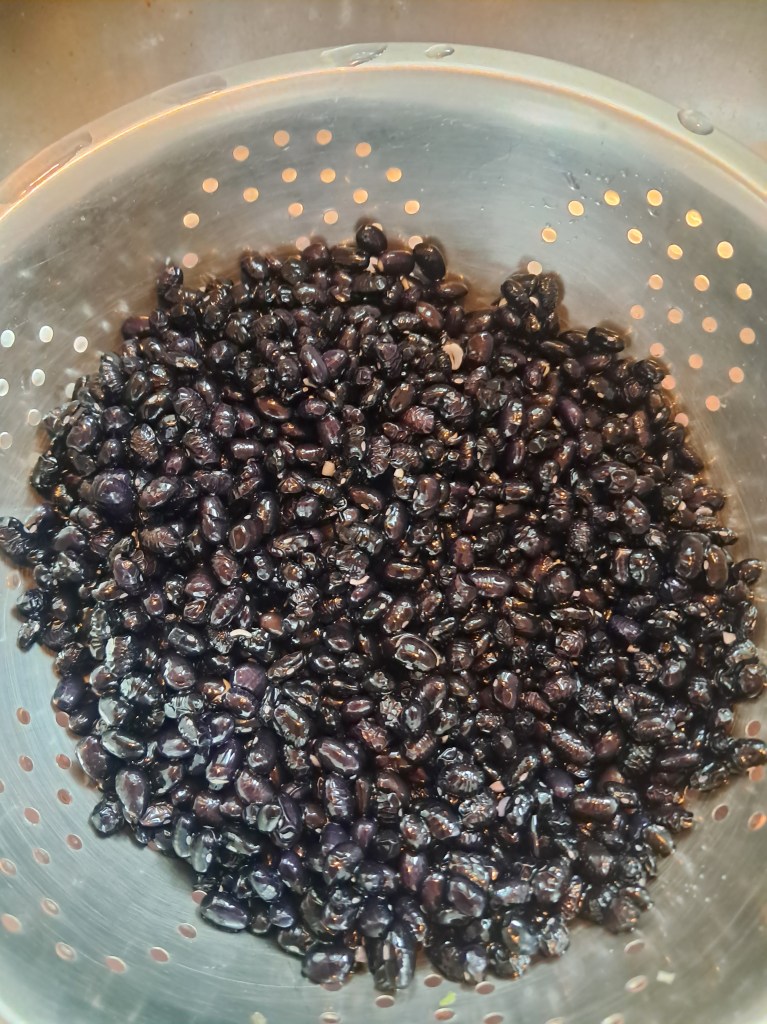
- Drain and rinse the soaked beans.
- Add the beans to the pressure cooker.
- Cover the beans with fresh water, leaving at least 2 inches of water above them. If you are adding a ham bone, make sure it fits comfortably below the maximum-fill line.
- Add the salt, bay leaves, clean vegetable trimmings, onion, garlic, herbs, or ham bone if using.
- Do not fill the pressure cooker more than halfway full. Beans expand and can foam while cooking, so they need plenty of room in the pot.
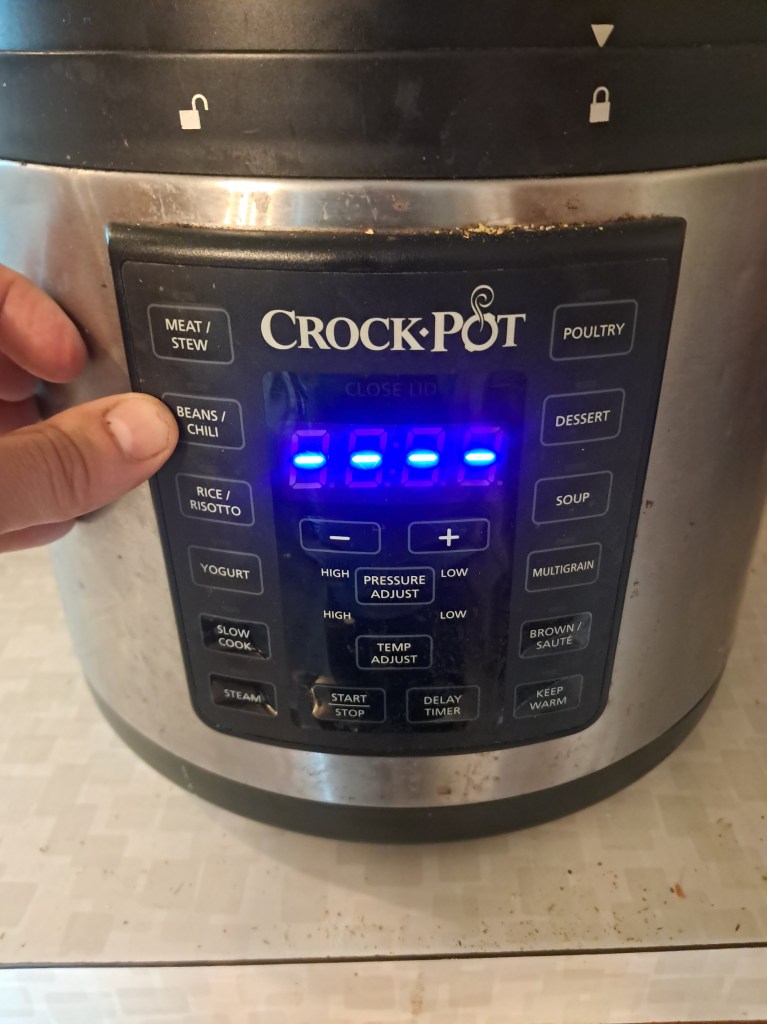
- Lock the lid, set the steam-release valve to the sealed position, and select the bean function or high pressure.
- On my Crock-Pot Express, I start soaked beans on the bean setting, which runs at high pressure for about 20 minutes.
- When the cooking cycle is complete, let the pressure release naturally. On my cooker, this usually takes around 20 to 30 minutes.
- Once the pressure indicator has dropped and the lid opens easily, carefully remove the lid.
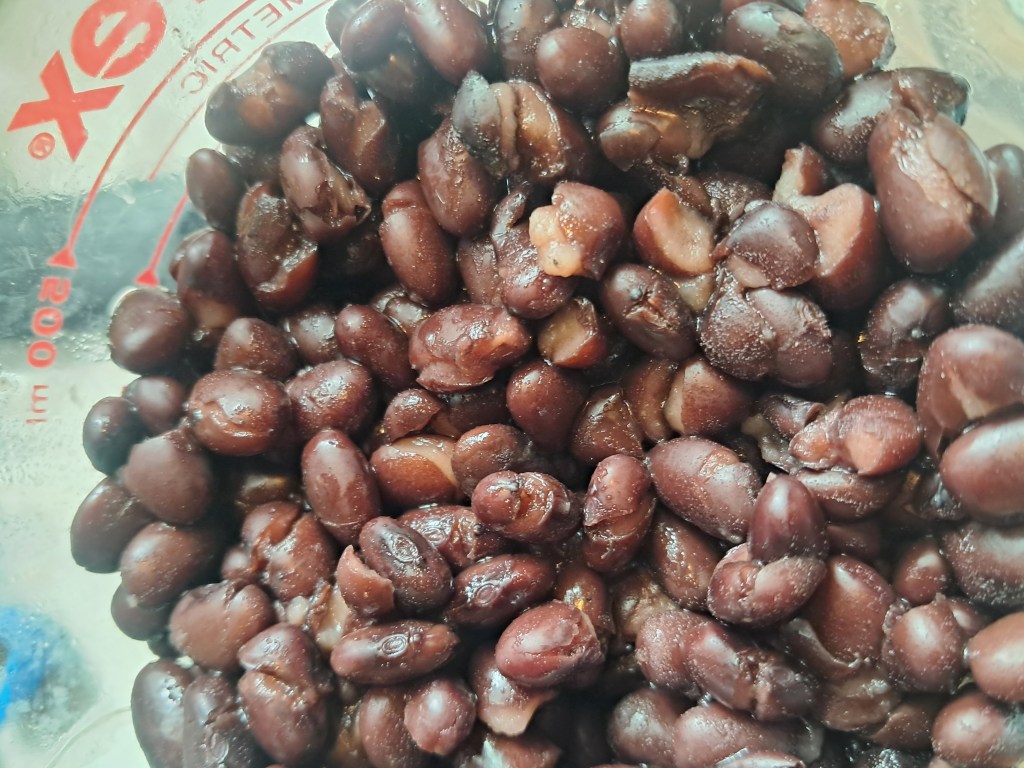
- Remove bay leaves, vegetable trimmings, and bones with tongs. If you used a ham bone, pull off the meat, chop it if needed, and return it to the pot.
- Taste the beans. If they are still too firm, return them to high pressure for another 5 to 10 minutes, then allow the pressure to release naturally again.
When to Add Tomatoes, Vinegar, or Other Acidic Ingredients
I usually wait to add tomatoes, vinegar, molasses, or other acidic ingredients until the beans are tender. Acidic ingredients can slow down the softening process, especially with older beans.
This is especially helpful to remember when you are making chili, baked beans, tomato-based soups, or any recipe that includes vinegar or molasses. Cook the beans until tender first, then add those ingredients and simmer everything together for flavor.
What to Do With Cooked Beans
Once the beans are tender, you have a simple base for all kinds of meals.
Use kidney beans in chili, black beans to stretch ground beef tacos or make Cuban-style black bean soup, pinto beans for refried beans and rice dishes, navy beans in baked beans, or chickpeas in hummus.
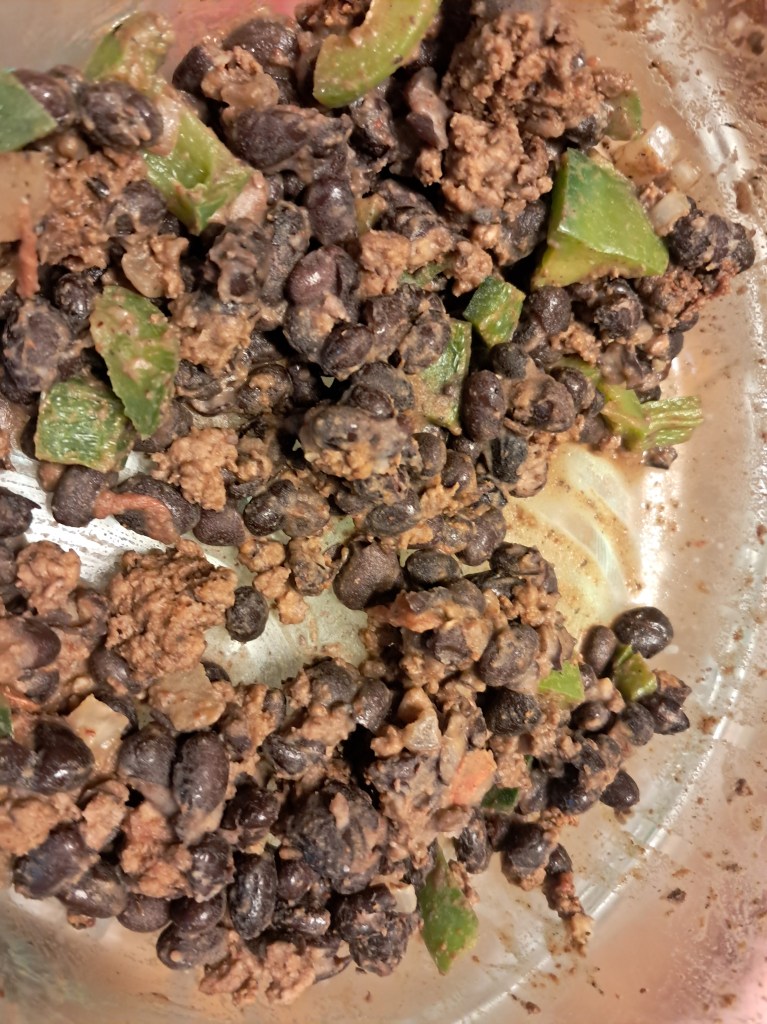
Of course, one of my favorite ways to use a pot of cooked beans is alongside a simple bowl of rice. Add a little cooking liquid, chopped onion, hot sauce, salsa, or whatever seasoning fits the meal, and you have an inexpensive, filling dinner.
How Long Do Cooked Beans Last?
If I make a large batch, I keep some in the refrigerator for the week and freeze the rest in meal-size portions for later. Store refrigerated beans in an airtight container and use them within 3 to 4 days.
For longer storage, freeze beans in meal-size portions with a little cooking liquid so they do not dry out. Properly stored cooked beans can keep in the freezer for up to 6 months. When you are ready to use them, thaw them in the refrigerator, then add them to soups, chili, tacos, casseroles, or rice dishes just as you would canned or freshly cooked beans.
Dry Bean Troubleshooting Guide
| Problem | Likely Cause | What to Try Next Time |
| Beans are still firm after cooking | Beans were not soaked long enough, are older, or need more cooking time | Return them to high pressure for another 5 to 10 minutes |
| Beans are mushy | Beans cooked too long or were very soft before pressure cooking | Reduce cooking time slightly next time |
| Beans are bland | Not enough seasoning or flavorful ingredients | Add salt, onion, garlic, bay leaves, broth, herbs, or a ham bone |
| Beans are too salty | Too much salt, bouillon, ham, or salty broth | Use less salt or choose low-sodium broth next time |
| Beans are dry after cooking | Not enough cooking liquid | Add more water or broth before storing or serving |
| Beans stick to the bottom | Not enough liquid or food was left on warm too long | Use enough water, and remove or store beans once they are finished |
Cooking dry beans from scratch is one of those simple kitchen skills that saves money, makes meals more filling, and gives you a lot of options throughout the week.
Do you cook dry beans from scratch? What is your favorite kind of bean to keep in the pantry?
If this guide was helpful, please like and share it with a friend who enjoys cooking from scratch, saving money on groceries, or making simple pantry meals.
Subscribe for weekly homesteading tips:
Read Next: Buying Meat from a Farmer: A Complete Guide to Bulk Meat, Freezers, and Butchers
 Practical Homesteading