This is the third and final post in my food dehydration series. In the first post, I covered How to Dehydrate Food at Home: Air Drying, Oven Drying, and Dehydrators. In the second post, I shared How to Dehydrate Fruits, Vegetables, and Herbs From the Garden.
One of the most useful things you can do with a dehydrator is make simple meal bases that can be rehydrated later. They are especially handy for camping, but they are also useful during busy weeks or anytime you need a quick meal from pantry ingredients and have a way to boil water.
The basic idea is simple: cook a meal you already enjoy, make a double batch while you are already cooking, then dry the extra portion in thin layers. Later, you can turn it into an easy meal with a little boiling water.
For a kitchen-friendly reference with preparation, temperature, drying time, storage, and rehydration charts, see my Garden Drying Guide. Thank you for supporting my mission to help aspiring homesteaders gain the knowledge they need.
Why Dehydrated Meal Bases Are So Helpful
Dehydrated meals are lightweight, compact, and easy to pack. That is why they are popular for camping and hiking. They can also be a simple option when you want meal ingredients that do not take up freezer space.
I like this method because it lets me make the most of work I am already doing in the kitchen. If I am making a pot of rice and beans for dinner, it is not much harder to make extra and prepare some for the dehydrator at the same time.
Choose Low-Fat Foods for Dehydrated Meals
This method works best with low-fat foods. Rice, beans, vegetables, tomato-based sauces, and many simple seasonings dry well and rehydrate nicely. I include a guide on how to use a pressure cooker to prepare rice here and a guide on how to cook beans here.
I avoid using this method for fatty foods, creamy sauces, oily foods, or meat unless I am following a tested recipe written specifically for dehydrating and storing those foods. Fat does not dry the same way moisture does and can go rancid during storage.
For this reason, I usually focus on vegetarian meal bases when I am making dehydrated meals at home. The good news is that you can always add fresh toppings, cheese, avocado, or a cooked protein later when you are ready to serve the meal.
How to Dehydrate Cooked Rice and Beans
Cooked rice and beans are two of the easiest meal ingredients to dehydrate. They are inexpensive, filling, and easy to use later. I cover how to use a pressure cooker to cook rice here and how to cook beans here.
Because rice is already cooked, I spread it onto dehydrator trays soon after cooking. If I cannot dry it right away, I cool it promptly and refrigerate it until I am ready to use it.
Spread the rice or beans in a thin, even layer across a dehydrator tray. Break up clumps so air can move around the food. I typically dry meal bases at about 145°F, checking them regularly as they get close to finished. Drying time will vary depending on how wet the meal is, how thickly it is spread, and the type of dehydrator you are using.
Dry until the pieces are hard and no longer feel soft or moist. If your meal is saucy or has small pieces that might fall through the trays, use a solid tray liner or fruit-roll sheet made for your dehydrator.
Once dry, let everything cool completely before placing it in an airtight container or freezer bag. Label it with the contents and date.
When you are ready to use it, start with roughly equal amounts of dried food and boiling water. Cover the bowl or pot and let it sit for about 10 minutes, then add a little more water if the meal still seems dry or firm. Larger pieces and thicker ingredients may need more time.
Easy Dehydrated Meal Ideas
Vegetarian Jambalaya-Style Base
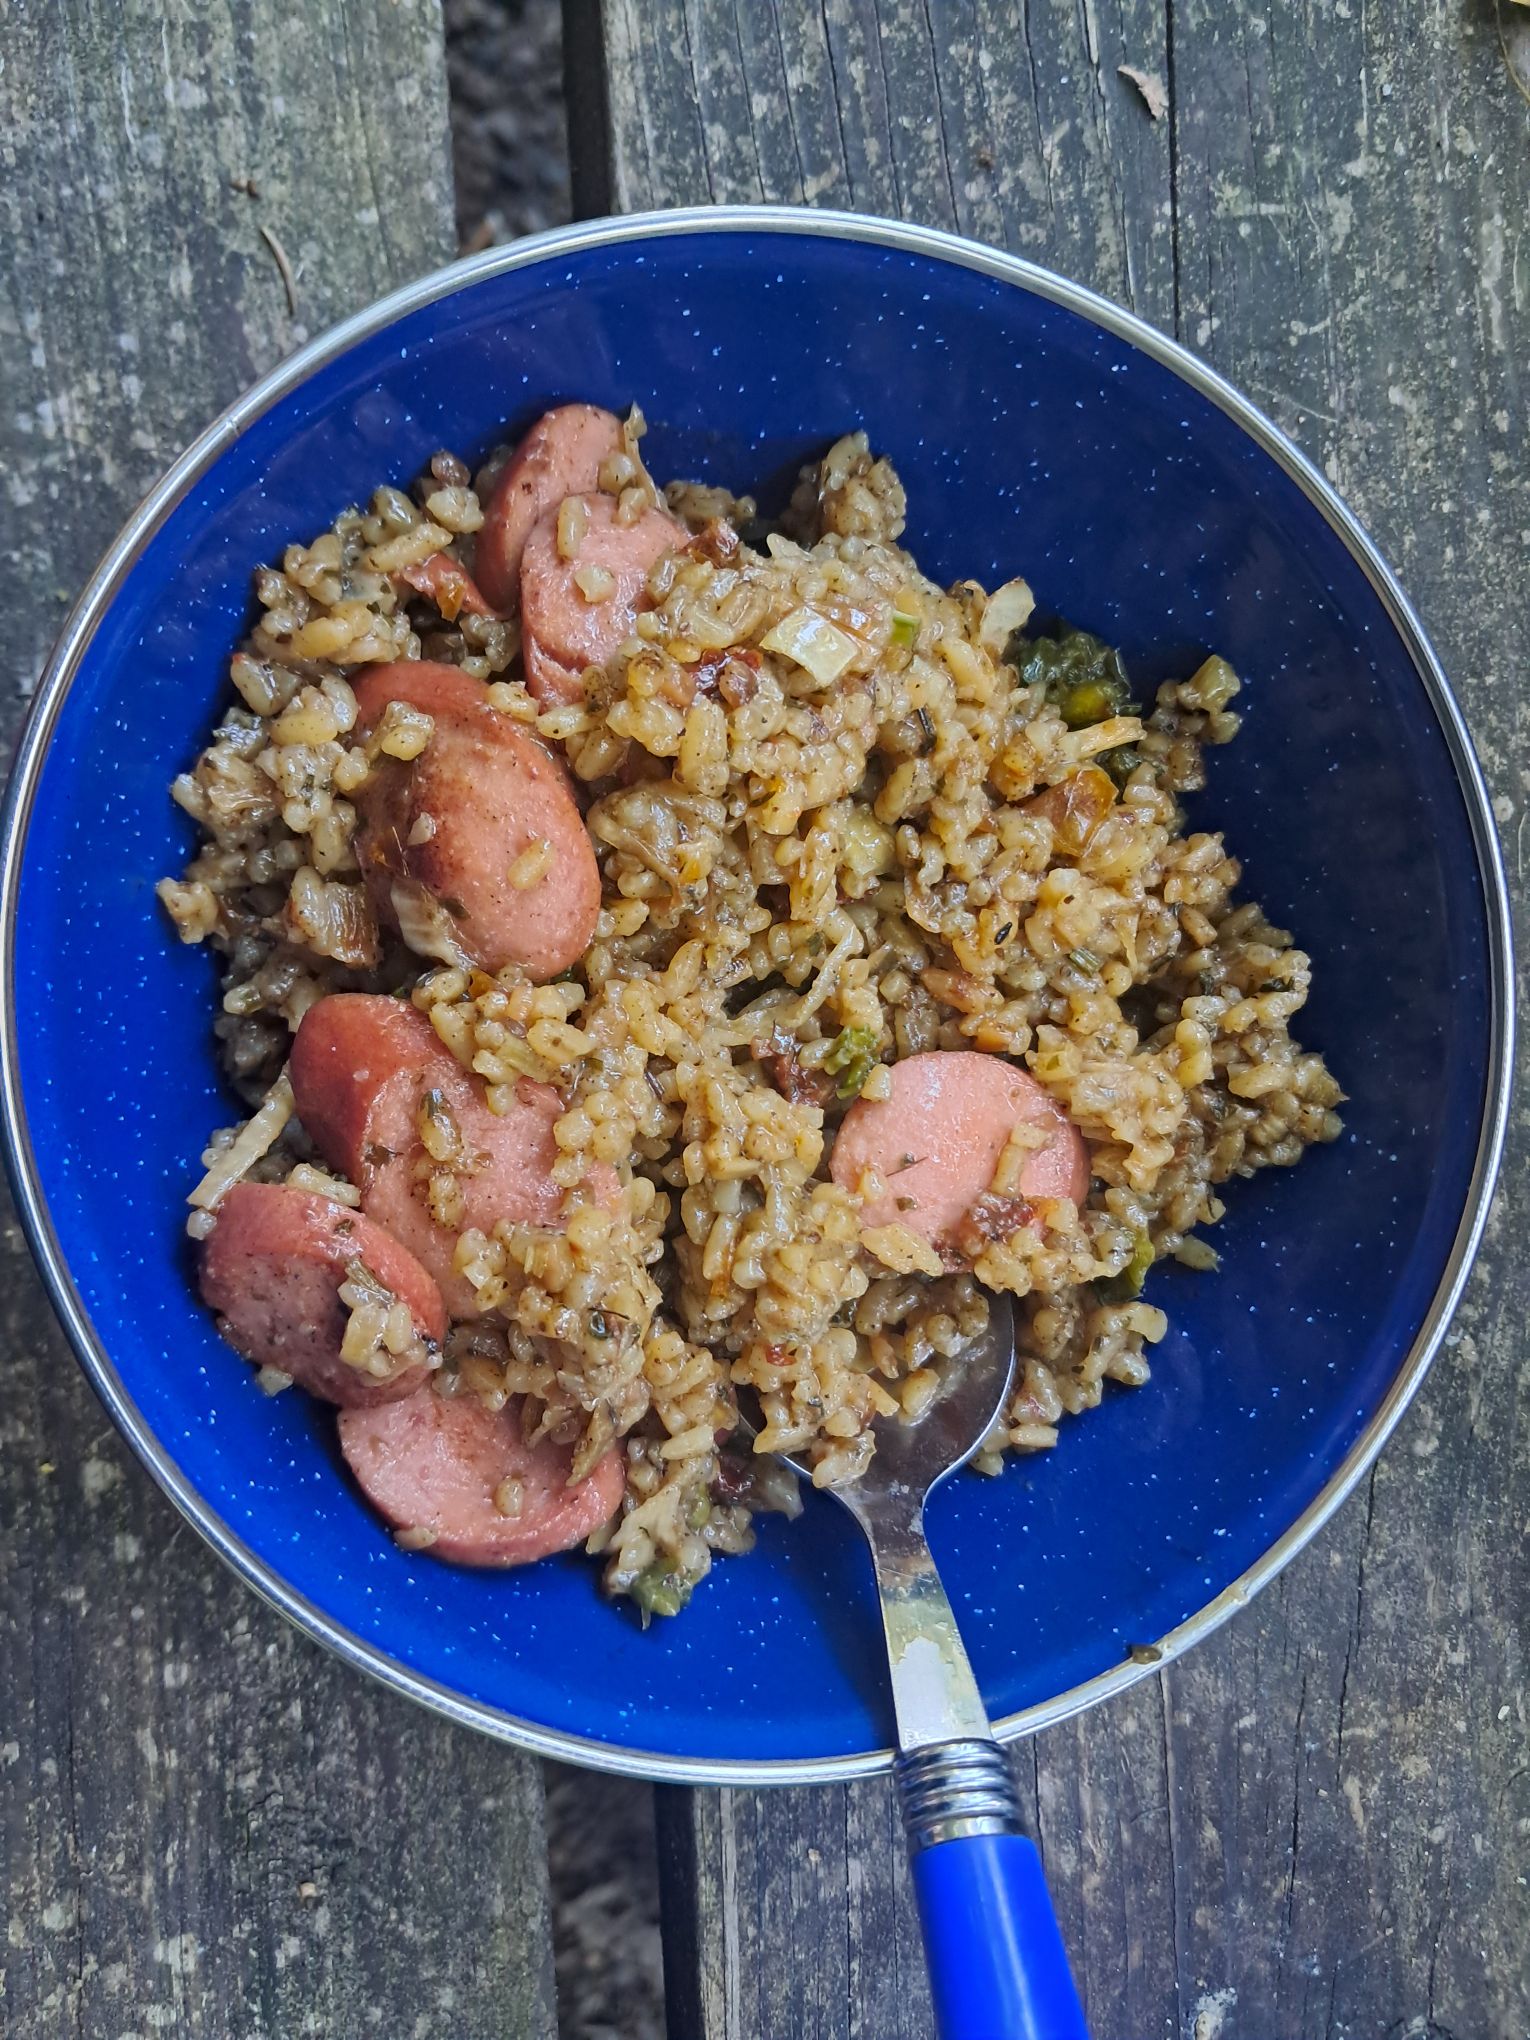
A vegetarian jambalaya-style base is one of my favorite options. Make a batch using rice, beans, peppers, onions, tomatoes, and seasonings. Keep the mixture low in fat, then spread it in a thin layer on dehydrator trays.
When you are ready to use it later, add boiling water and let it rehydrate. You can enjoy it as-is or add a freshly cooked protein when you prepare it.


Rice and Bean Taco Filling
Rice and bean tacos are another easy option. Cook rice with beans, corn, peppers, onions, taco seasoning, and tomatoes or tomato sauce. Dry the finished mixture in thin layers.
Later, rehydrate it with hot water and serve it in tortillas, over lettuce, with tortilla chips, or as a quick burrito bowl. Add avocado, cooked ground beef, cheese, or sour cream when serving to make the meal more filling.


Soup and Stew Bases
You can also make dehydrated soup or stew bases using dried vegetables, beans, rice, pasta, and seasonings. When it is time to cook, add water or broth and simmer until everything is tender.
These are especially nice for camping because you can pack a full meal into a small bag.
Simple Steps for Drying Meal Bases
- Cook a low-fat meal you already enjoy.
- Make a double batch so the extra work is minimal.
- Spread the cooked food in a thin, even layer on dehydrator trays.
- Break up clumps and stir occasionally as it dries.
- Dry until the food is completely hard and no longer feels moist.
- Let it cool completely.
- Package it in airtight containers or bags and label with the date.
- Rehydrate later with boiling water or add it directly to soups and stews.

Want a kitchen-friendly reference?
My Garden Drying Guide includes printable preparation, temperature, drying time, storage, and rehydration charts for garden produce and simple meal bases.
Storage Tips for Dehydrated Meals
Keep dried meal bases in airtight containers and store them in a cool, dark, dry place. Smaller packages are helpful because food begins taking on moisture from the air once a container is opened.
I also like to package meal bases in one-meal portions so I can grab exactly what I need without opening a larger container.
For longer-term storage, especially if I am making meals well ahead of a trip, I prefer to keep sealed meal bases in the freezer until I am ready to use them.

Before storing meal bases for a longer period, I like to check the container after a day or two for any signs of condensation. If moisture shows up, the food needs more time in the dehydrator before it is stored again.
As with any home-preserved food, check it before using it. If you see moisture, mold, or anything that looks or smells off, throw it away.
A Simple Way to Save Time Later
Making dehydrated meal bases is one of those small projects that can pay off later. It takes a little extra time on cooking day, but it gives you something useful for camping trips, busy nights, and days when you need a simple meal without much planning.
This is the conclusion of my food dehydration series, but it is only one of many ways to preserve a harvest at home. Whether you freeze, dehydrate, or eventually try canning, each method is another way to make the most of what you grow.
If you are just getting started with dehydration, you can also read my posts on choosing a drying method and preparing fruits, vegetables, and herbs for dehydrating.
Do you make homemade dehydrated meals for camping, hiking, or busy days at home? Share your favorite meal ideas or ingredients to dehydrate in the comments.
If this post was helpful, please like and share it with a friend who enjoys camping, hiking, gardening, or making homemade food for later.
Read More Here: Our Simple, Budget-Friendly Camping Setup for Family Road Trips