Disclosure: This post contains affiliate links. As an Amazon Associate, I earn from qualifying purchases. Thanks for supporting Practical Homesteading!
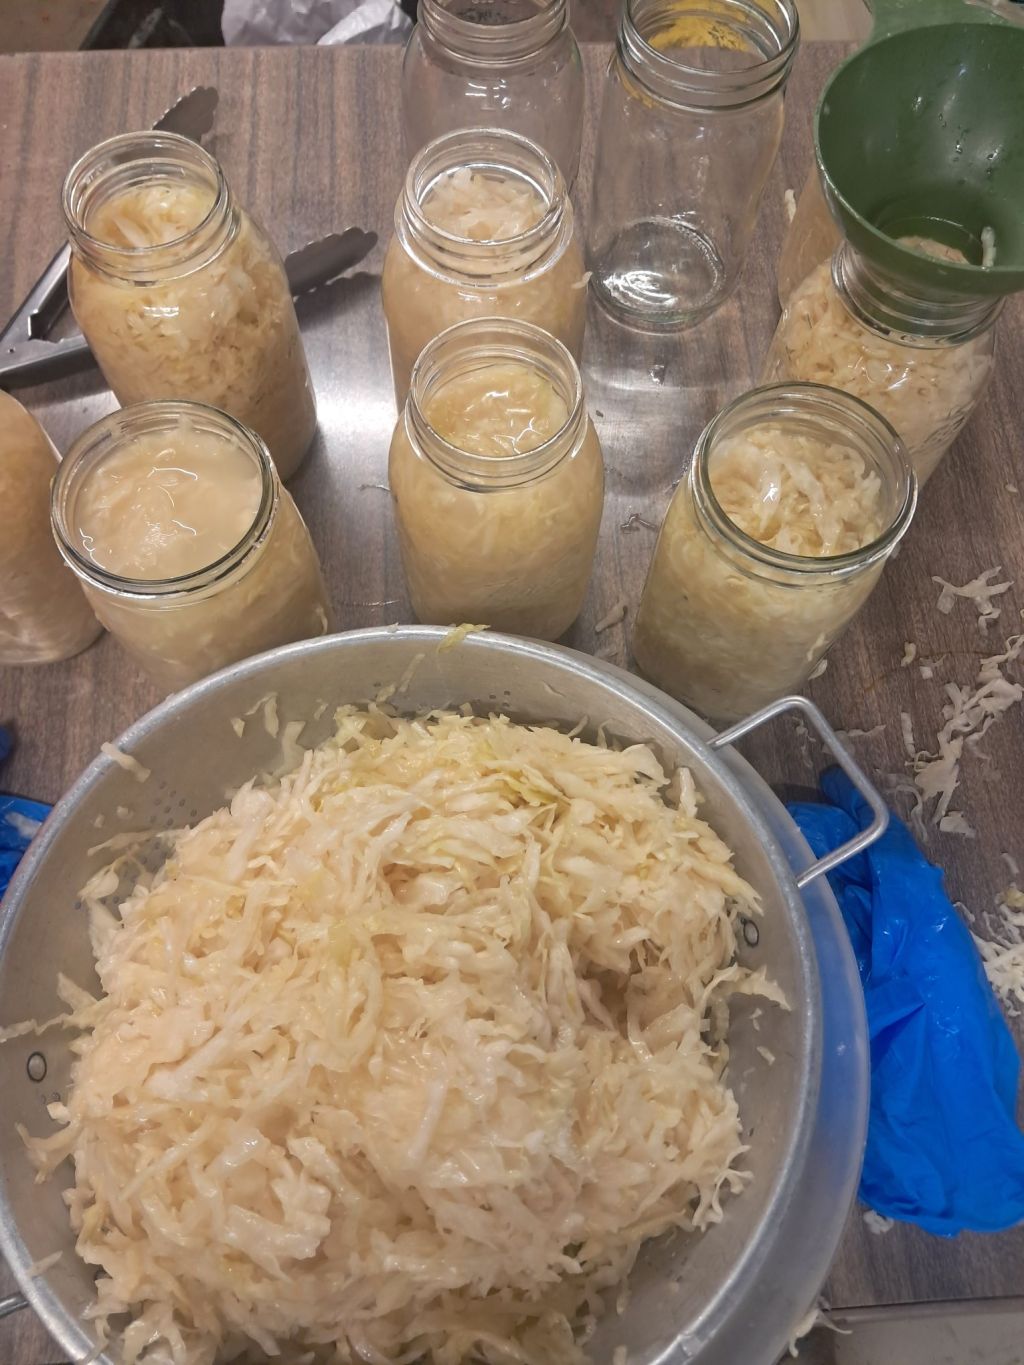
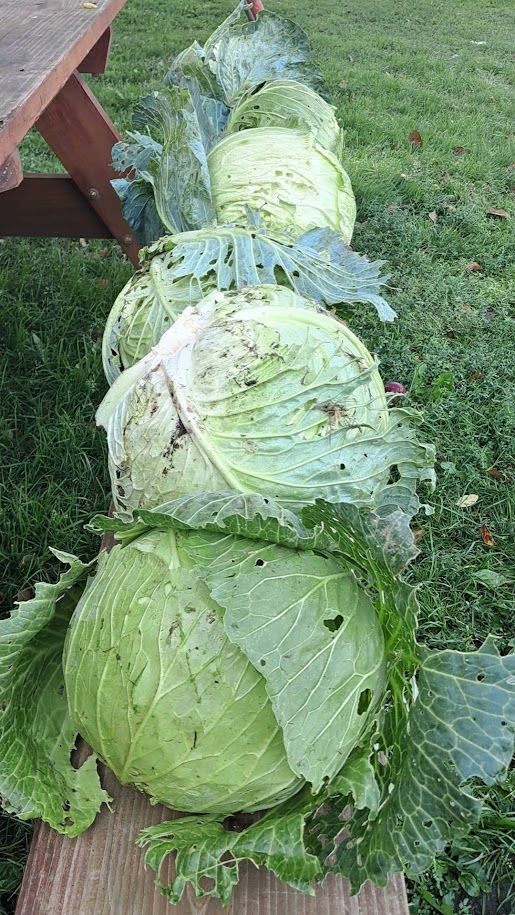
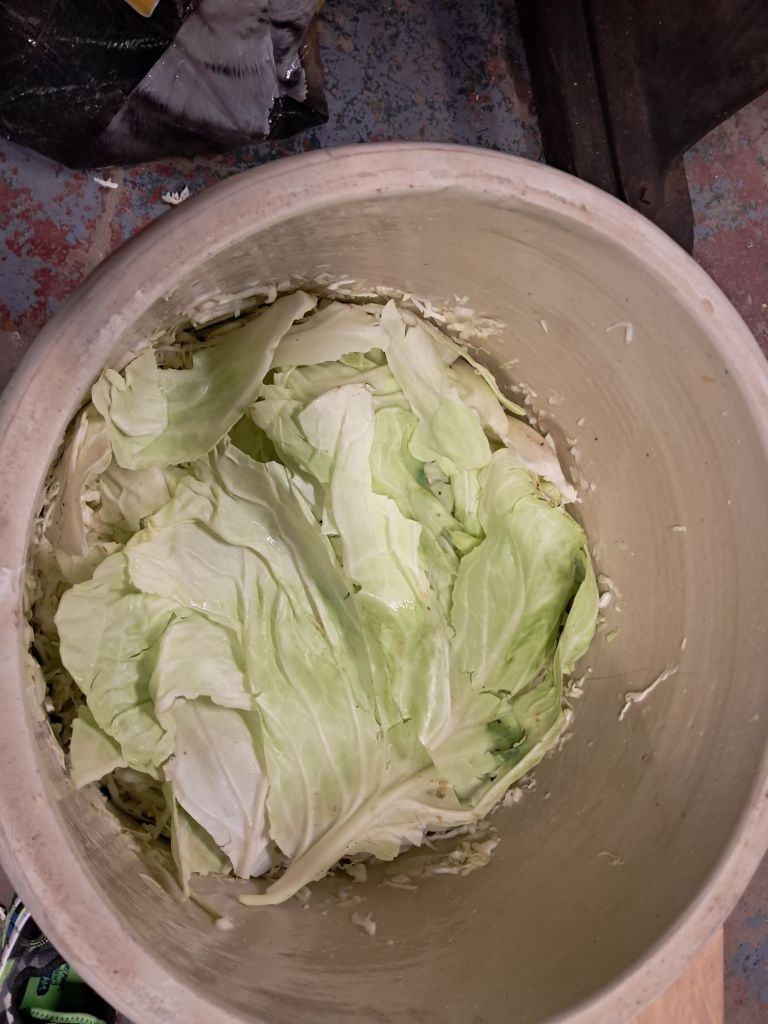
Last week, we started this Homemade Reuben Quest with garden-grown sauerkraut. This week, it’s all about the loaf that holds it all together—rye bread.
I’ll be honest: rye baking isn’t my strong suit. I’ve made plenty of bread over the years, but rye feels like a different animal. It’s sticky, heavy, and doesn’t spring up quite like a soft wheat loaf. Still, homesteading is about learning as you go, so I decided to give it another honest try.
The Recipe
Here’s what went into my loaf:
- 1½ cups warm water
- 2 tablespoons honey
- 2 teaspoons active dry yeast (affiliate link)
- 2¾ cups bread flour (affiliate link)
- 1½ cups rye flour (affiliate link)
- 1 tablespoon vegetable oil (I used olive oil instead)
- 1 tablespoon caraway seeds (I didn’t have any on hand, but they really do make a difference.)
- 1¾ teaspoons salt
The Process
I started by mixing the warm water, honey, and yeast, letting it proof until bubbly and alive. Then in went the flours, olive oil, and salt—all combined using the stand mixer’s dough hook.
The dough was wetter than what I’m used to, almost too soft to handle, but I resisted the urge to fix it. Bread teaches patience if you let it. I covered the bowl, set it aside, and gave the yeast time to do its work.
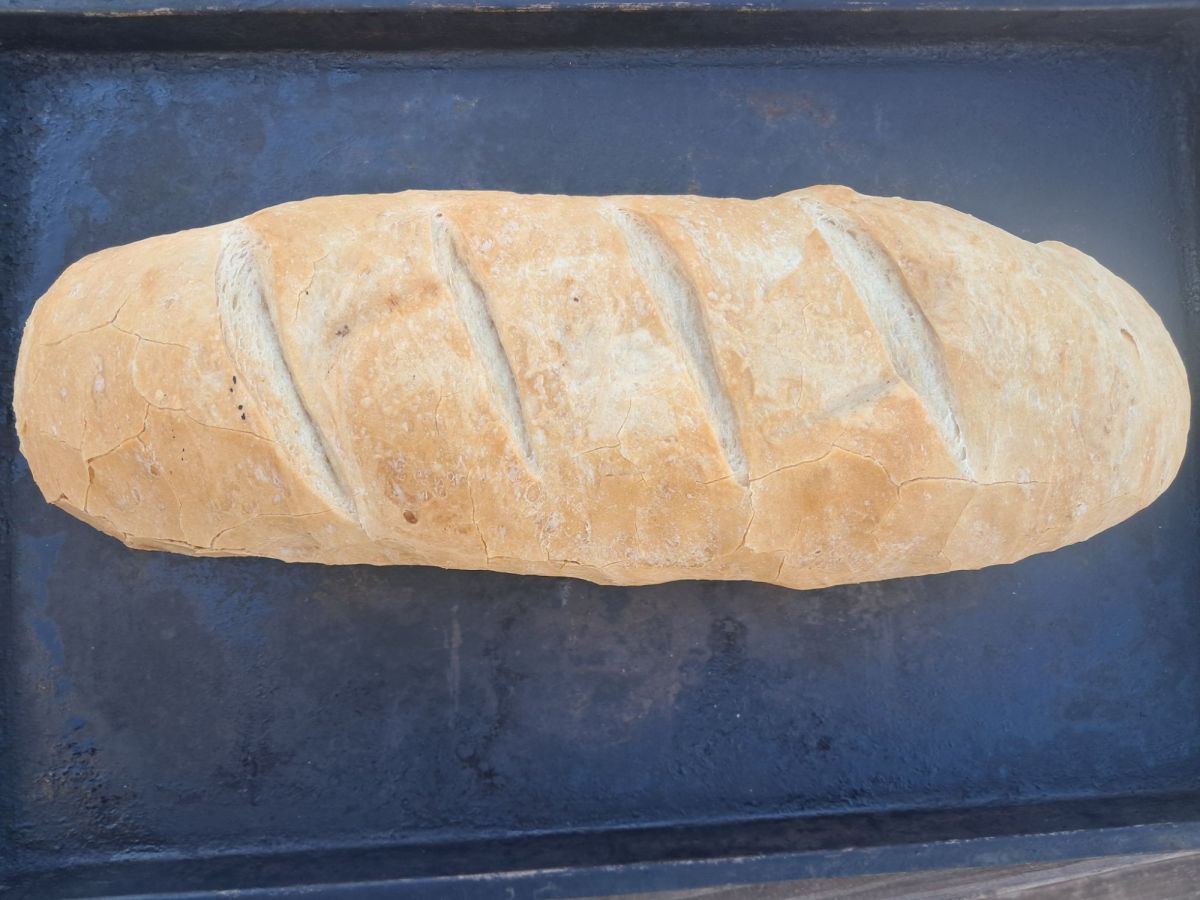
Once the dough had doubled, I turned it out onto the counter, flattened it into a rectangle, and rolled it up like a cigar, pinching the ends to seal. For the second rise, I nestled the loaf into a bread pan (affiliate link) and set the pan inside a larger roasting pan (affiliate link)—a quick Dutch oven substitute that traps steam and builds a crisp crust.
The bread baked at 425°F (220°C) for 20 minutes covered, then 10 minutes uncovered to finish.
The Results
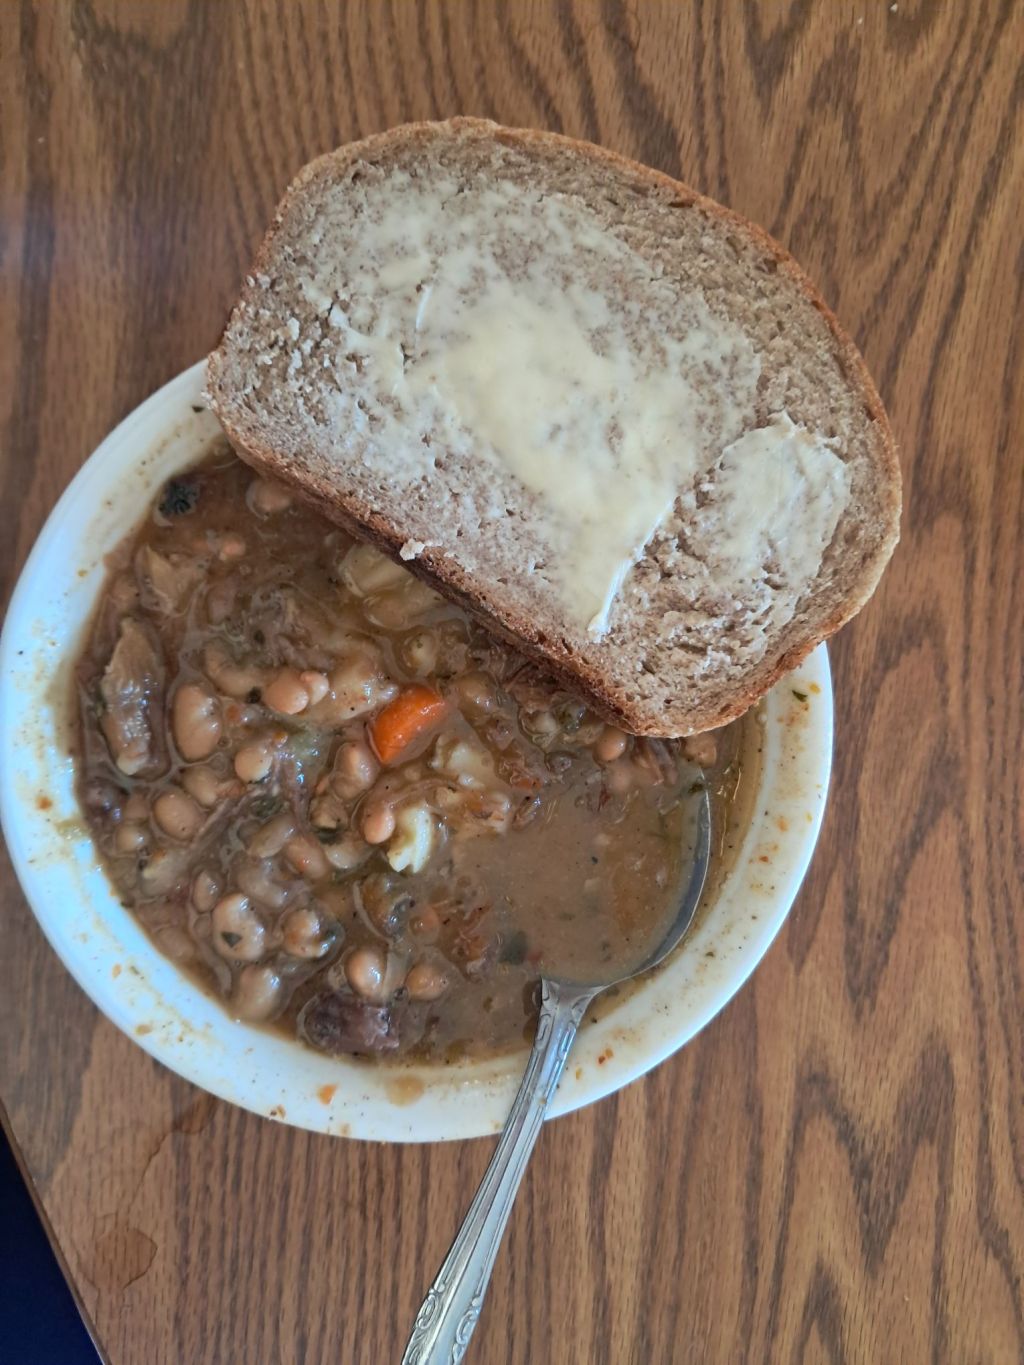
The finished loaf came out a bit flatter than my usual bakes—rye just doesn’t have the lift of wheat—but the flavor made up for it. Deep and hearty, with a touch of tang and sweetness from the honey. The crust was firm but not tough, and the scent when I sliced into it… earthy, warm, and comforting.
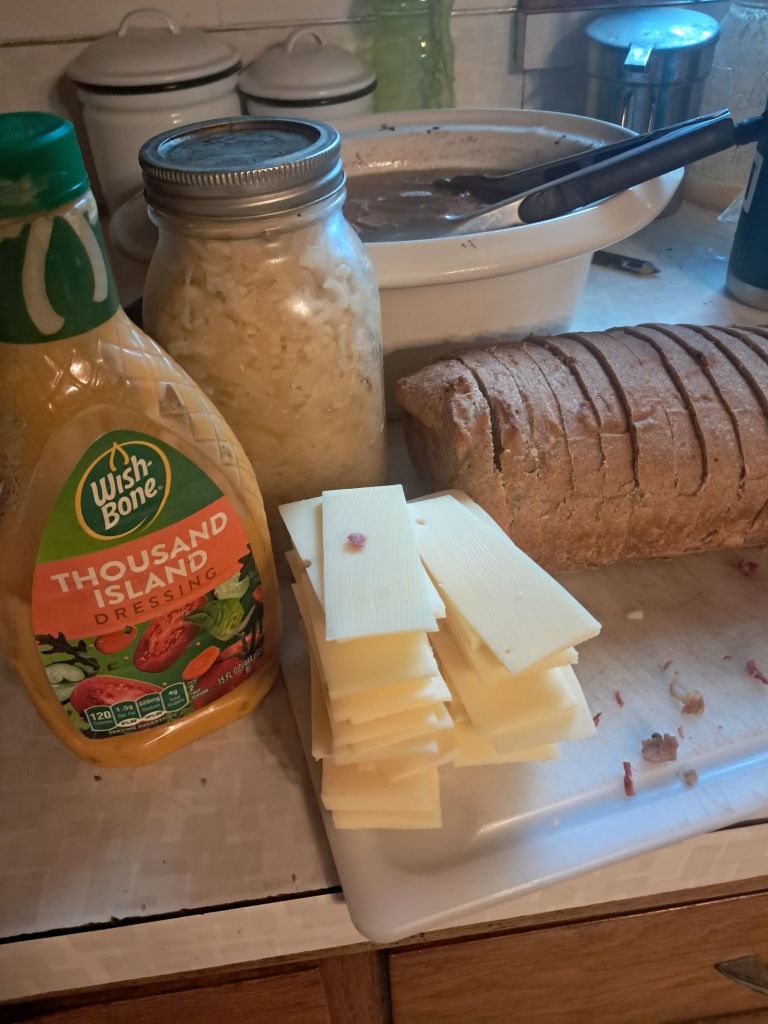

Even without the caraway seeds, it paired beautifully with my homemade sauerkraut and corned beef (coming next week!). The truth is, sometimes the less-than-perfect loaves are the ones that teach us most.
Homesteading has a way of humbling you in all the best ways—it’s not about reaching perfection but trusting the process, one loaf at a time.
Have you ever baked rye bread before? Did you use caraway seeds, or leave them out like I did? I’d love to hear your favorite blends, flours, or fermentation tricks in the comments.
🥖 If you enjoyed this post, please take a moment to like, share, or subscribe!
Every share helps our little homestead community grow. Subscribe to get next week’s post in your inbox—Part 3: home‑cured corned beef—and finish the ultimate homemade Reuben!
Related Posts
My Top 5 Essential Grocery Staples for Homesteading and Scratch Cooking
Discover the five grocery staples that power my homestead kitchen — from flour and coconut oil to yeast and bouillon. Learn how old-fashioned ingredients build modern self-reliance, flavor, and family connection.
Keep reading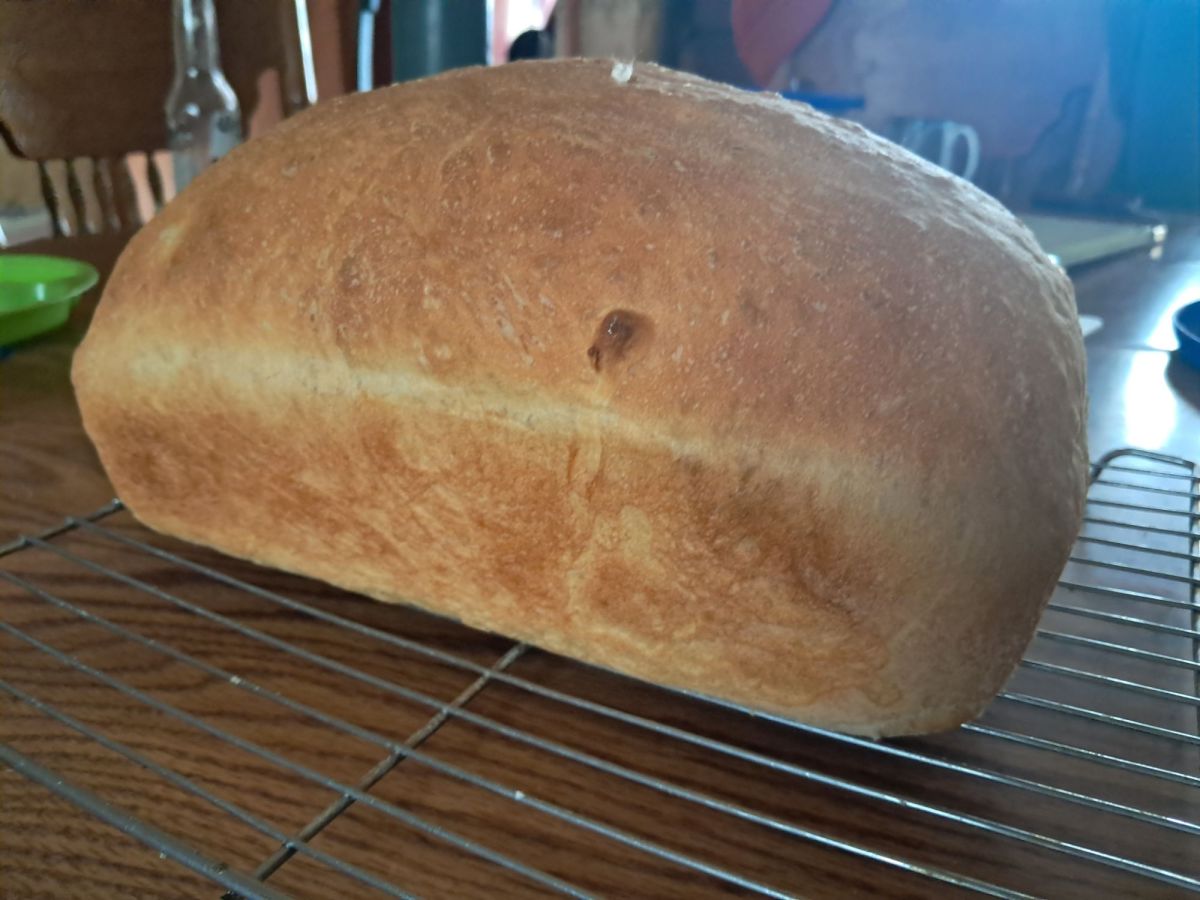
Sourdough Bread
To me, sourdough is both fascinating and frustrating. How can something based only on simple pantry staples: flour, water, and salt, result in such a delicious cornerstone food of society? Once you attempt your first few loaves, you begin to understand. There’s a certain alchemy in the starter, the captured yeast on which the success…
Keep reading
What I’d Uninvent: Addictive Convenience Foods Working Moms Hate
Homesteading mom hates addictive ultra-processed foods. Morning ad triggered this working mom’s real food revolution—Pyrex containers + chef’s knife we actually use.
Keep reading