Tag: from scratch cooking

  • Amish Bakery Visit for Bulk Groceries: A Homesteading Family Tradition

    Amish Bakery Visit for Bulk Groceries: A Homesteading Family Tradition

    About every two months, I make the hour-long trip to the nearest Amish settlement to stock up on bulk groceries. It’s a steady rhythm in our homesteading life—bringing home 50-pound bags of bread flour, dried vegetables, bulk pasta, and active dry yeast that stock our pantry and turn into loaves of bread, tortillas, and buns in the weeks that follow.

    But if you ask my kids, the highlight of every trip is the same: the Amish bakery.

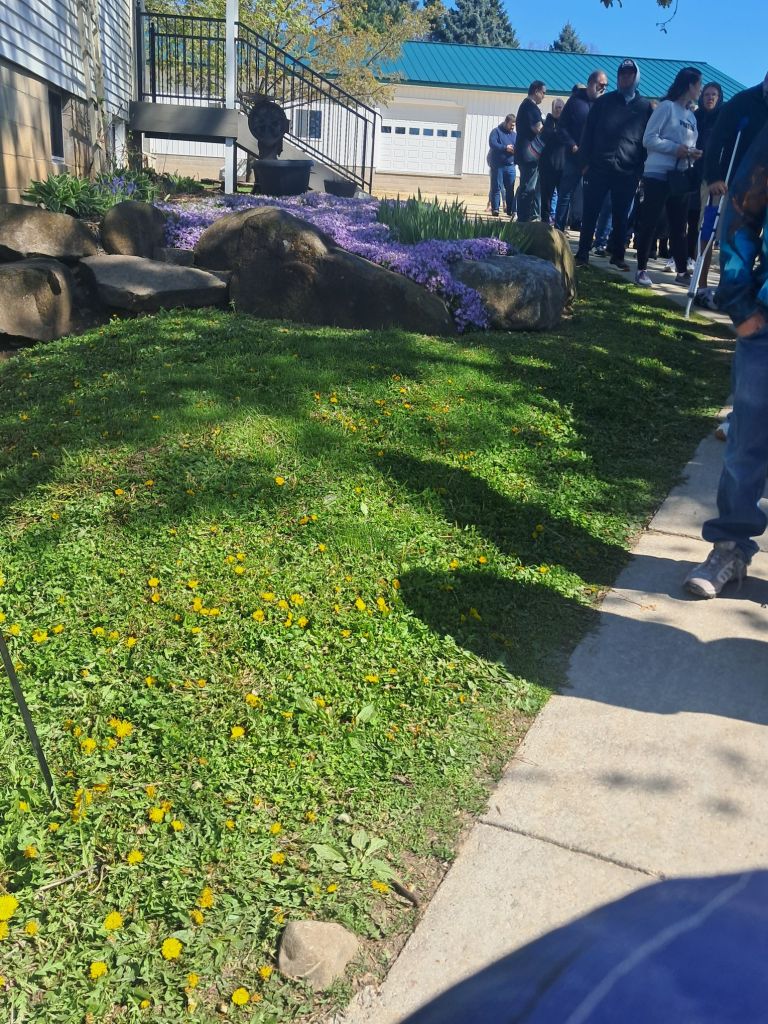
    On this particular Saturday, it seemed like everyone else had the same idea. The parking lot was full, and the line stretched halfway across the gravel lot. For a moment, I considered turning around—but one look at my 6-year-old son and 2-year-old daughter made it clear we were staying.

    So, we settled in.

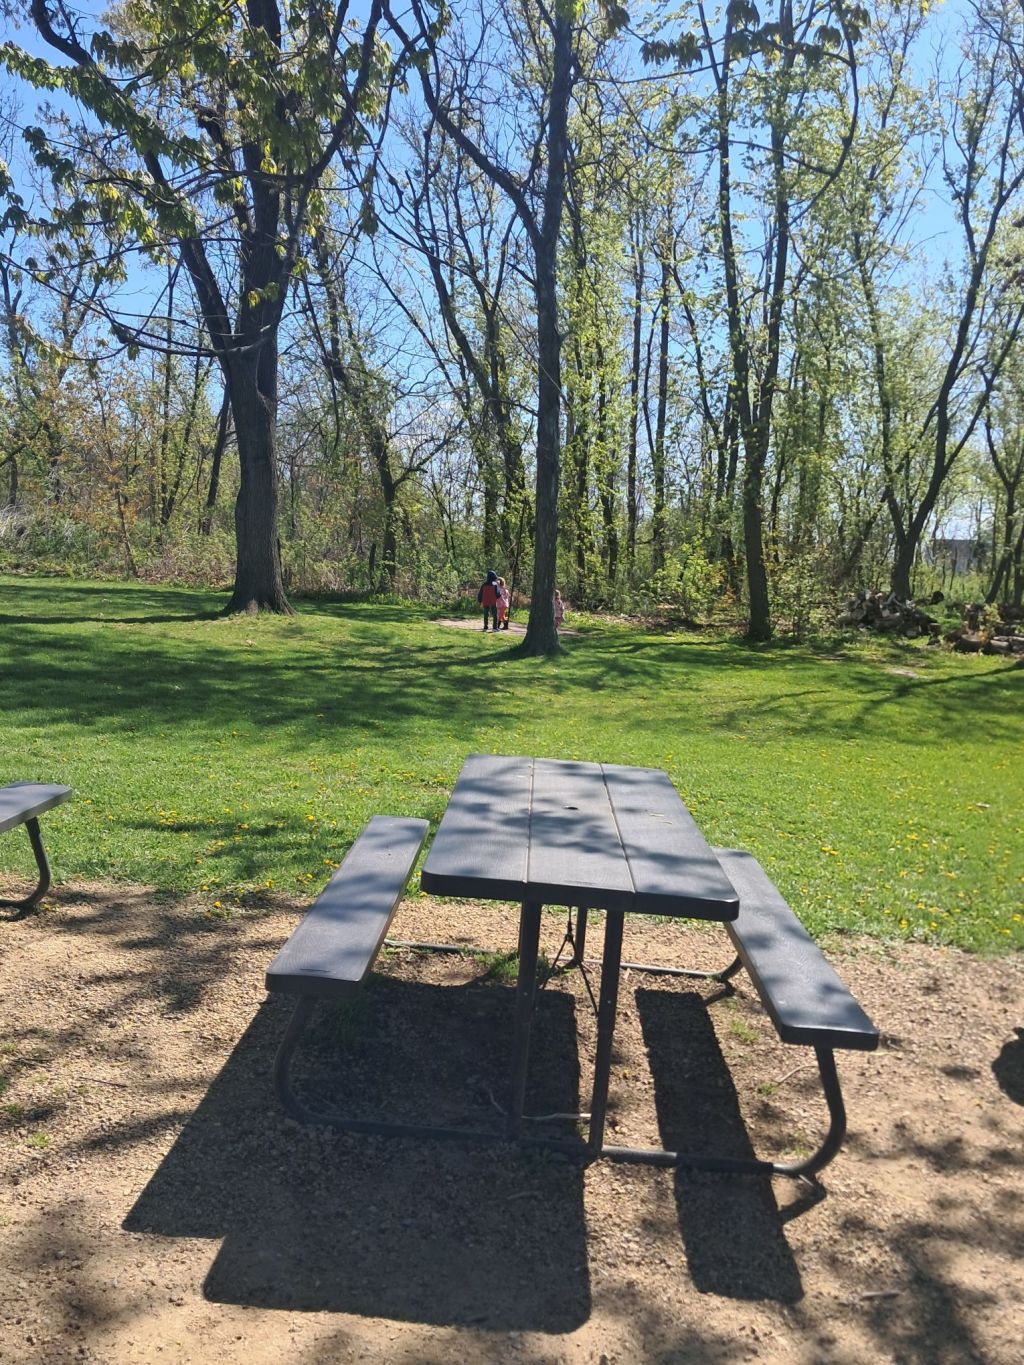
    There was a chill in the wind, but standing in the sun made it feel like a perfect spring day. Nearby, a little Amish boy—maybe three—chased a chicken across the yard, getting just close enough each time to keep trying.

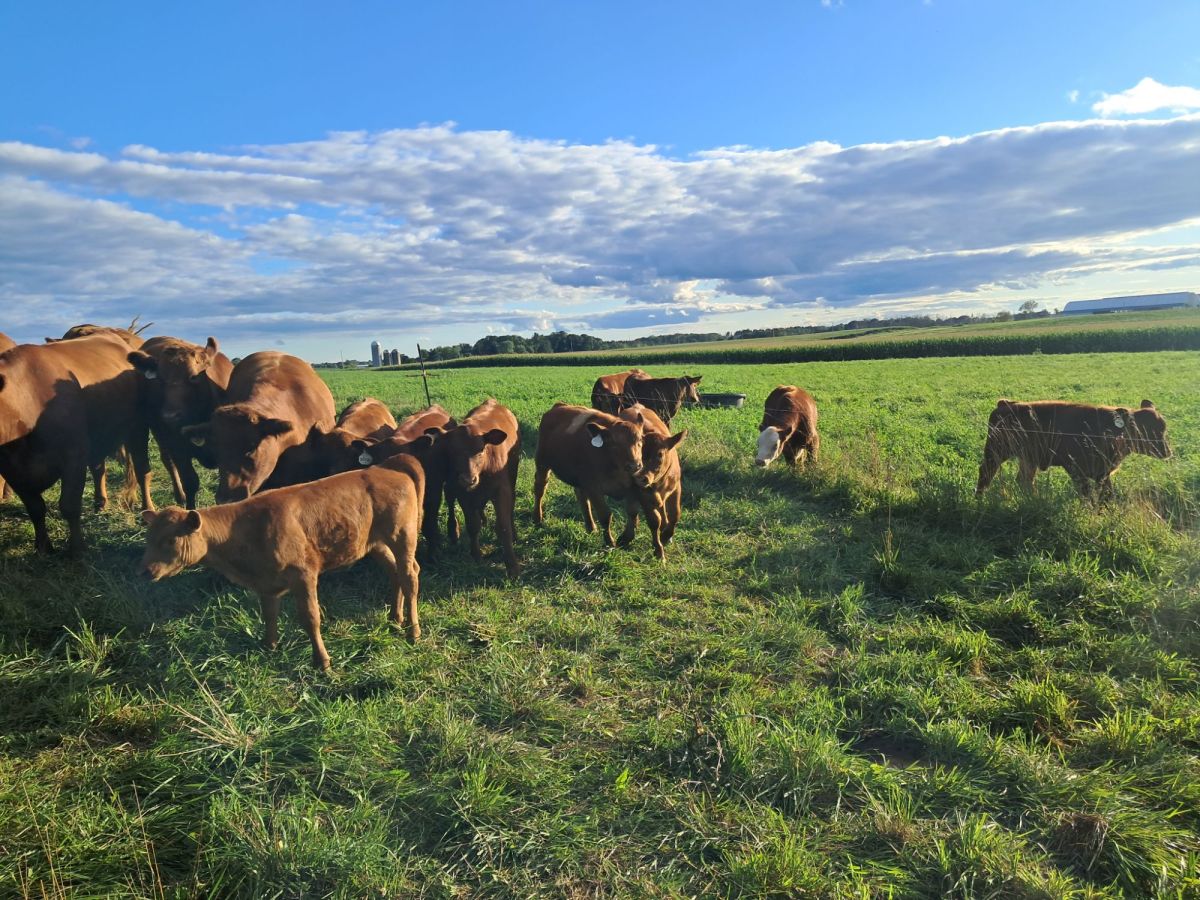
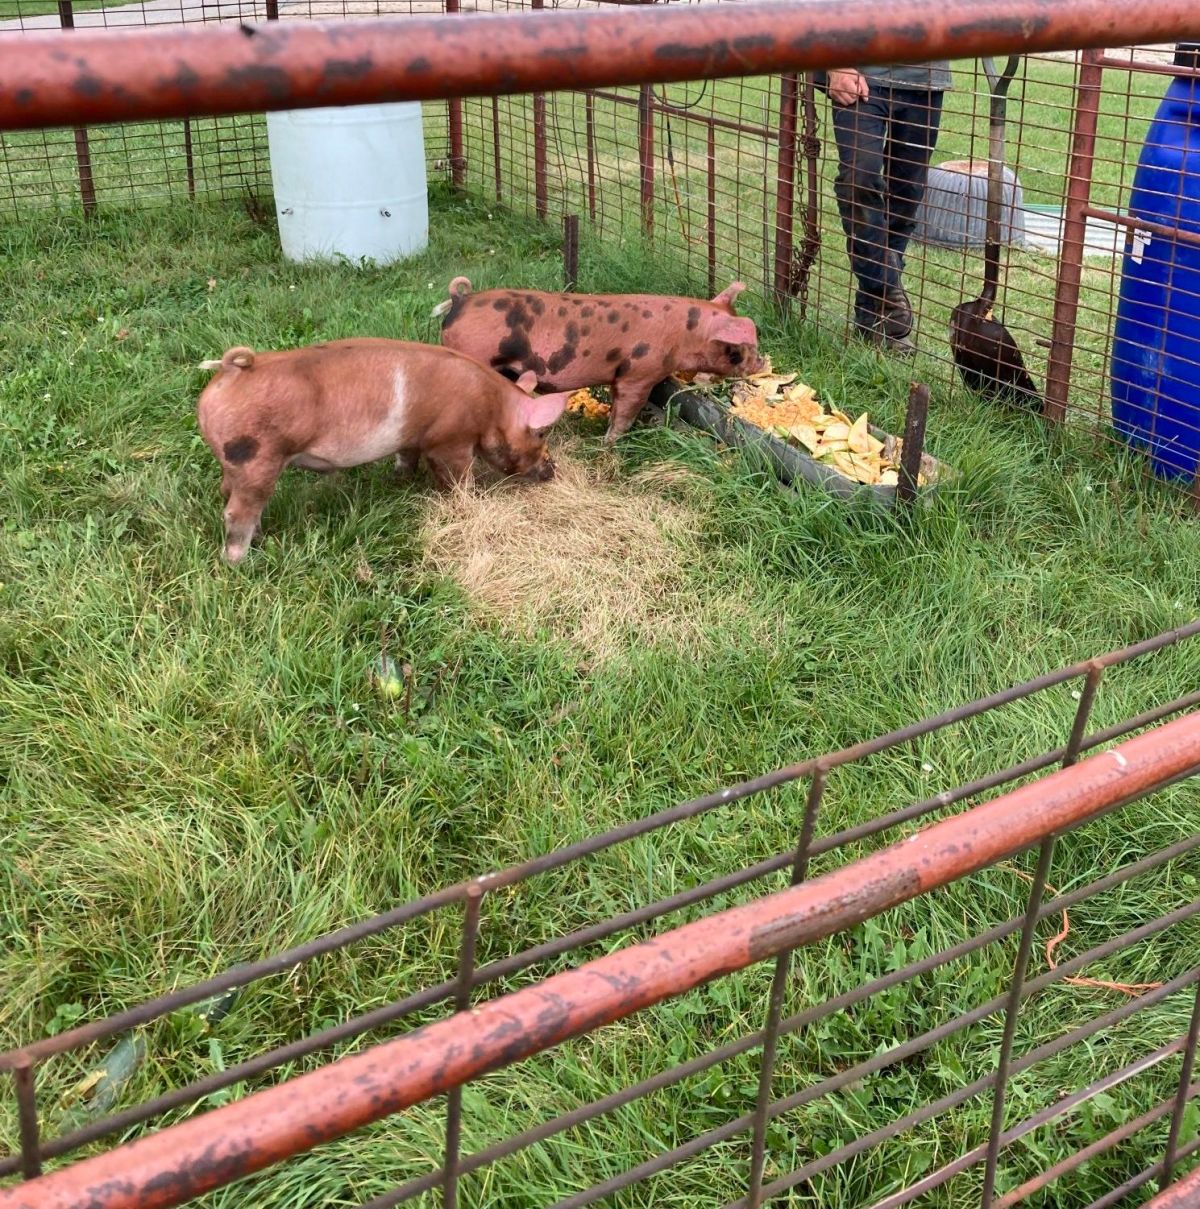
    We started with a round of “I Spy,” which didn’t last long. Soon, we were watching horses in the pasture, sheep grazing in the distance, and pigeons circling overhead—much to my daughter’s delight, who confidently called them all “ducks.”

    As the line slowly moved, the wait began to shift. What felt long at first softened into something slower and more enjoyable. People started talking. A couple behind us—one from Sun Prairie, another from Watertown—struck up an easy conversation about travel, baking, and everyday life.

    The line as I got closer to the entrance. The smell of freshly baked bread and pastries was intoxicating.

    Meanwhile, my kids wandered off and found a little girl to play with, disappearing into their own world for nearly twenty minutes.

    My kids found a little girl to play with while I waited in line.

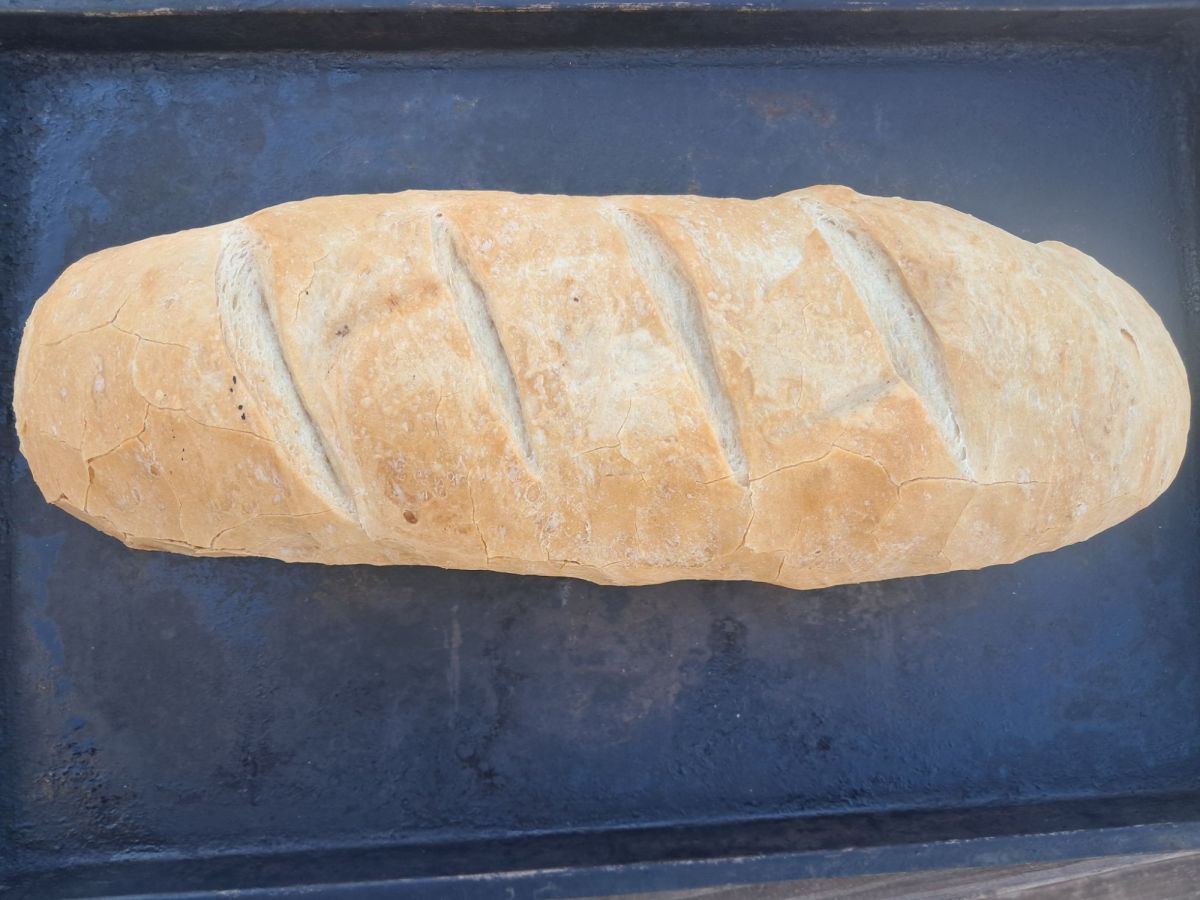
    By the time we reached the door, the smell of the Amish bakery had already found us—warm bread, sweet glaze, and something deeply comforting. Inside, shelves were lined with cakes, pies, and fresh-baked goods, but there was no question what we came for.

    We walked out with warm donuts in hand—chocolate for my daughter and me, glazed for my son—and barely said a word as we ate them back at the car.

    Somehow, the hour-long wait didn’t feel long at all.

    Trips like this are never just about bulk groceries or even the Amish bakery itself. They’re about filling a pantry that feeds our family, giving our kids space to grow and learn patience, and finding small moments of connection with people we might not otherwise meet.

    It’s growing food, raising kids, and building community—sometimes in the most unexpected places.

    And yes… the donuts help, too.


    Have you ever stuck out a long wait and realized it was actually the best part of the day?


    If you’re trying to slow down, raise your kids a little differently, or build a more intentional life—like and share this with someone on that path too.

    Subscribe for weekly homesteading tips:

    Read Next: How Curiosity Keeps Me From Feeling Bored (Even on Long Car Rides With Kids)

  • From Brine to Sandwich: Homemade Corned Beef and Reubens from Scratch

    From Brine to Sandwich: Homemade Corned Beef and Reubens from Scratch

    Disclosure: This post contains affiliate links. As an Amazon Associate, I earn from qualifying purchases. Thanks for supporting Practical Homesteading!


    This post wraps up my Homemade Reuben Quest—a three-part winter food adventure that’s taken me from fermenting garden cabbage (Part 1: Sauerkraut) to baking hearty rye bread (Part 2). Now, we’re bringing it all together with the grand finale: homemade corned beef and Reubens from scratch.


    No brisket? Still making corned beef!

    Winter is my favorite time for kitchen experiments. With the garden resting and more time indoors, slow food projects become a kind of therapy. For this one, I started with a 4‑lb sirloin tip roast from the freezer (thank you, Gruenberger Farms). My husband cleared fridge space, my son ground the pickling spices in our old mortar and pestle, and before I knew it, we had a full-family project underway.


    The Brine Recipe

    Here’s the exact brine I used (scaled for a 4‑lb roast):

    Bring the water to a simmer, stirring until the salt and sugar dissolve. Let it cool completely before adding the ground spices. Submerge the roast, topping off with water until fully covered.

    Refrigerate for 5–7 days, flipping the meat every 12 hours for the first two days. Then just let it rest quietly, soaking up flavor while you get excited for what’s next. Meanwhile, my homemade sauerkraut (three months in the making) waited patiently in its jar, ready for sandwich day.


    Slow‑Cooking Day

    After a week in the brine, I added 1 T of pickling spice and slow‑cooked the roast in my trusty crock pot (affiliate link) for about 6 hours on low, then—out of mild panic—bumped it to high for one more hour. The result? Perfectly pink, sliceable corned beef that made the whole kitchen smell incredible.

    A quick note on cuts: sirloin tip roasts are leaner than brisket, so they can dry out a little faster. Monitor the internal temperature and aim for 195–205°F—that’s when it turns fork‑tender and flakes apart beautifully.

    Tip: Slice thin and against the grain for tender, restaurant‑style results.


    Reuben Sandwich Night

    At last, everything came together. I baked a dozen Reubens for family and friends: slices of my homemade rye bread, topped with my fermented sauerkraut, this freshly cured corned beef, Swiss cheese, and a generous spread of Thousand Island dressing.

    They baked on sheet trays until golden, melty, and bubbling—comfort food perfection. Out of twelve sandwiches, only two made it to lunch the next day, and honestly, that’s the best kind of leftover.


    The Verdict

    Corned beef from a sirloin tip roast? Total success.

    It wasn’t brisket, but it was tender, flavorful, and easy enough to manage during a quiet January week. I’ll try a traditional brisket next time, but this experiment proved what homesteading always reminds me—resourcefulness beats perfection every time.

    From garden cabbage to bubbling sauerkraut, from sticky rye dough to crusty loaves, and now this hearty corned beef… this series has been such a satisfying food journey. Three homemade staples, one comforting sandwich, and plenty of lessons along the way. Have you ever tried curing your own meat or building a meal completely from scratch? I’d love to hear your most adventurous kitchen project in the comments below!


    Have you ever cured meat or tackled a big “from scratch” project? I’d love to hear what’s cooking in your winter kitchen!

    🥪 And if you’ve enjoyed my Homemade Reuben Quest, please like, share, and subscribe!

    Subscribers get first notice when the next homestead food series begins—plus practical tips for cooking, gardening, and raising kids on the homestead.


    Thanks for following along from sauerkraut to rye bread to corned beef—here’s to the next kitchen adventure!

    Related Posts

  • How to Make Homemade Rye Bread (Perfect for Reubens & Soups!)

    How to Make Homemade Rye Bread (Perfect for Reubens & Soups!)

    Disclosure: This post contains affiliate links. As an Amazon Associate, I earn from qualifying purchases. Thanks for supporting Practical Homesteading!


    Last week, we started this Homemade Reuben Quest with garden-grown sauerkraut. This week, it’s all about the loaf that holds it all together—rye bread.

    I’ll be honest: rye baking isn’t my strong suit. I’ve made plenty of bread over the years, but rye feels like a different animal. It’s sticky, heavy, and doesn’t spring up quite like a soft wheat loaf. Still, homesteading is about learning as you go, so I decided to give it another honest try.


    The Recipe

    Here’s what went into my loaf:

    • 1½ cups warm water
    • 2 tablespoons honey
    • 2 teaspoons active dry yeast (affiliate link)
    • 2¾ cups bread flour (affiliate link)
    • 1½ cups rye flour (affiliate link)
    • 1 tablespoon vegetable oil (I used olive oil instead)
    • 1 tablespoon caraway seeds (I didn’t have any on hand, but they really do make a difference.)
    • 1¾ teaspoons salt

    The Process

    I started by mixing the warm water, honey, and yeast, letting it proof until bubbly and alive. Then in went the flours, olive oil, and salt—all combined using the stand mixer’s dough hook.

    The dough was wetter than what I’m used to, almost too soft to handle, but I resisted the urge to fix it. Bread teaches patience if you let it. I covered the bowl, set it aside, and gave the yeast time to do its work.

    Once the dough had doubled, I turned it out onto the counter, flattened it into a rectangle, and rolled it up like a cigar, pinching the ends to seal. For the second rise, I nestled the loaf into a bread pan (affiliate link) and set the pan inside a larger roasting pan (affiliate link)—a quick Dutch oven substitute that traps steam and builds a crisp crust.

    The bread baked at 425°F (220°C) for 20 minutes covered, then 10 minutes uncovered to finish.


    The Results

    The finished loaf came out a bit flatter than my usual bakes—rye just doesn’t have the lift of wheat—but the flavor made up for it. Deep and hearty, with a touch of tang and sweetness from the honey. The crust was firm but not tough, and the scent when I sliced into it… earthy, warm, and comforting.

    Even without the caraway seeds, it paired beautifully with my homemade sauerkraut and corned beef (coming next week!). The truth is, sometimes the less-than-perfect loaves are the ones that teach us most.

    Homesteading has a way of humbling you in all the best ways—it’s not about reaching perfection but trusting the process, one loaf at a time.


    Have you ever baked rye bread before? Did you use caraway seeds, or leave them out like I did? I’d love to hear your favorite blends, flours, or fermentation tricks in the comments.

    🥖 If you enjoyed this post, please take a moment to like, share, or subscribe!
    Every share helps our little homestead community grow. Subscribe to get next week’s post in your inbox—Part 3: home‑cured corned beef—and finish the ultimate homemade Reuben!

    Related Posts

    Sourdough Bread

    To me, sourdough is both fascinating and frustrating.  How can something based only on simple pantry staples:  flour, water, and salt, result in such a delicious cornerstone food of society?  Once you attempt your first few loaves, you begin to understand.  There’s a certain alchemy in the starter, the captured yeast on which the success…

    Keep reading
  • How to Make Homemade Sauerkraut (Perfect for Reubens & Pork Roasts!)

    How to Make Homemade Sauerkraut (Perfect for Reubens & Pork Roasts!)

    This winter, I’m on a delicious quest to make the ultimate homemade Reuben sandwich—from scratch.

    It’s a three-part series:

    1. Sauerkraut
    2. Rye bread
    3. Home-cured corned beef

    Every piece is made right here at home. Because when you love good food and the process that brings it to the plate, every step matters.

    Today, we start where every great Reuben does—with sauerkraut.


    Disclosure: This post contains affiliate links. As an Amazon Associate, I earn from qualifying purchases. Thanks for supporting Practical Homesteading!


    From Garden to Crock

    Back in September, I harvested crisp green Megaton hybrid cabbages from the garden and tucked them away for something special.

    We stripped off the outer leaves, then cut the heads into manageable chunks with this knife (affiliate link) after using this honing steel (affiliate link) to sharpen the blade. My husband pulled out our meat slicer to shred the cabbage into fine ribbons—teamwork at its best!

    Next, we weighed the shredded cabbage on a kitchen scale, then calculated and measured out 2% canning salt (affiliate link) by weight. After mixing the cabbage and salt together, we packed it down firmly into our antique RedWing stoneware crock using a homemade stamper (basically a broom handle fitted onto a wooden block—but it works perfectly for this purpose).


    The Secret to a Clean Ferment

    Place cabbage leaves above the salt/cabbage mixture.
    A garbage bag filled with water helps to seal the fermenting sauerkraut from outside air.

    To finish, we laid a few whole cabbage leaves on top and placed a water-filled plastic garbage bag over everything. This simple trick does two things:

    • The weight keeps the cabbage fully submerged in brine.
    • The plastic molds to the sides of the crock, reducing airflow and spoilage.

    Then the real magic began—waiting. The crock sat in a cool, dark corner of the basement for about three and a half months. Time and microbes quietly transformed that fresh cabbage into something incredible.


    The Big Reveal

    That beautiful sauerkraut after 3.5 months of fermentation.

    When I finally opened the lid, I was greeted by the unmistakable scent of good fermentation—earthy, tangy, and fresh. The sauerkraut was crisp, slightly golden, and bursting with flavor.

    This batch is destined for homemade Reubens and maybe a pork roast or two. The wait? Absolutely worth it.


    Reflections from the Crock

    Homesteading has a way of teaching through food—patience, balance, and trust in nature’s quiet work. The same rhythms that shape a garden shape us, too.


    Have you ever made your own sauerkraut or fermented veggies?
    Homesteading is more fun when we learn together.

    Tell me what’s bubbling on your countertop—or what I should try fermenting next!

    💚 If you enjoyed this post, please take a moment to like, share, and subscribe!

    New readers help this little homestead grow—and sharing your own food projects inspires others, too.

    Subscribe to join me for the next part of this Reuben adventure: homemade rye bread!

    Related Posts