Disclosure: This post contains affiliate links. As an Amazon Associate, I earn from qualifying purchases. Thanks for supporting Practical Homesteading!
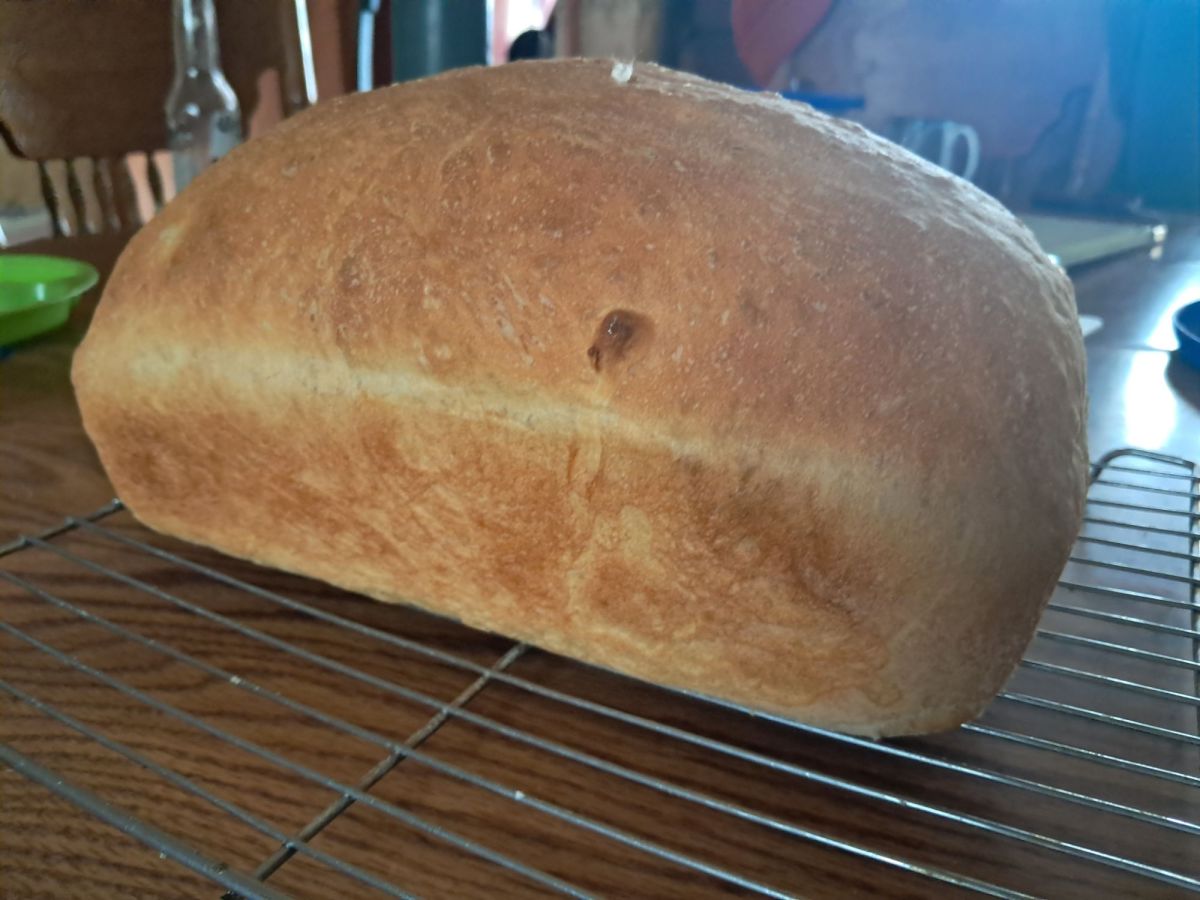
This post wraps up my Homemade Reuben Quest—a three-part winter food adventure that’s taken me from fermenting garden cabbage (Part 1: Sauerkraut) to baking hearty rye bread (Part 2). Now, we’re bringing it all together with the grand finale: homemade corned beef and Reubens from scratch.
No brisket? Still making corned beef!
Winter is my favorite time for kitchen experiments. With the garden resting and more time indoors, slow food projects become a kind of therapy. For this one, I started with a 4‑lb sirloin tip roast from the freezer (thank you, Gruenberger Farms). My husband cleared fridge space, my son ground the pickling spices in our old mortar and pestle, and before I knew it, we had a full-family project underway.
The Brine Recipe
Here’s the exact brine I used (scaled for a 4‑lb roast):
- 2 Tbsp pickling spices — ground(affiliate link)
- 1 Tbsp unground pickling spices
- 1½ cups kosher saltn(affiliate link)
- 5 tsp pink curing salt (affiliate link)
- ½ cup brown sugar
- 10 cups water
Bring the water to a simmer, stirring until the salt and sugar dissolve. Let it cool completely before adding the ground spices. Submerge the roast, topping off with water until fully covered.
Refrigerate for 5–7 days, flipping the meat every 12 hours for the first two days. Then just let it rest quietly, soaking up flavor while you get excited for what’s next. Meanwhile, my homemade sauerkraut (three months in the making) waited patiently in its jar, ready for sandwich day.
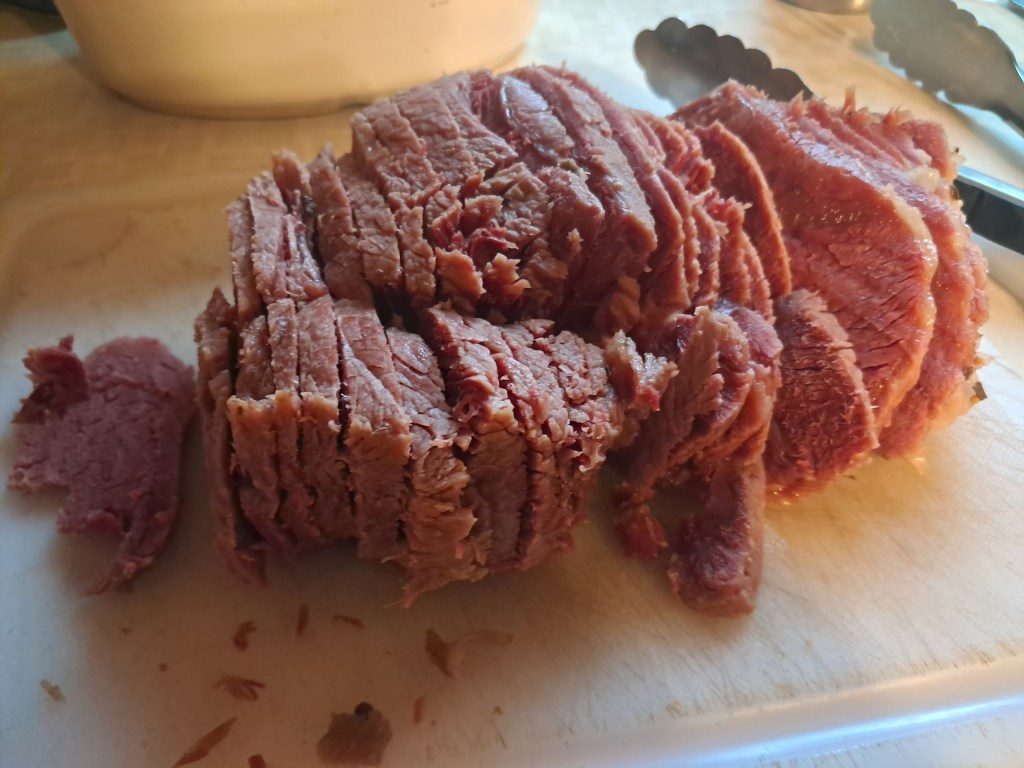
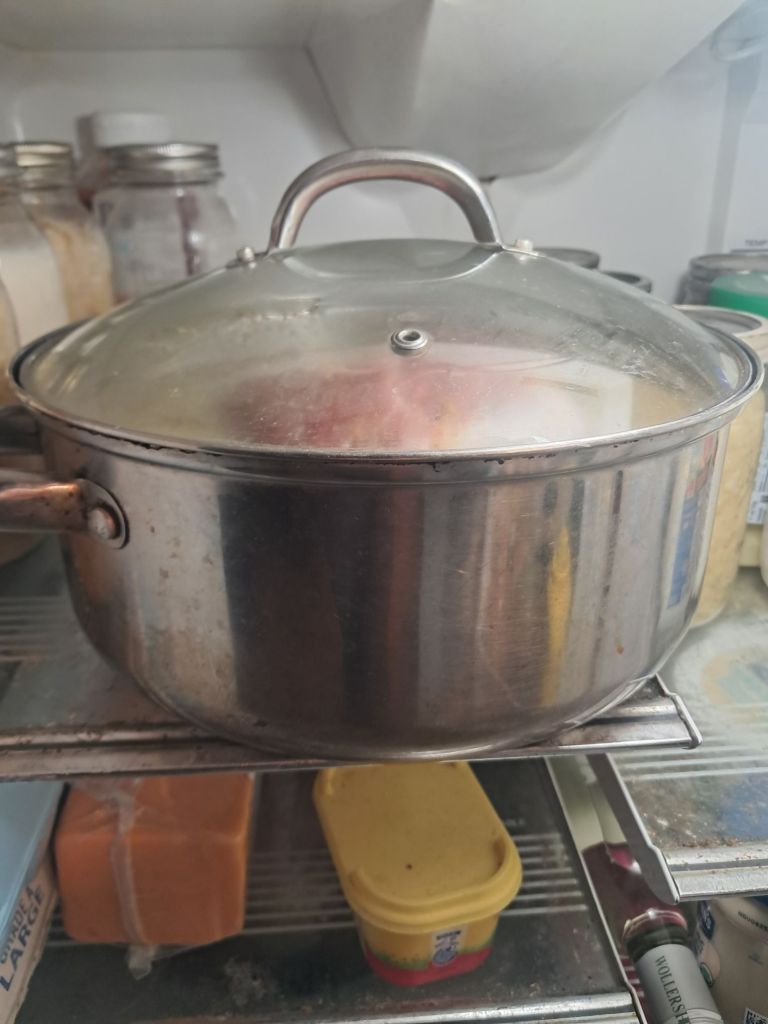
Slow‑Cooking Day
After a week in the brine, I added 1 T of pickling spice and slow‑cooked the roast in my trusty crock pot (affiliate link) for about 6 hours on low, then—out of mild panic—bumped it to high for one more hour. The result? Perfectly pink, sliceable corned beef that made the whole kitchen smell incredible.
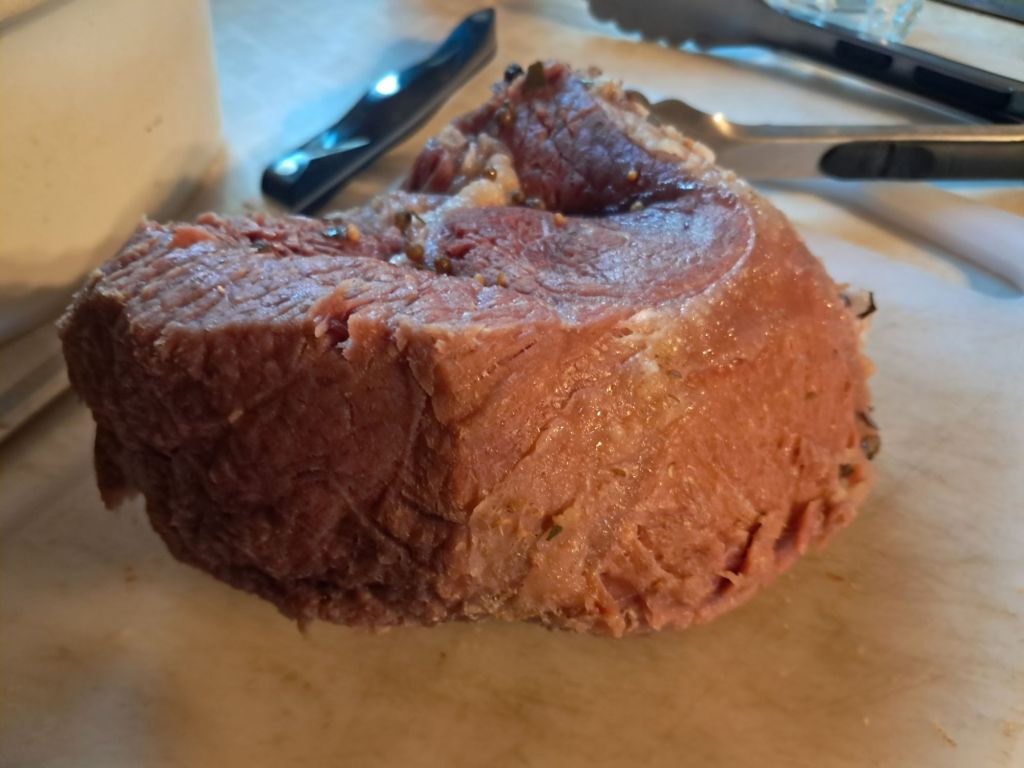
A quick note on cuts: sirloin tip roasts are leaner than brisket, so they can dry out a little faster. Monitor the internal temperature and aim for 195–205°F—that’s when it turns fork‑tender and flakes apart beautifully.
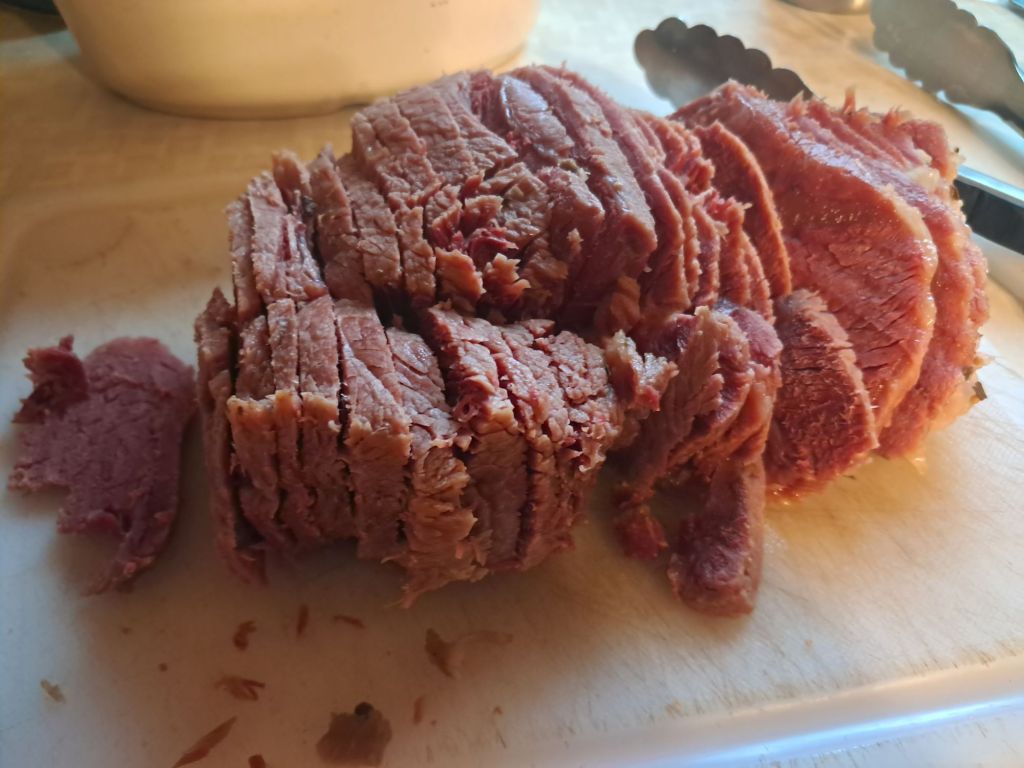
Tip: Slice thin and against the grain for tender, restaurant‑style results.
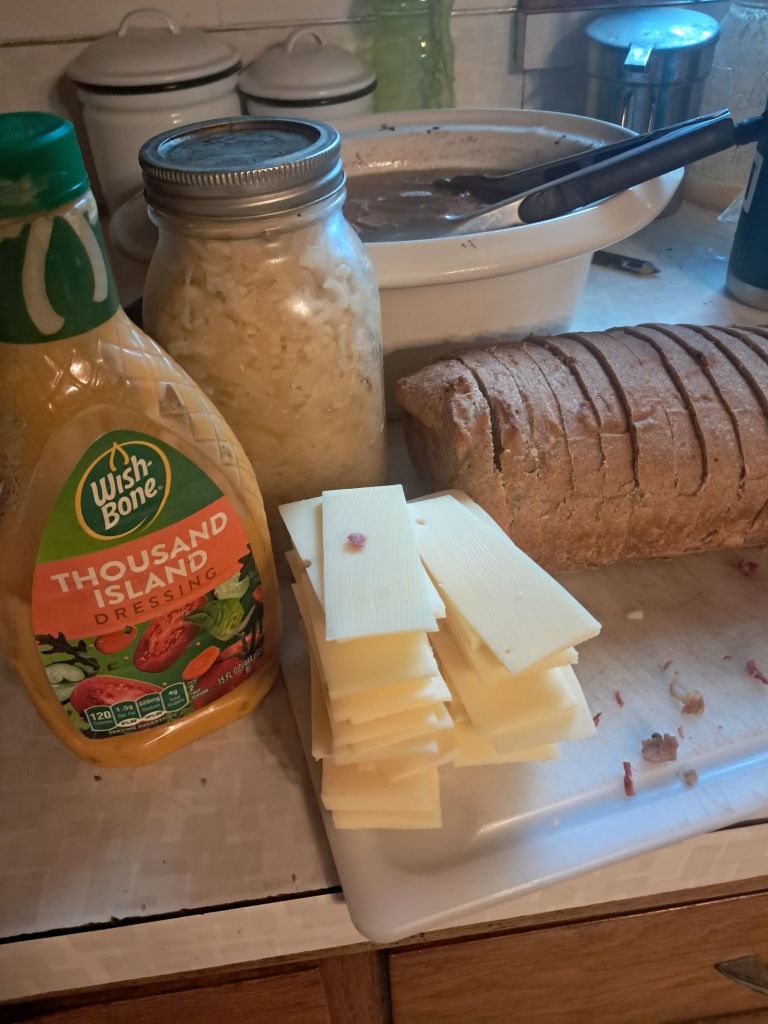
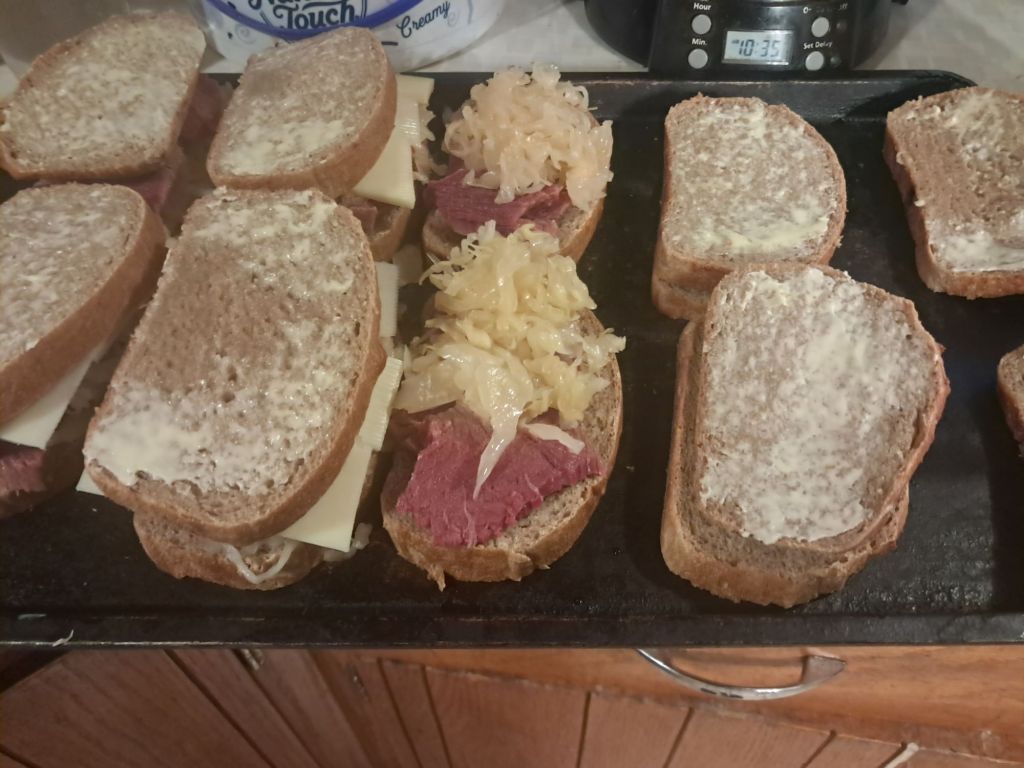
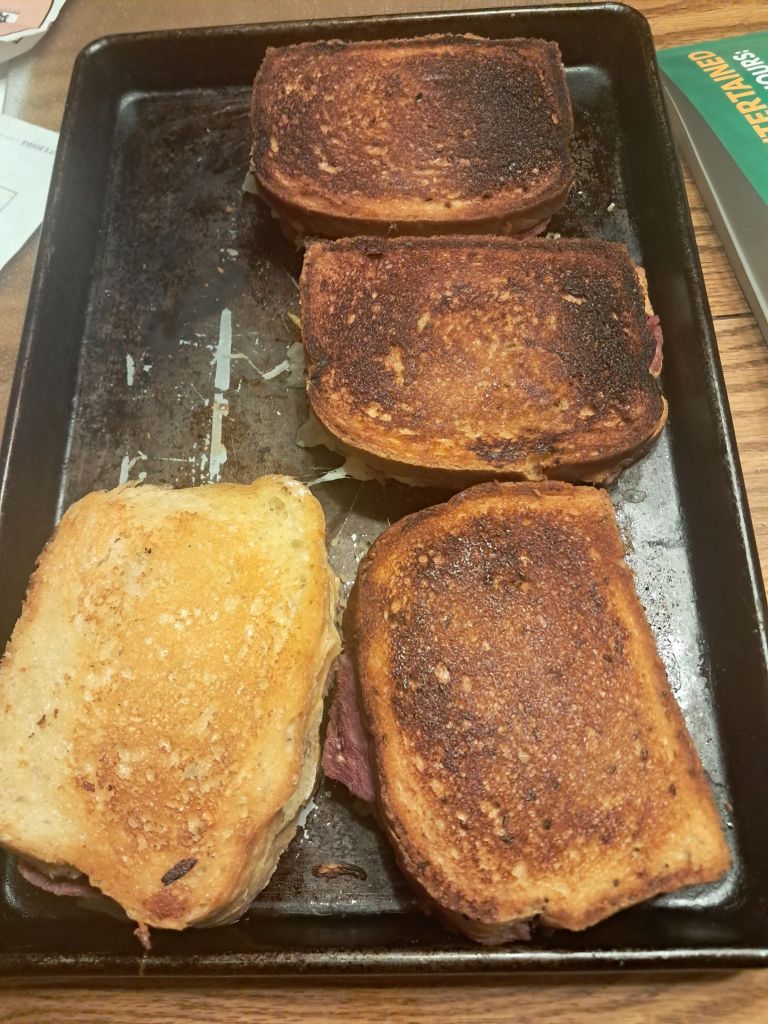
Reuben Sandwich Night
At last, everything came together. I baked a dozen Reubens for family and friends: slices of my homemade rye bread, topped with my fermented sauerkraut, this freshly cured corned beef, Swiss cheese, and a generous spread of Thousand Island dressing.
They baked on sheet trays until golden, melty, and bubbling—comfort food perfection. Out of twelve sandwiches, only two made it to lunch the next day, and honestly, that’s the best kind of leftover.
The Verdict
Corned beef from a sirloin tip roast? Total success.
It wasn’t brisket, but it was tender, flavorful, and easy enough to manage during a quiet January week. I’ll try a traditional brisket next time, but this experiment proved what homesteading always reminds me—resourcefulness beats perfection every time.
From garden cabbage to bubbling sauerkraut, from sticky rye dough to crusty loaves, and now this hearty corned beef… this series has been such a satisfying food journey. Three homemade staples, one comforting sandwich, and plenty of lessons along the way. Have you ever tried curing your own meat or building a meal completely from scratch? I’d love to hear your most adventurous kitchen project in the comments below!
Have you ever cured meat or tackled a big “from scratch” project? I’d love to hear what’s cooking in your winter kitchen!
🥪 And if you’ve enjoyed my Homemade Reuben Quest, please like, share, and subscribe!
Subscribers get first notice when the next homestead food series begins—plus practical tips for cooking, gardening, and raising kids on the homestead.
Thanks for following along from sauerkraut to rye bread to corned beef—here’s to the next kitchen adventure!
Related Posts

My Mission: Growing Food, Raising Kids, and Building Community — A Path Back to Connection
Discover why growing food, raising children, and building community are at the heart of my homesteading mission. Together, we can return to the roots of connection, resilience, and hope.
Keep reading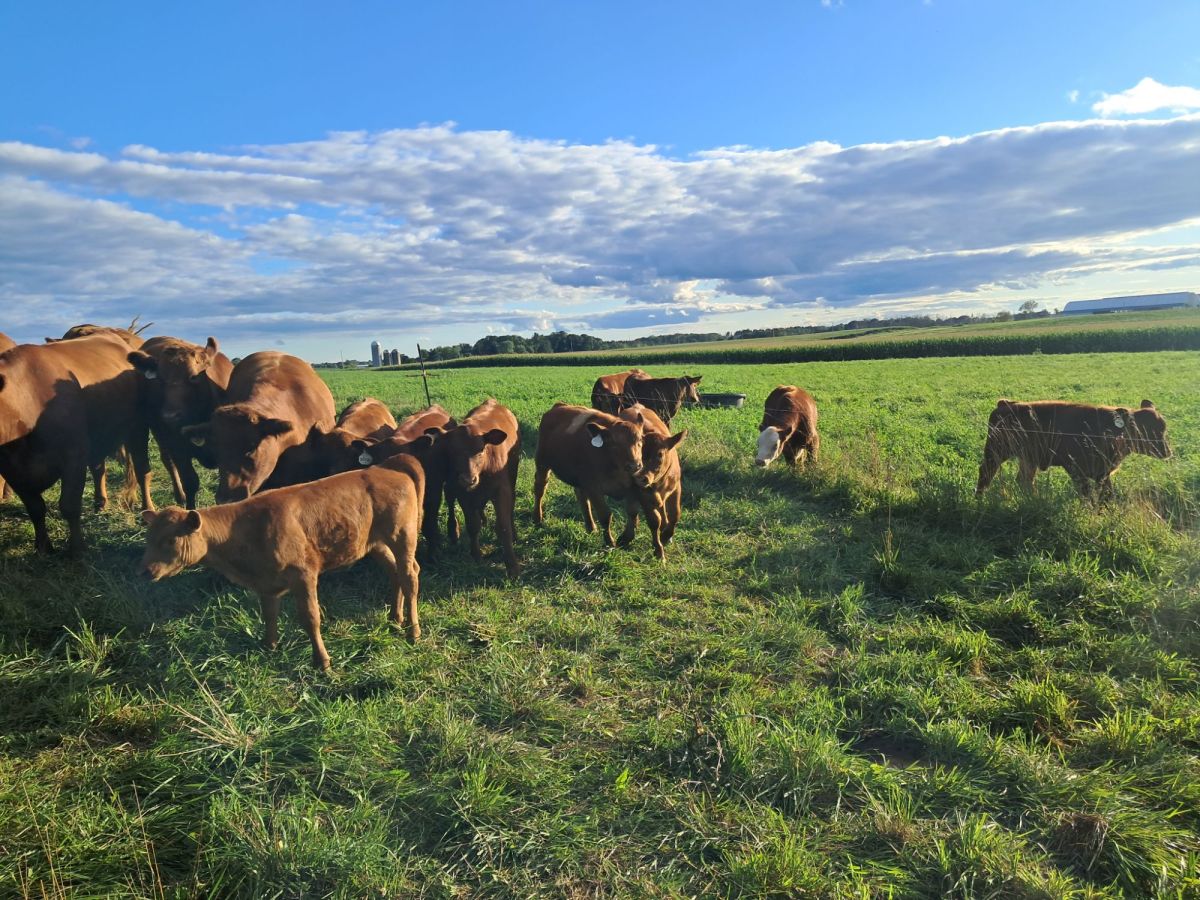
Why Is Beef So Expensive? The Real Story Behind Your Steak — and How You Can Help Support Local Farmers
Beef prices are soaring—but the reasons go deeper than supply and demand. Learn what’s driving costs and how your choices can support local farmers.
Keep reading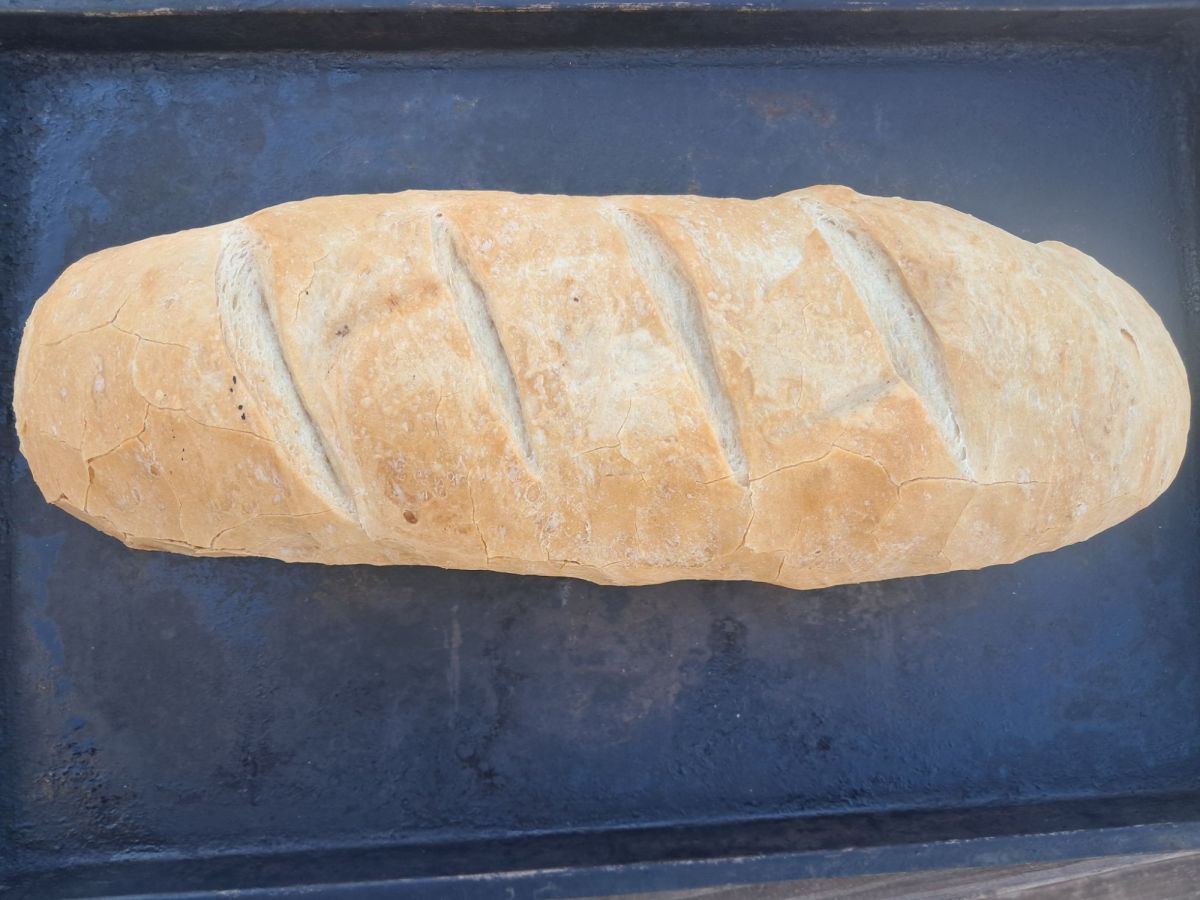
My Top 5 Essential Grocery Staples for Homesteading and Scratch Cooking
Discover the five grocery staples that power my homestead kitchen — from flour and coconut oil to yeast and bouillon. Learn how old-fashioned ingredients build modern self-reliance, flavor, and family connection.
Keep reading