Homemade popcorn for a movie night couldn’t be easier. It’s one of my favorite ways to make a healthy, fresh, and delicious snack that’s infinitely customizable for your next family movie night at home.
This post contains affiliate links. If you purchase through these links, I may earn a small commission at no extra cost to you. Thank you for supporting my family and this blog.
Homemade Popcorn for Movie Night
In this post, I’ll show you how to make stovetop popcorn with simple ingredients, plus my favorite toppings and a trick for getting that perfect movie-theater-style butter without soggy popcorn.
Quick Recipe Snapshot
- Prep time: 5 minutes
- Cook time: 10 minutes
- Makes: About 8–10 cups of popcorn (enough for 3–4 people)
Ingredients
- 1/2 cup popcorn kernels
- 2 tablespoons high-heat oil (coconut oil is my favorite)
- Salt or popcorn salt, to taste
- Optional: white cheddar powder, nutritional yeast, or your favorite seasonings
- Optional: 1 stick of butter (for clarified butter topping)
Popcorn Kernels and Equipment
First, you start with popcorn kernels. My dad grows popcorn and takes pride in giving some to his children every year at Christmas (and anytime). It makes a simple bowl of popcorn feel like a little piece of home. For this recipe, though, any good-quality popcorn kernels will work. I’ll show you how you can grow popcorn in a future post.
I use a popcorn popper with a turn crank in the handle (linked in this post). The crank helps keep the popcorn from burning on the bottom of the kettle as you use high heat to pop the kernels. If you don’t have a crank-style popper, you can use a heavy-bottomed pot with a lid and shake it occasionally while it cooks.
How to Make Stovetop Popcorn
You’ll be making homemade stovetop popcorn on high heat so the kernels pop quickly and evenly.
- Add about 2 tablespoons of oil to your popper or heavy pot for every 1/2 cup of popcorn kernels. I love coconut oil because it’s a high-heat oil that doesn’t affect the flavor.
- Add the popcorn kernels and place the pot over high heat. If the heat is too low, the popcorn won’t pop completely and you’ll be left with a lot of unpopped kernels—which are not fun and can even crack a tooth if you’re not careful (ask me how I know).
- Wait for the first few kernels to pop.
- Once you hear popping, turn the hand crank steadily while holding the cover down with a pot holder. If you’re using a regular pot, shake it gently back and forth over the burner every few seconds.
- Continue cranking or shaking until the popping slows down significantly and there are a couple of seconds between pops.
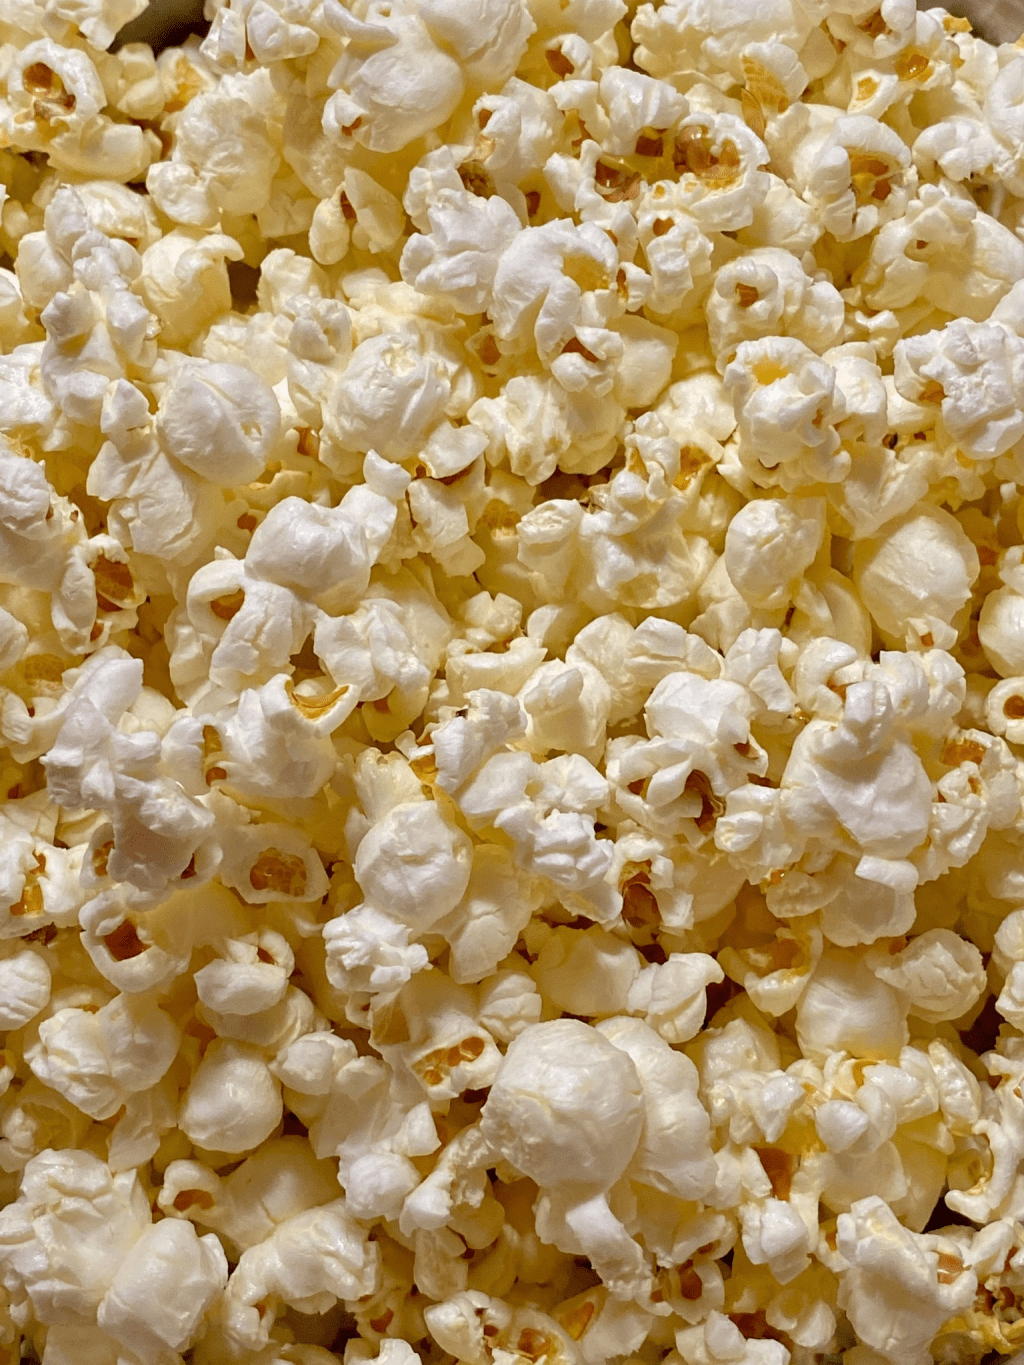
- Remove from the heat and carefully dump the popcorn into a large bowl.
You’ll hear the kernels crackling and smell that warm, toasty popcorn scent—perfect for a cozy family movie night snack.
Favorite Popcorn Seasonings
Now for the fun part: toppings and seasonings.
My personal favorite popcorn seasoning right now is a mix of white cheddar powder, nutritional yeast, and popcorn salt. Popcorn salt is just a very fine salt that sticks nicely to the kernels.
You can also try:
- Classic butter and salt
- Garlic powder and parmesan
- Chili powder and a sprinkle of lime zest for a little kick
- Cinnamon and a light sprinkle of sugar for a sweet option
One of the best things about healthy homemade popcorn is how easy it is to customize it to whatever you’re craving.
How to Make Clarified Butter for Popcorn
If I’m feeling extra ambitious, I’ll use a small kettle and create my own butter topping. This is basically a simple clarified butter that keeps your popcorn crisp instead of rubbery.
- Take 1 stick of butter and place it in a small pan over medium-high to high heat.
- Stir frequently as it melts and bubbles. After a few minutes, the water will evaporate and the butter will look clear and golden.
- Once the bubbling has mostly stopped and the butter looks clear, remove it from the heat.
- Pour the clarified butter directly over your popcorn and toss to coat.
If you don’t evaporate the water, the popcorn kernels will turn rubbery instead of staying crisp like the popcorn you’re used to having at a movie theater. Clarifying the butter gives you that classic movie theater popcorn feel at home.
Enjoying Your Homemade Movie Night Popcorn
Homemade popcorn is such an easy, affordable way to make movie night feel special without mystery ingredients or extra packaging. If you try this, please let me know how it turns out!
What’s your favorite popcorn memory? Do you like your popcorn sweet, salty, or savory? Share your favorite popcorn toppings in the comments—I’d love to get new ideas for our next movie night.Homemade popcorn for a movie night couldn’t be easier. It’s one of my favorite ways to make a healthy, fresh, and delicious snack that’s infinitely customizable for your next family movie night at home.
This post contains affiliate links. If you purchase through these links, I may earn a small commission at no extra cost to you. Thank you for supporting my family and this blog.
Homemade Popcorn for Movie Night
In this post, I’ll show you how to make stovetop popcorn with simple ingredients, plus my favorite toppings and a trick for getting that perfect movie-theater-style butter without soggy popcorn.
Quick Recipe Snapshot
- Prep time: 5 minutes
- Cook time: 10 minutes
- Makes: About 8–10 cups of popcorn (enough for 3–4 people)
Ingredients
- 1/2 cup popcorn kernels
- 2 tablespoons high-heat oil (coconut oil is my favorite)
- Salt or popcorn salt, to taste
- Optional: white cheddar powder, nutritional yeast, or your favorite seasonings
- Optional: 1 stick of butter (for clarified butter topping)
Popcorn Kernels and Equipment
First, you start with popcorn kernels. My dad grows popcorn and takes pride in giving some to his children every year at Christmas (and anytime). It makes a simple bowl of popcorn feel like a little piece of home. For this recipe, though, any good-quality popcorn kernels will work. I’ll show you how you can grow popcorn in a future post.
I use a popcorn popper with a turn crank in the handle (linked in this post). The crank helps keep the popcorn from burning on the bottom of the kettle as you use high heat to pop the kernels. If you don’t have a crank-style popper, you can use a heavy-bottomed pot with a lid and shake it occasionally while it cooks.
How to Make Stovetop Popcorn
You’ll be making homemade stovetop popcorn on high heat so the kernels pop quickly and evenly.
- Add about 2 tablespoons of oil to your popper or heavy pot for every 1/2 cup of popcorn kernels. I love coconut oil because it’s a high-heat oil that doesn’t affect the flavor.
- Add the popcorn kernels and place the pot over high heat. If the heat is too low, the popcorn won’t pop completely and you’ll be left with a lot of unpopped kernels—which are not fun and can even crack a tooth if you’re not careful (ask me how I know).
- Wait for the first few kernels to pop.
- Once you hear popping, turn the hand crank steadily while holding the cover down with a pot holder. If you’re using a regular pot, shake it gently back and forth over the burner every few seconds.
- Continue cranking or shaking until the popping slows down significantly and there are a couple of seconds between pops.
- Remove from the heat and carefully dump the popcorn into a large bowl.
You’ll hear the kernels crackling and smell that warm, toasty popcorn scent—perfect for a cozy family movie night snack.
Favorite Popcorn Seasonings
Now for the fun part: toppings and seasonings.
My personal favorite popcorn seasoning right now is a mix of white cheddar powder, nutritional yeast, and popcorn salt. Popcorn salt is just a very fine salt that sticks nicely to the kernels.
You can also try:
- Classic butter and salt
- Garlic powder and parmesan
- Chili powder and a sprinkle of lime zest for a little kick
- Cinnamon and a light sprinkle of sugar for a sweet option
One of the best things about healthy homemade popcorn is how easy it is to customize it to whatever you’re craving.
How to Make Clarified Butter for Popcorn
If I’m feeling extra ambitious, I’ll use a small kettle and create my own butter topping. This is basically a simple clarified butter that keeps your popcorn crisp instead of rubbery.
- Take 1 stick of butter and place it in a small pan over medium-high to high heat.
- Stir frequently as it melts and bubbles. After a few minutes, the water will evaporate and the butter will look clear and golden.
- Once the bubbling has mostly stopped and the butter looks clear, remove it from the heat.
- Pour the clarified butter directly over your popcorn and toss to coat.
If you don’t evaporate the water, the popcorn kernels will turn rubbery instead of staying crisp like the popcorn you’re used to having at a movie theater. Clarifying the butter gives you that classic movie theater popcorn feel at home.
Enjoying Your Homemade Movie Night Popcorn
Homemade popcorn is such an easy, affordable way to make movie night feel special without mystery ingredients or extra packaging. If you try this, please let me know how it turns out!
What’s your favorite popcorn memory? Do you like your popcorn sweet, salty, or savory? Share your favorite popcorn toppings in the comments—I’d love to get new ideas for our next movie night.
Loved this recipe?
- 👍 Like this post if you make homemade popcorn
- 💬 Share your favorite popcorn topping combo in the comments
- 📲 Share with a friend planning movie night this weekend
Loved this? Subscribe for weekly homesteading tips:
Read Next: Home Popcorn: Farm-to-Bowl Story