Every summer, there comes a point when the cucumber patch stops being charming and starts producing faster than we can reasonably eat.
At first, the cucumbers become snacks, salads—because, Midwesterner at heart, I still think they are excellent dipped in ranch dressing—and something to slice alongside dinner. Then the counter begins to fill up. A few cucumbers become a pile, and suddenly it is time to decide what to do with them before they grow too large, soften in the refrigerator, or get lost behind the milk.
That is when I make crock pickles.

These are not quick refrigerator pickles made with vinegar. They are lacto-fermented pickles: cucumbers packed in a salt brine with dill, garlic, onions, and seasonings, then left to ferment slowly. The result is a tangy, savory pickle with a flavor that is different from a vinegar pickle—less sharp, more complex, and deeply satisfying alongside a sandwich, a plate of meat and cheese, or a simple summer meal.
I like fermentation because it gives the harvest a slower rhythm. In the middle of a busy garden season, there is something satisfying about checking a crock, watching for bubbles, smelling the brine, and waiting for ordinary cucumbers to become something else.
What Are Lacto-Fermented Pickles?
Lacto-fermented pickles are made by submerging cucumbers in a salt brine and allowing naturally occurring lactic-acid bacteria to ferment the vegetables. As fermentation progresses, those bacteria transform sugars in the vegetables into lactic acid. That acid creates the familiar sour flavor and helps preserve the cucumbers when the ferment is made and stored properly.
Wet brines work well for fermenting whole vegetables or large pieces of produce, including cucumber pickles. The salt concentration, clean equipment, temperature, and keeping vegetables submerged are all crucial in this process.
Lacto-fermented pickles are different from vinegar pickles in the following ways:
| Vinegar pickles | Lacto-fermented pickles |
| Acidity comes from added vinegar. | Acidity develops naturally during fermentation. |
| Often made as quick refrigerator pickles or canned using a tested vinegar recipe. | Fermented in a salt brine with time and proper conditions. |
| Flavor is bright, sharp, and vinegar-forward. | Flavor is tangy, savory, and develops gradually. |
| Storage depends on the tested recipe used. | These pickles are refrigerated once they have fermented to the flavor you like. |
| Vinegar strength and processing directions matter for safety. | Salt concentration, temperature, clean equipment, and keeping vegetables submerged matter for safety. |
This post explains how I make salt-brine lacto-fermented pickles in my kitchen. There is no added vinegar. If you are new to fermentation, I encourage you to read guidance from a university Extension service or another reputable fermentation resource before starting.
What I Use for Crock Pickles
You do not need a fancy setup, but you do need clean, food-safe equipment and a way to keep the cucumbers below the brine.
Here is what I gather:
- Fresh pickling cucumbers
- Fresh dill heads, dill seed, or dried dill
- Garlic cloves
- Sliced onion
- Optional banana peppers
- Pickling or canning salt
- Water
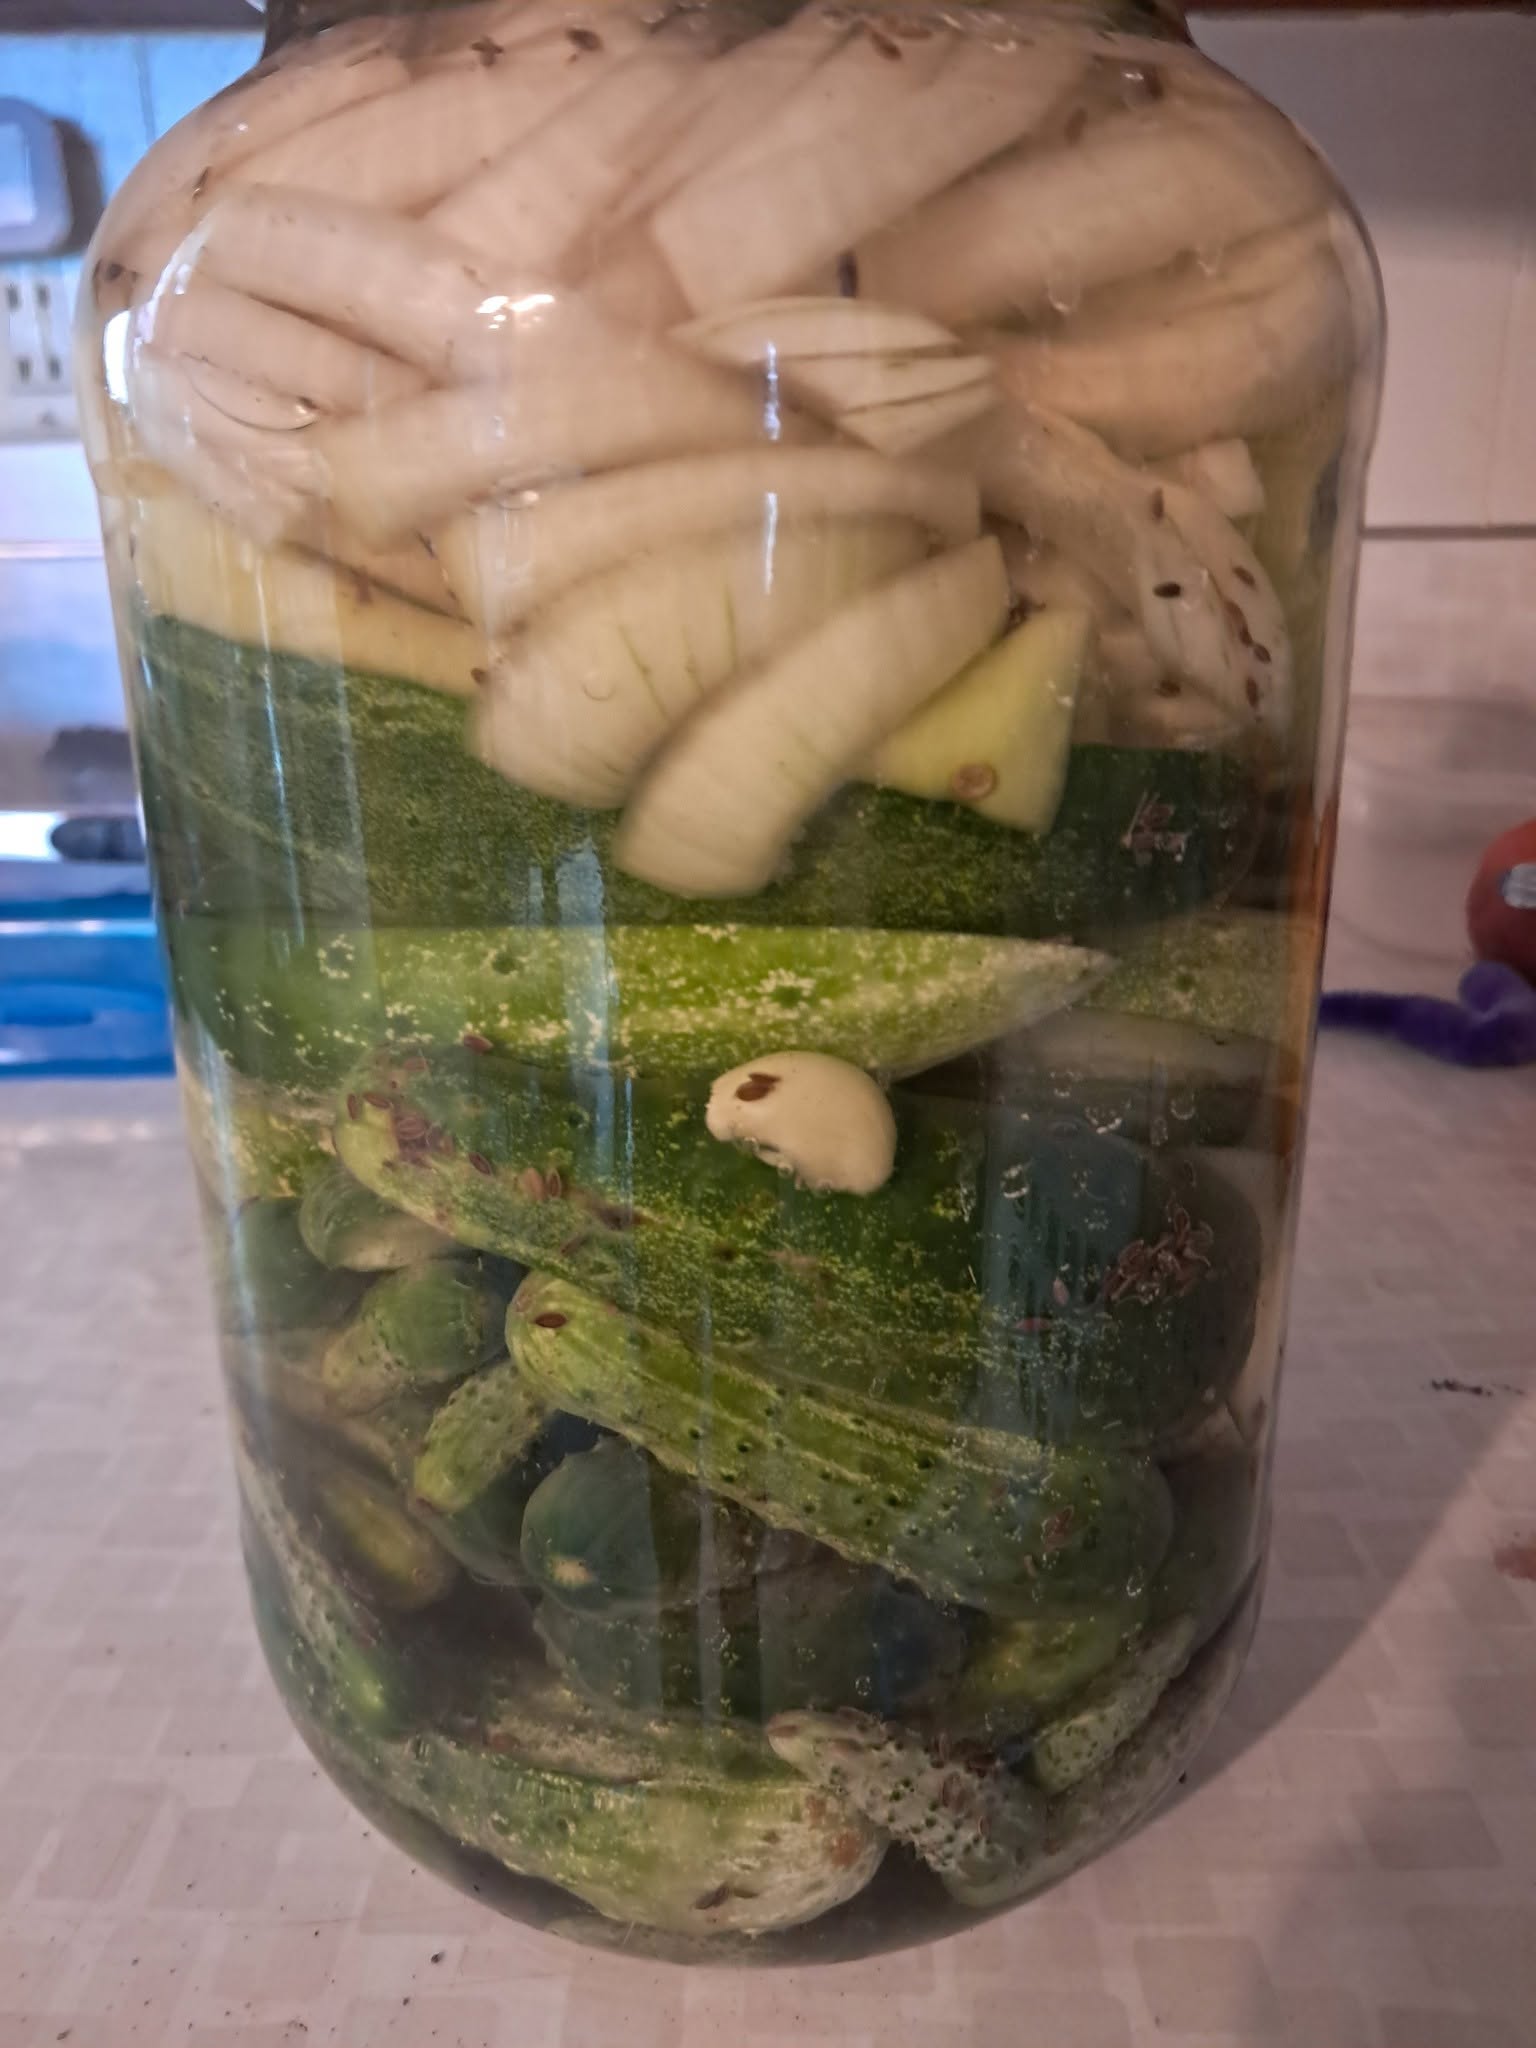
- A clean glass jar, crock, or food-safe fermentation vessel. I like using a gallon-size olive jar that I have cleaned carefully
- A food-safe weight and cover
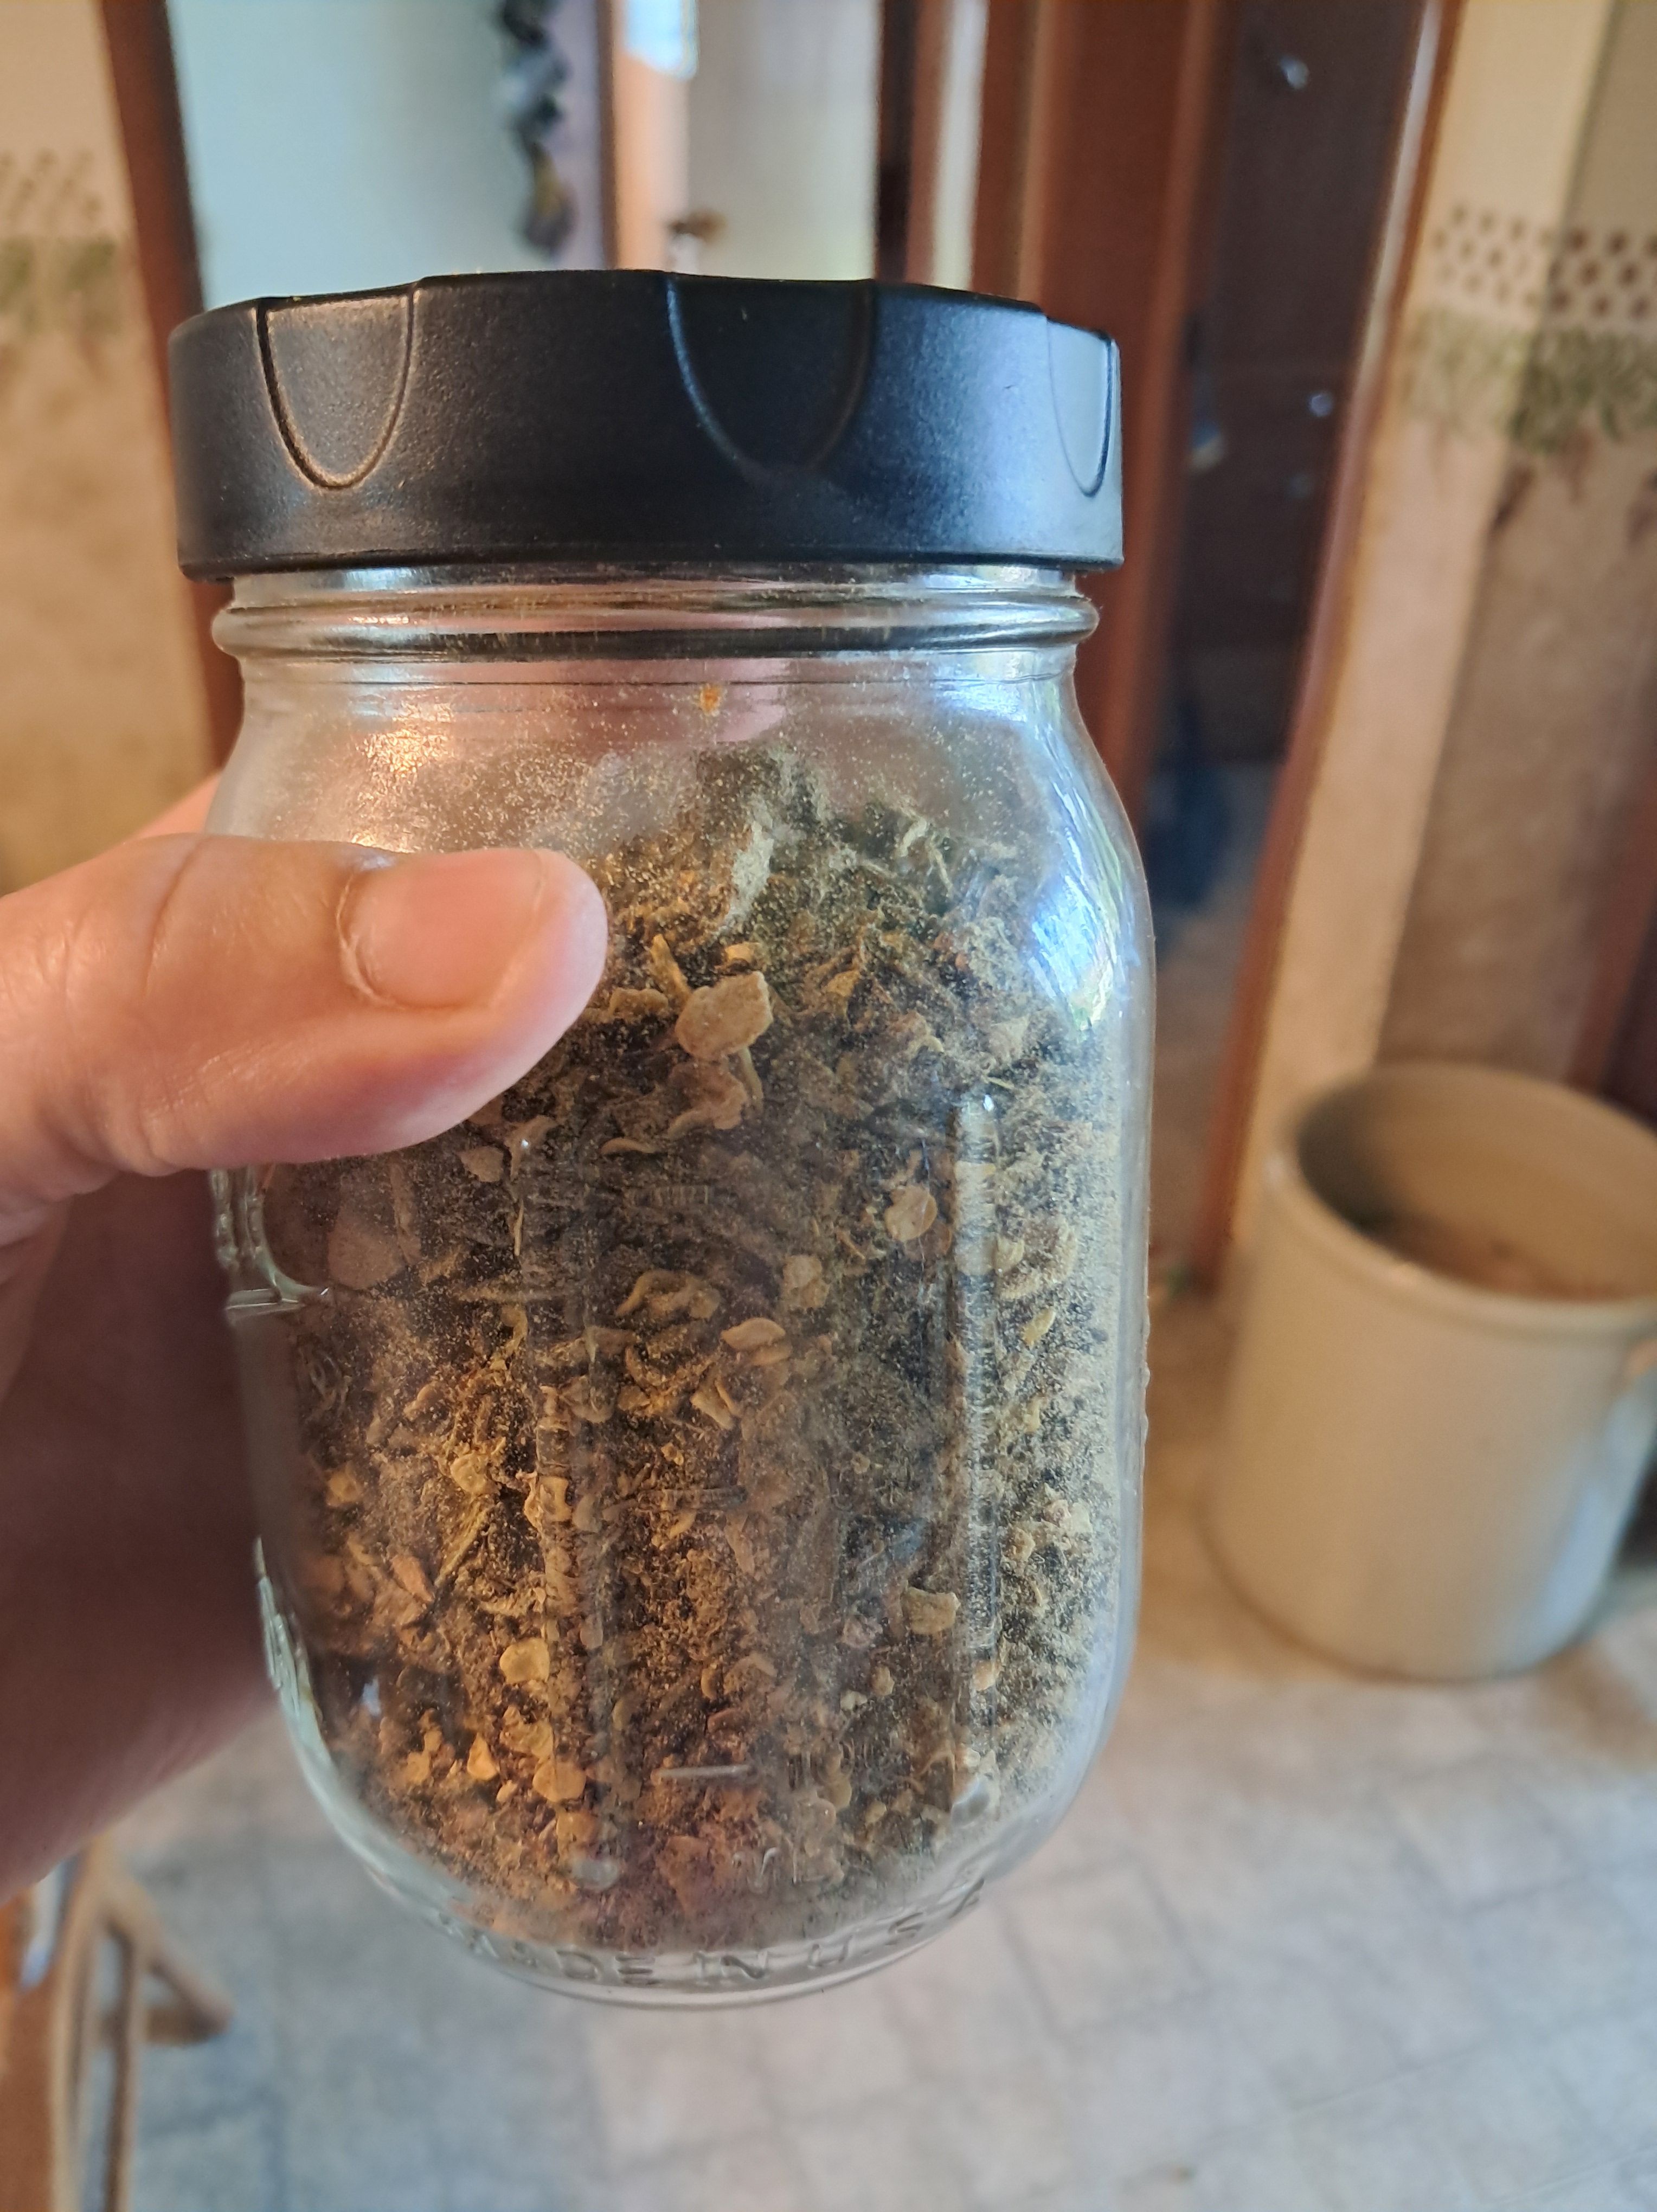
- Optional seasonings, such as peppercorns, dried red pepper, or pickling spices
- Optional clean raspberry leaves or grape leaves
Use a cover that keeps out dust and insects while still allowing fermentation gases to escape, unless you are using a fermentation lid designed for that purpose.
I use raspberry or grape leaves because they contain tannins, which have traditionally been used to help pickles stay crisp. They are optional, and I enjoy using them when I have them. Fresh cucumbers, proper brine, suitable temperature, and keeping the cucumbers submerged matter much more than any crispness add-in.
Use pickling or canning salt rather than table salt or flake salt. Pickling salt dissolves cleanly, while additives in some table salts can cloud the brine and flake salt does not measure consistently by volume.
My Crock-Pickle Process
I start with cucumbers that are as fresh as possible. Small, firm pickling cucumbers are ideal. Once cucumbers begin to sit around for several days, they are less likely to make the crisp pickles everyone hopes for.
1. Wash and trim the cucumbers
Wash the cucumbers well. I trim a very thin slice from the blossom end—the end opposite the stem—before placing the cucumbers in the brine.
For larger cucumbers, I cut them into halves or quarters so the pieces ferment more evenly. Whole oversized cucumbers can be less pleasant in texture and harder to use once fermented.
2. Prepare the crock
Wash the crock, container, plate, weight, and utensils well with hot, soapy water. If you choose to sanitize food-contact surfaces with bleach, follow current label directions and food-safety guidance for dilution. Let the equipment drain or air-dry before it comes into contact with the cucumbers or brine.
I place some of the dill and seasonings in the bottom of the crock or jar, then add the cucumbers. I tuck in garlic, onions, optional banana peppers, and clean raspberry or grape leaves.
I do not ferment only cucumbers in the brine. The onions, garlic, and peppers change right alongside them. By the time the cucumbers are tangy and ready, the onions have softened and become pleasantly sharp, the garlic has mellowed, and the peppers have taken on the same salty, sour flavor as the pickles.
They are delicious tucked into sandwiches, added to a charcuterie board, chopped into potato salad, or eaten straight from the jar alongside the cucumbers.
3. Make the salt brine
This is the one part of the process where I stay consistent.
For each batch, I make a brine with:
- ½ gallon water
- ¼ cup pickling salt
I start with a little hot water so the salt dissolves more easily, then add cool water until I have the full half-gallon of brine. I let the brine cool before pouring it over the cucumbers.
This is a salt-brine ferment, not a vinegar pickle. The salt creates the environment where lactic-acid bacteria can do their work while the cucumbers, garlic, onions, peppers, and dill slowly develop their flavor.
If you use a different type or brand of salt, calculate your brine by weight or follow a tested recipe designed for that specific salt rather than assuming volume measurements will transfer exactly.
4. Keep everything under the brine
This may be the most important practical step: the cucumbers need to stay submerged.
Keeping the cucumbers below the brine limits their exposure to air and helps prevent surface mold and spoilage. The National Center for Home Food Preservation recommends keeping fermenting cucumbers 1–2 inches beneath the brine. In a crock, a clean plate that fits inside the container can be weighted with sealed jars of water; a properly sealed food-safe bag filled with brine can also serve as a weight.
I have used food-safe zip-top bags filled with brine, as well as glass fermentation weights. Both work very well.
I check mine regularly. Cucumbers bobbing above the brine are not a small cosmetic issue—they are more exposed to air, mold, and spoilage.
5. Ferment until they taste right
Fermentation is not instant, and warmer is not always better.
In my kitchen during the warm part of summer, I typically begin tasting the pickles after about a week at room temperature. Small cucumbers are usually ready first; larger cucumbers, halves, or quarters may need several more days. If you are fermenting in a cooler basement, the process may take longer.
The best guide is the pickle itself. I look for a pleasantly sour, tangy flavor; a change in the cucumber’s color and texture; active bubbles early in the process; and brine that smells clean and pickle-like.
Warm temperatures speed fermentation, but temperatures over about 80°F can make cucumbers soften more quickly. If your kitchen is very warm, begin checking earlier and move finished pickles to the refrigerator promptly.
Every batch is a little different, so I pay attention to the actual cucumbers: the smell, the brine, the level of sourness, and the condition of the vegetables—not only the number of days on the counter.
6. Check the crock regularly
During fermentation, the brine may become cloudy and bubbles may appear. Those can be normal parts of active fermentation.
Check the container regularly. A little surface scum can occur during fermentation, but any growth should prompt a careful assessment. If you see mold or are uncertain about what you are seeing, do not assume the batch can be made safe by removing what is visible.
If the pickles become soft, slimy, or develop a disagreeable odor, discard them. When in doubt, I do not try to save a batch. Cucumbers are replaceable; food safety is not.
Ingredients
Equipment
Method
- Wash the cucumbers well and trim a very thin slice from the blossom end. Cut very large cucumbers into halves or quarters.
- Wash the fermentation vessel, weight, cover, and utensils thoroughly with hot, soapy water. Allow them to drain or air-dry before use.
- Add some dill, garlic, onion, optional peppers, spices, and optional raspberry or grape leaves to the bottom of the vessel.
- Pack the cucumbers into the vessel. Add the remaining dill, garlic, onion, peppers, leaves, and seasonings throughout the jar or crock.
- Make the brine by dissolving ¼ cup pickling salt in ½ gallon water. Use a small amount of hot water first if desired, then add cool water to reach the full amount. Let the brine cool before using.
- Pour enough cooled brine over the vegetables to cover them completely.
- Add a weight to keep the cucumbers and other vegetables fully submerged beneath the brine. Leave a little headspace at the top of the vessel.
- Cover and ferment at room temperature, away from direct sunlight.
- Begin checking and tasting after about 7 days. Small cucumbers may be ready first; larger cucumbers or pieces may need several more days.
- Once the pickles are pleasantly sour and tangy, refrigerate them. Keep the vegetables under the brine during storage.
Notes
- A room that is too warm—especially above about 80°F—can cause cucumbers to soften more quickly.
- Cloudy brine and small bubbles are often normal during active fermentation.
- A little surface scum can occur during fermentation. If you see mold or are uncertain about a batch, do not assume it can be made safe by removing visible growth.
- Discard pickles that are soft, slimy, smell rotten or unpleasant, or otherwise seem questionable.
- The onions, garlic, and banana peppers become deliciously tangy too. Use them on sandwiches, charcuterie boards, potato salad, burgers, or alongside a meal.
- Use pickling or canning salt. Do not substitute flake salt by volume because its density varies; additives in other salts can cloud the brine.
What Is Normal – and What Is Not?
| Often normal during fermentation | Discard or seek reliable guidance |
| Cloudy brine | Soft or slimy cucumbers |
| Small bubbles | Rotten, foul, or unpleasant odor |
| Sour, pickle-like smell | Vegetables left above the brine |
| Gradual changes in color and flavor | Visible mold or growth you cannot confidently identify |
| Mild surface scum that you assess carefully | Any batch you do not feel confident is safe |
If you are new to fermentation, begin with a reliable salt-brine fermentation method and pay close attention to the recipe’s recommended salt concentration, temperature, and storage guidance. It is the easiest way to learn what a healthy ferment should look and smell like.
My Best Tips for Crisp Pickles
Crispness is usually the biggest question with homemade pickles. These are the habits that make the biggest difference for me:
- Start with very fresh, firm cucumbers.
- Use small pickling cucumbers rather than oversized slicing cucumbers.
- Trim the blossom end.
- Use pickling or canning salt in a consistent brine.
- Keep the cucumbers completely submerged.
- Ferment in a suitable temperature range.
- Use raspberry or grape leaves if you enjoy that traditional practice, but do not rely on them in place of proper fermentation conditions.
- Refrigerate the finished pickles once they reach the flavor you enjoy.
The best pickle batches begin before the crock ever comes out: with cucumbers picked at the right time and used while they are still firm and fresh.

Why I Keep Making Them
Canning, freezing, and dehydrating are all useful ways to handle a harvest, but fermentation feels different to me.
It is slower. It asks for a little attention instead of one long afternoon of work. I like opening the crock, checking the brine, and knowing the cucumbers are changing a little every day. I like that it turns a summer overflow into something we can enjoy later, one crunchy pickle at a time.
And I like that no two garden seasons are exactly alike. Some years the cucumbers come in steadily. Some years they seem to appear all at once. Some batches are crisper than others. But every time, the crock gives me one more way to use what the garden provides.
One reason I enjoy traditionally fermented pickles is that, unlike vinegar pickles, they are a living ferment while they are fresh and refrigerated. Salt-brine fermentation is driven by lactic-acid bacteria, which transform the vegetables’ natural sugars into lactic acid and create that familiar tangy flavor.
I enjoy them first because they are delicious, but I also appreciate that fermentation brings living cultures and a different kind of complexity to the food. The exact microorganisms in fermented foods can vary by batch and storage method, so “fermented” does not automatically mean every batch contains proven probiotic strains or creates the same health effects for every person.
My husband also remembers his grandmother making crock pickles and sharing them with the family. I love that this kind of preservation carries more than food forward. It carries the memory of a kitchen, a season, and the people who taught us how to make something from what was growing.
I shared more of that family story here: One Jar at a Time: A legacy in Brine.
Plan Before the Cucumbers Pile Up
If your garden is beginning to produce more than you can use fresh, download my free Grow What You’ll Use: A Simple Garden and Harvest Planner for Real Life. It includes a place to track what is ready now, decide what to eat fresh or preserve, and make a manageable plan for the harvest.
And if you are deciding how to preserve extra vegetables, you may also find these helpful:
- Freezer Printable: A Practical Guide to Freezing Garden Food
- Drying Guide: Simple Ways to Preserve the Harvest
A Note for New Fermenters
Fermentation can feel intimidating at first, but you do not need to learn every preservation method at once. Start with one reliable salt-brine method, clean equipment, good cucumbers, and the patience to let the process happen.
Do you make fermented pickles, vinegar pickles, or both? I would love to hear what you add to your crock—and whether you use grape leaves, raspberry leaves, or another trick to keep your pickles crisp.
If this post helped you feel more confident about using a cucumber harvest, please consider liking it or sharing it with a gardener, pickle lover, or friend whose cucumber plants are beginning to take over.
Read More Here: How to Freeze Peppers, Tomatoes, Zucchini, and Berries for Later