I love the many different ways food can be preserved at home and enjoyed throughout the year. In my last three posts, I covered different methods of freezing garden produce. Today, I’m starting a new preservation series with one of the oldest methods: dehydration.
Dehydration removes most of the moisture from food, which changes its texture and helps it keep longer when it is dried and stored properly. Some foods become chewy, some become crisp, and some can later be rehydrated and added to soups, casseroles, or other meals.
In this dehydration series, I’ll cover three simple topics:
- Different methods for dehydrating food at home (this post)
- How to prepare fruits, vegetables, and herbs for dehydrating
- How to make dehydrated meal bases for camping and busy days
Want a kitchen-friendly reference?
My Garden Drying Guide includes printable preparation, temperature, drying time, storage, and rehydration charts for garden produce.
There are several ways to dry food at home. Some are simple and inexpensive, while others take a little more equipment. The important things are gentle heat, moving air, and enough time for moisture to leave the food before it has a chance to spoil or mold.
Drying Methods at a Glance
Before we get into each method, here is a quick look at the different ways you can dry food at home.
| Drying Method | Best For | What You Need | Benefits | Things to Keep in Mind |
| Air drying | Herbs, stale bread for croutons or bread crumbs | Cookie sheet, drying rack, or hanging bundles; a dry indoor space with airflow | Simple, inexpensive, and requires no special equipment | Best for herbs and dry bread rather than fresh produce; protect food from dust and moisture; do not overcrowd pans |
| Sun drying | Fruit in hot, dry climates | Drying racks or screens, insect protection, and consistent sunshine | Traditional method with no electricity required | Depends on hot, dry weather; bring food in at night; protect it from insects and animals; not practical in every climate |
| Oven drying | Small batches, tomato paste, and foods you want to dry without a dehydrator | Low-temperature oven, racks or trays, and careful monitoring | Uses equipment many people already own | Works best if the oven can hold about 140–150°F; moisture needs a way to escape; can use more energy and requires close attention |
| Dedicated dehydrator | Regular dehydrating, garden harvests, larger batches, and more consistent results | Electric dehydrator and trays | Consistent airflow and temperature control; useful for larger batches | Costs more upfront; round models may need tray rotation, while rectangular models often provide more even airflow |
Air Drying Food at Home
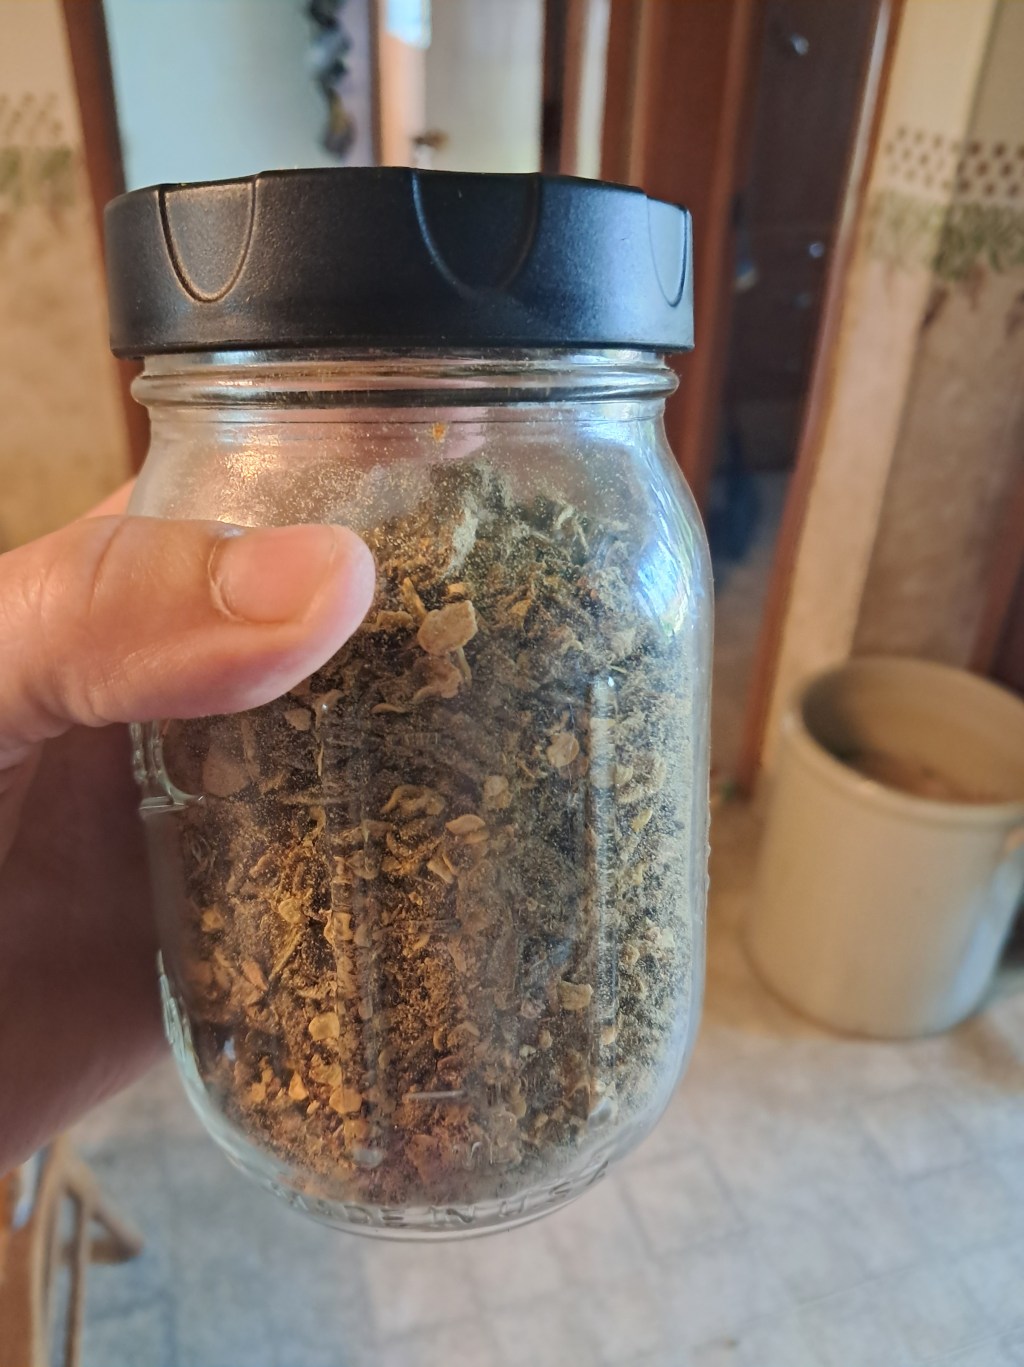
The most basic drying method is air drying. This works especially well for herbs such as basil, mint, and parsley. You can spread clean, dry leaves in a thin layer or hang small bundles in a dry place with good airflow until they are fully dry.
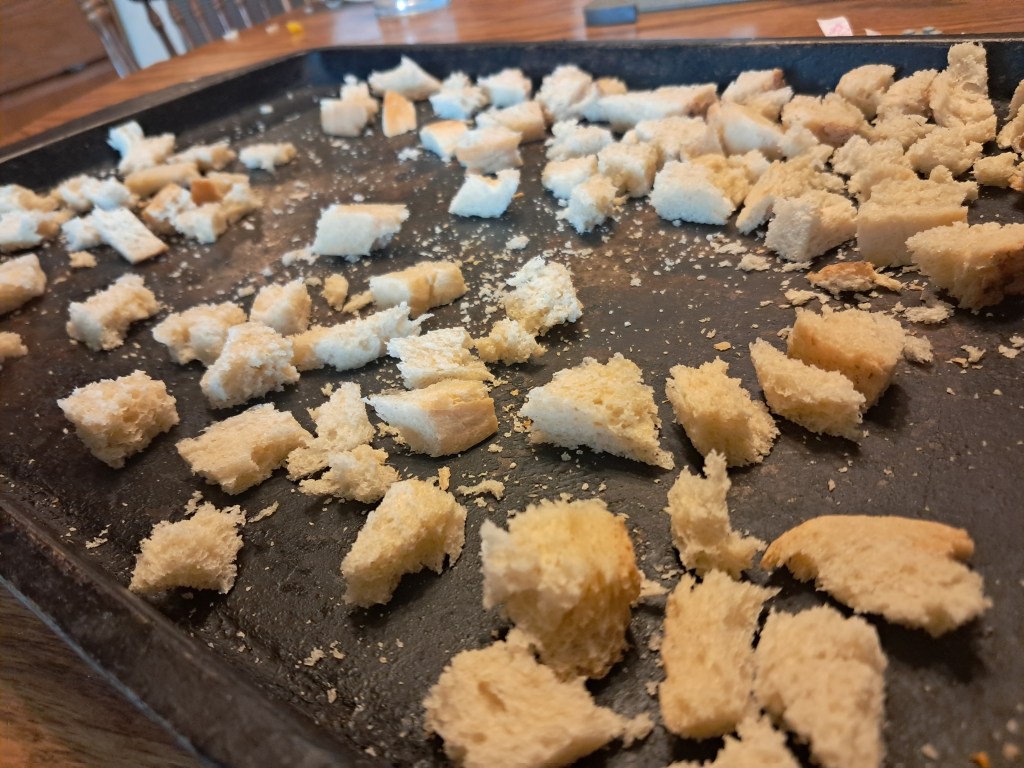
I have also used this method very effectively with old stale bread. I cut the bread into cubes for croutons or crumble it for homemade bread crumbs, then spread it on a cookie sheet in a dry spot out of the way and stir it from time to time. It is a simple way to use bread that might otherwise go to waste.
The key with air drying is not to overcrowd the pan or pile the food too densely. Food needs plenty of room for air to move around it. Stir small pieces occasionally, and make sure everything is completely dry before putting it away.
Sun Drying Food
Sun drying is another traditional preservation method, although it is not one I have used enough to give much personal advice about it. Between my roaming chickens and other curious homestead critters, I am afraid my food would be gone before I got the chance to enjoy it myself.
Sun drying is similar to air drying, but it depends on consistently hot, dry, sunny weather. It is most practical in climates with very low humidity, which is also not here in southeastern Wisconsin. In more humid areas, food may mold before it has a chance to dry thoroughly, so an oven or dehydrator is usually a more dependable choice.
If you do try sun drying, protect food from insects and animals, bring it in at night, and watch the weather closely. Because sun drying depends so heavily on the weather, I see it as more of a traditional option than an everyday preservation method for my own kitchen.
How to Use an Oven as a Dehydrator
Before I owned a dedicated dehydrator, I used my oven often. It works, although it does take a little extra attention.
Spread food in a single layer on oven-safe drying racks or trays. If your oven can be set as low as 140–150°F, that is ideal for many fruits and vegetables. Prop the oven door open slightly so moisture can escape, and check the food regularly.
I still use the oven method when I make tomato paste because it works so well. Creating tomato paste from juiced tomatoes takes time, but the slow oven heat helps cook down and dry the tomatoes into something thick, rich, and caramelized.
Oven drying can be less efficient than using a dedicated dehydrator, and not every oven holds a low temperature evenly. Check food regularly, especially toward the end, so it does not scorch or become overly brittle. Always follow your oven manufacturer’s guidance, and do not leave a propped-open oven unattended.
If your oven’s lowest setting is 170°F, it can still be useful for certain projects. Just check food often, since the higher heat can dry the outside more quickly than the inside.
Why I Prefer a Dedicated Dehydrator
My favorite method is using a dedicated dehydrator. These machines are made to move heated air steadily over the food, which helps it dry more evenly. They also make it much easier to control the temperature, which is helpful when you are drying different kinds of food.
There are two common styles of dehydrators. Round or stacked-tray dehydrators usually move air vertically through the unit. Rectangular dehydrators generally move heated air from the back across the trays.
I have used both kinds, and I personally prefer rectangular dehydrators. For me, the results seem more even, and I find the trays easier to load. I like being able to spread food out in a single layer without trying to fit everything around a center opening. The biggest downside is that rectangular dehydrators are usually more expensive.
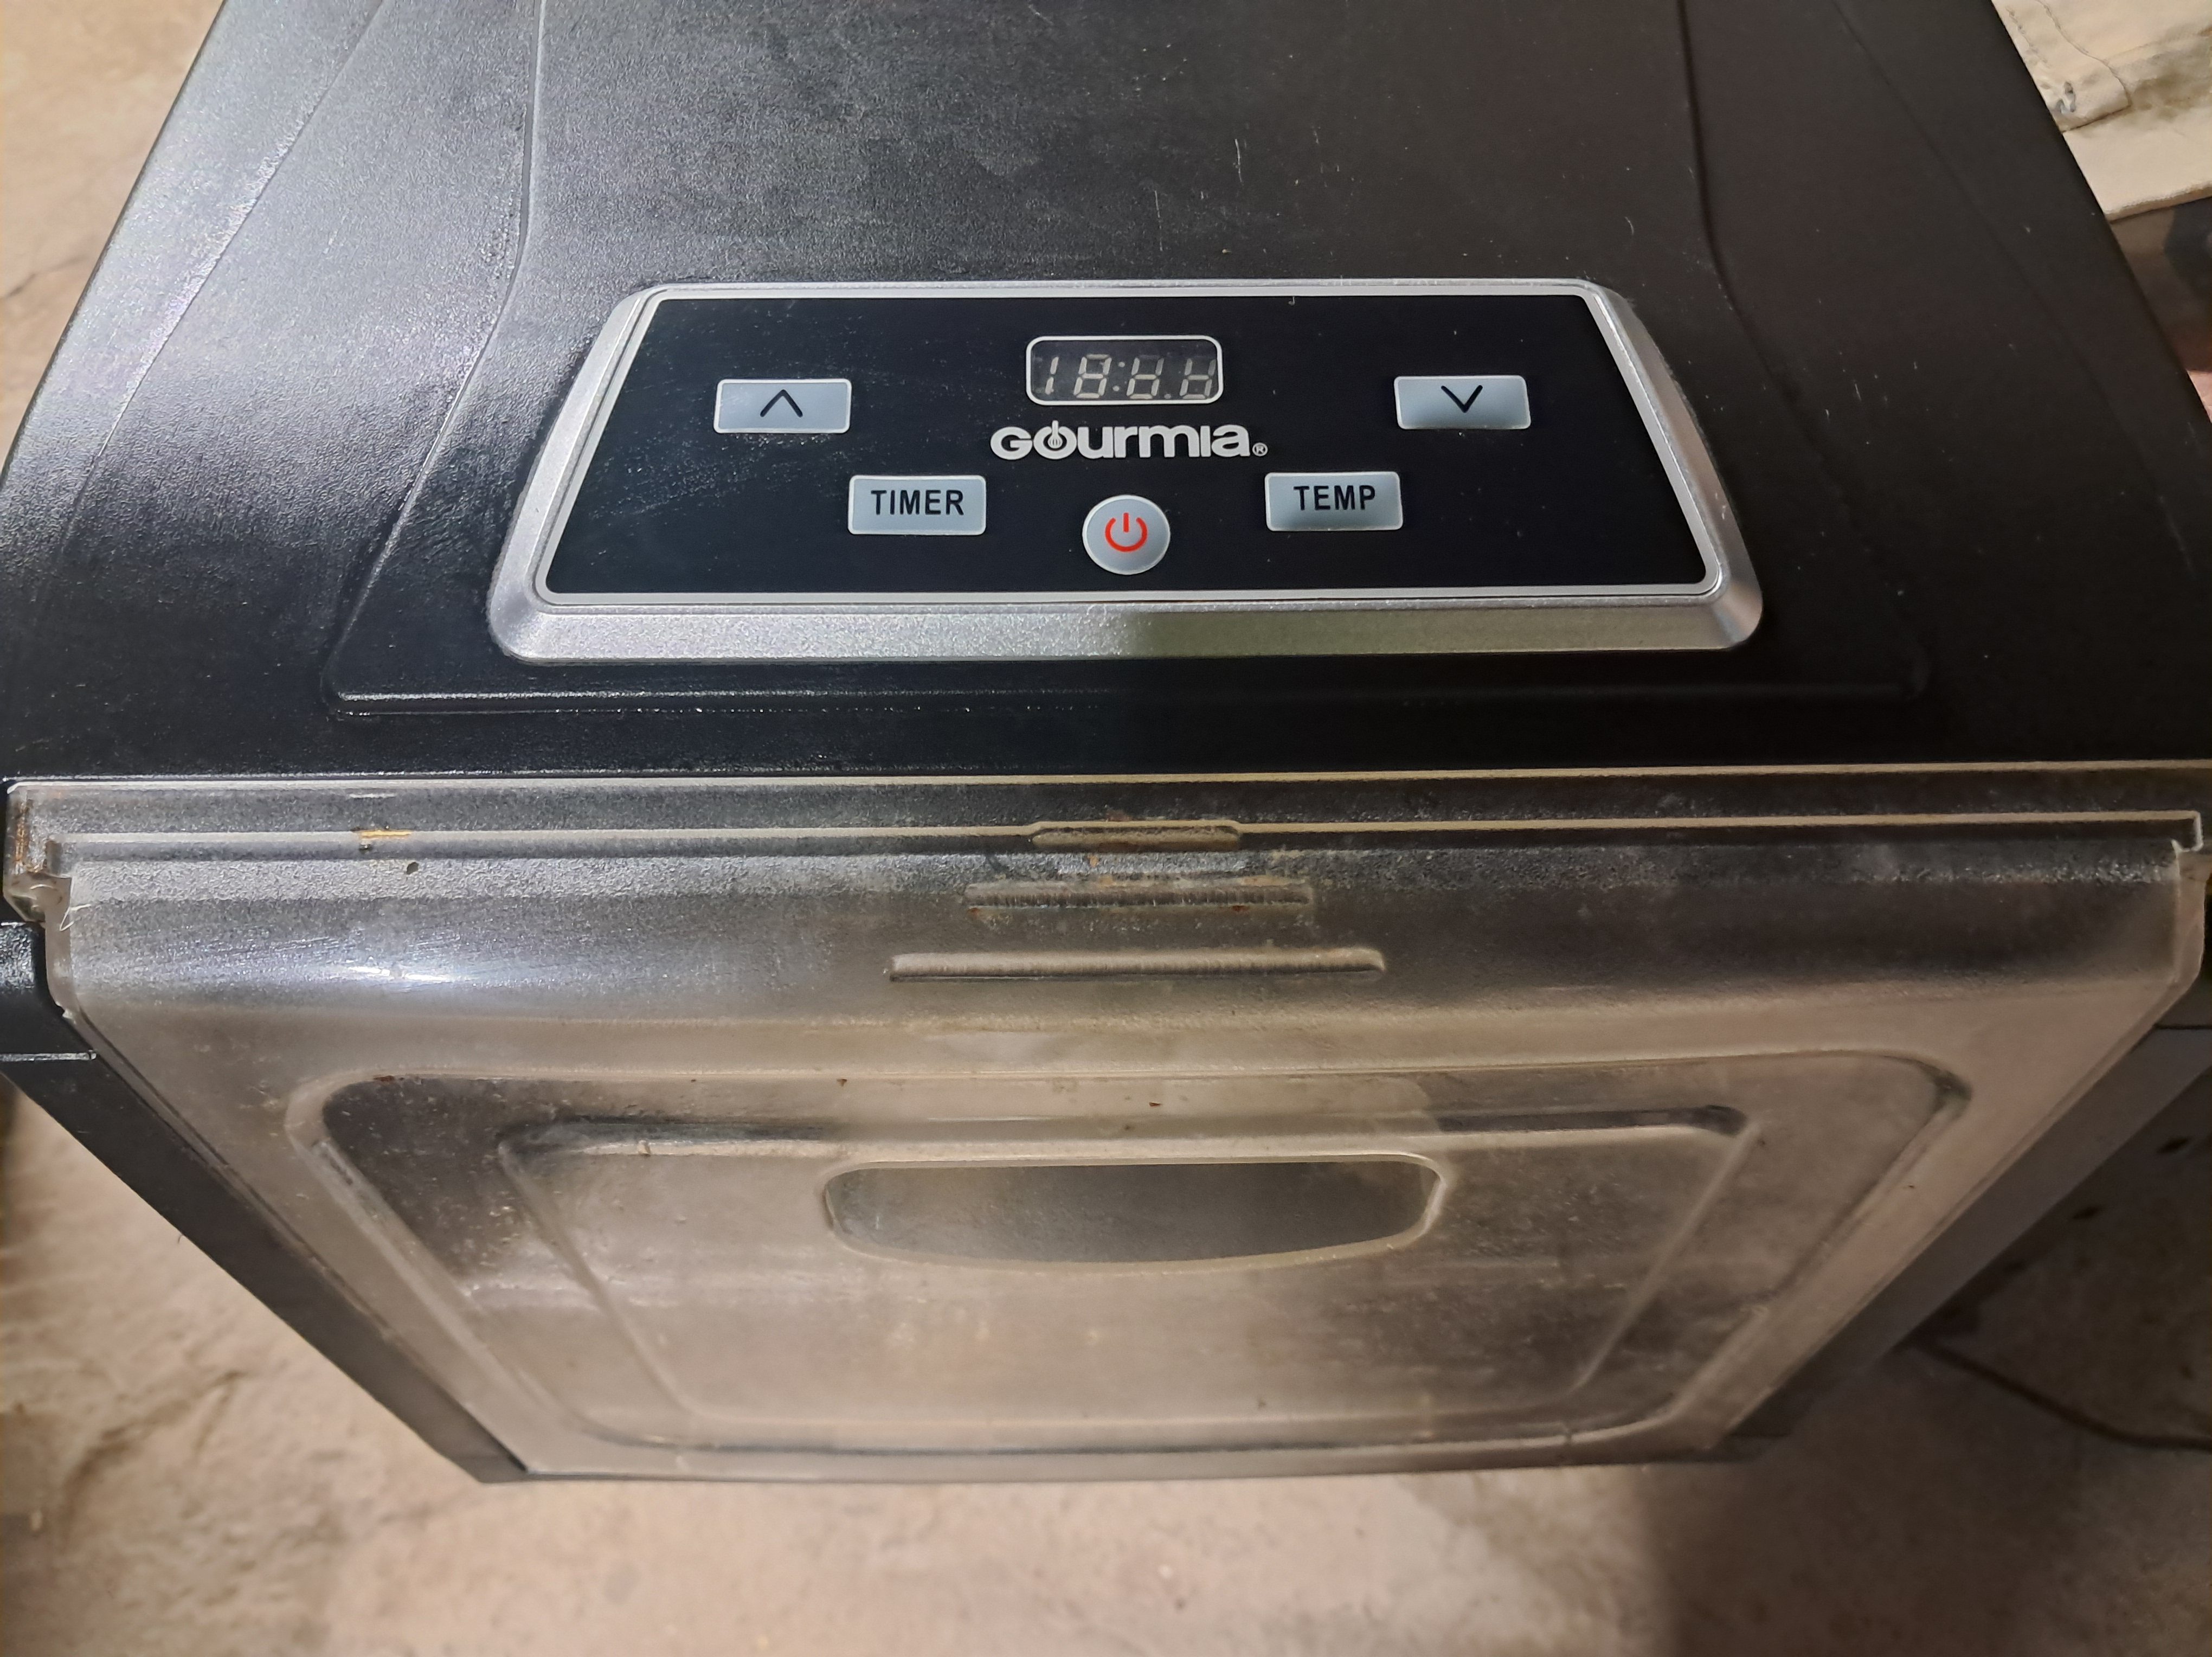
Horizontal-airflow dehydrators can be especially helpful when you are drying different foods at once because the air moves evenly across the trays. Vertical-flow models can work well too, but they may require more tray rotation for even drying.
Basic Tips for Dehydrating Food
No matter which drying method you use, a few habits make a big difference:
- Start with fresh, good-quality food. Drying will not improve food that is already bruised, moldy, or beginning to spoil.
- Wash and prepare food before drying.
- Cut pieces into similar sizes so they dry evenly.
- Arrange food in a single layer without overlapping.
- Stir small pieces or rotate trays when needed.
- Let dried food cool before testing it or packaging it.
- If you are unsure whether something is dry enough, give it a little more time. It is better to dry food thoroughly than to store it with hidden moisture.
- Remember that warm food can feel softer than it will after cooling.
Fruits should usually be leathery or pliable, with no moisture squeezing out when pressed. Vegetables are often dry when they are crisp, brittle, or leathery. Herbs should crumble easily between your fingers.
Storing Dried Food
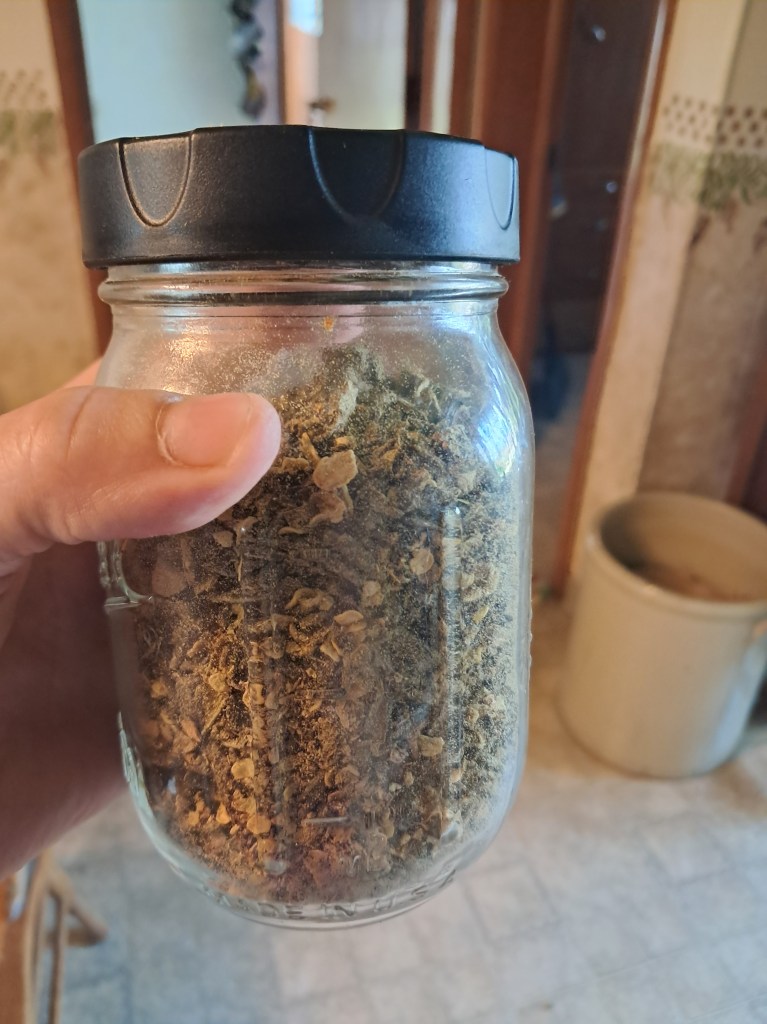
Let dried food cool completely before putting it into airtight jars, containers, or bags. Label each container with the food and date, then store it in a cool, dark, dry place.
If you notice moisture collecting inside a container after a day or two, return the food to the dehydrator before storing it again. I usually label each container with the food and date so I can keep track of what needs to be used first.
Taking the time to cool, label, and store dried food properly helps protect your hard work and keeps it ready to use later.
Properly dehydrated food typically keeps for 6 months to 1 year at peak quality when stored in a cool, dark, and dry place. While safe to eat for longer if kept completely dry, quality, flavor, and nutrients begin to fade after 12 months
Next in This Series
In the next post, I’ll cover how to prepare different foods for dehydration, including fruit, vegetables, herbs, and a few of my favorite garden foods.
Have you ever dehydrated food at home? I’d love to hear which method you use most often—an oven, a dehydrator, or something simpler like air drying herbs.
If this post was helpful, please like and share it with a friend who enjoys gardening, preserving food, or stocking a pantry for later.
Read More Here: Zone 4B Vegetable Garden Ideas: What We Planted in 2026
 Practical Homesteading