This is the second post in my dehydration series. In the first post, I covered How to Dehydrate Food at Home: Air Drying, Oven Drying, and Dehydrators. In this post, I’m focusing on how to prepare fruits, vegetables, and herbs before drying them.
Once you have chosen a drying method, the next step is preparing the food. Not every fruit, vegetable, or herb needs the same treatment before it goes into the dehydrator.
Some foods can be washed, sliced, and placed right on the tray. Others benefit from a little extra prep, such as blanching or an acidic dip to help preserve color. Once you learn a few basic preparation methods, it becomes much easier to work through whatever your garden is producing.
If you would like a printer-friendly reference to keep in the kitchen, my Garden Drying Guide includes expanded preparation, drying time, temperature, and storage charts for garden produce.
How to Prepare Fruit for Dehydrating
Fruit is one of the simplest foods to dehydrate. Start with clean, good-quality fruit, and cut it into similarly sized pieces so it dries evenly.
Many fruits can go directly onto dehydrator trays after washing and cutting. Arrange the pieces in a single layer without touching or overlapping.
Most fruits dry well at about 135–140°F. Since dehydrators vary, use the closest setting on your machine and check food regularly as it gets closer to being finished.
Berries
Berries are one of my favorite foods to dehydrate because they are easy to prepare and so useful later. Make sure they are well dried after washing so you are not adding extra moisture to the dehydrator.
Whole blueberries and cranberries have thicker skins, so they usually need to be cracked before drying. A brief dip in boiling water followed by a quick dip in cold water can split the skins and help moisture escape.
Strawberries are also wonderful to dry. Hull them first, then slice them into even pieces so they dry more evenly. Dried strawberries are especially good in trail mix, oatmeal, muffins, and homemade granola.
Cherries
Cherries are one of my favorite dehydrated foods. They take a little more prep because they need to be pitted first, and they can take quite a while to dry. But the end result is worth it.
Once pitted, place the cherries in a single layer on the tray. Dried cherries are wonderful for snacking, trail mix, oatmeal, baking, and homemade granola.

Apples
Apples are another favorite, especially during apple season. The easiest way I have found to prepare apples is with a Johnny Apple Peeler. It cores, peels, and slices apples all at once, which makes the job go much faster.
After slicing, apples can be placed directly on the dehydrator trays. If you want to help prevent browning, dip the slices in a mixture of equal parts bottled lemon juice and water for a few minutes, then drain them well before drying. This step is optional, but it helps the apples keep a lighter color.
Dried apples are great for snacking, baking, oatmeal, and homemade trail mix.


How to Prepare Vegetables for Dehydrating
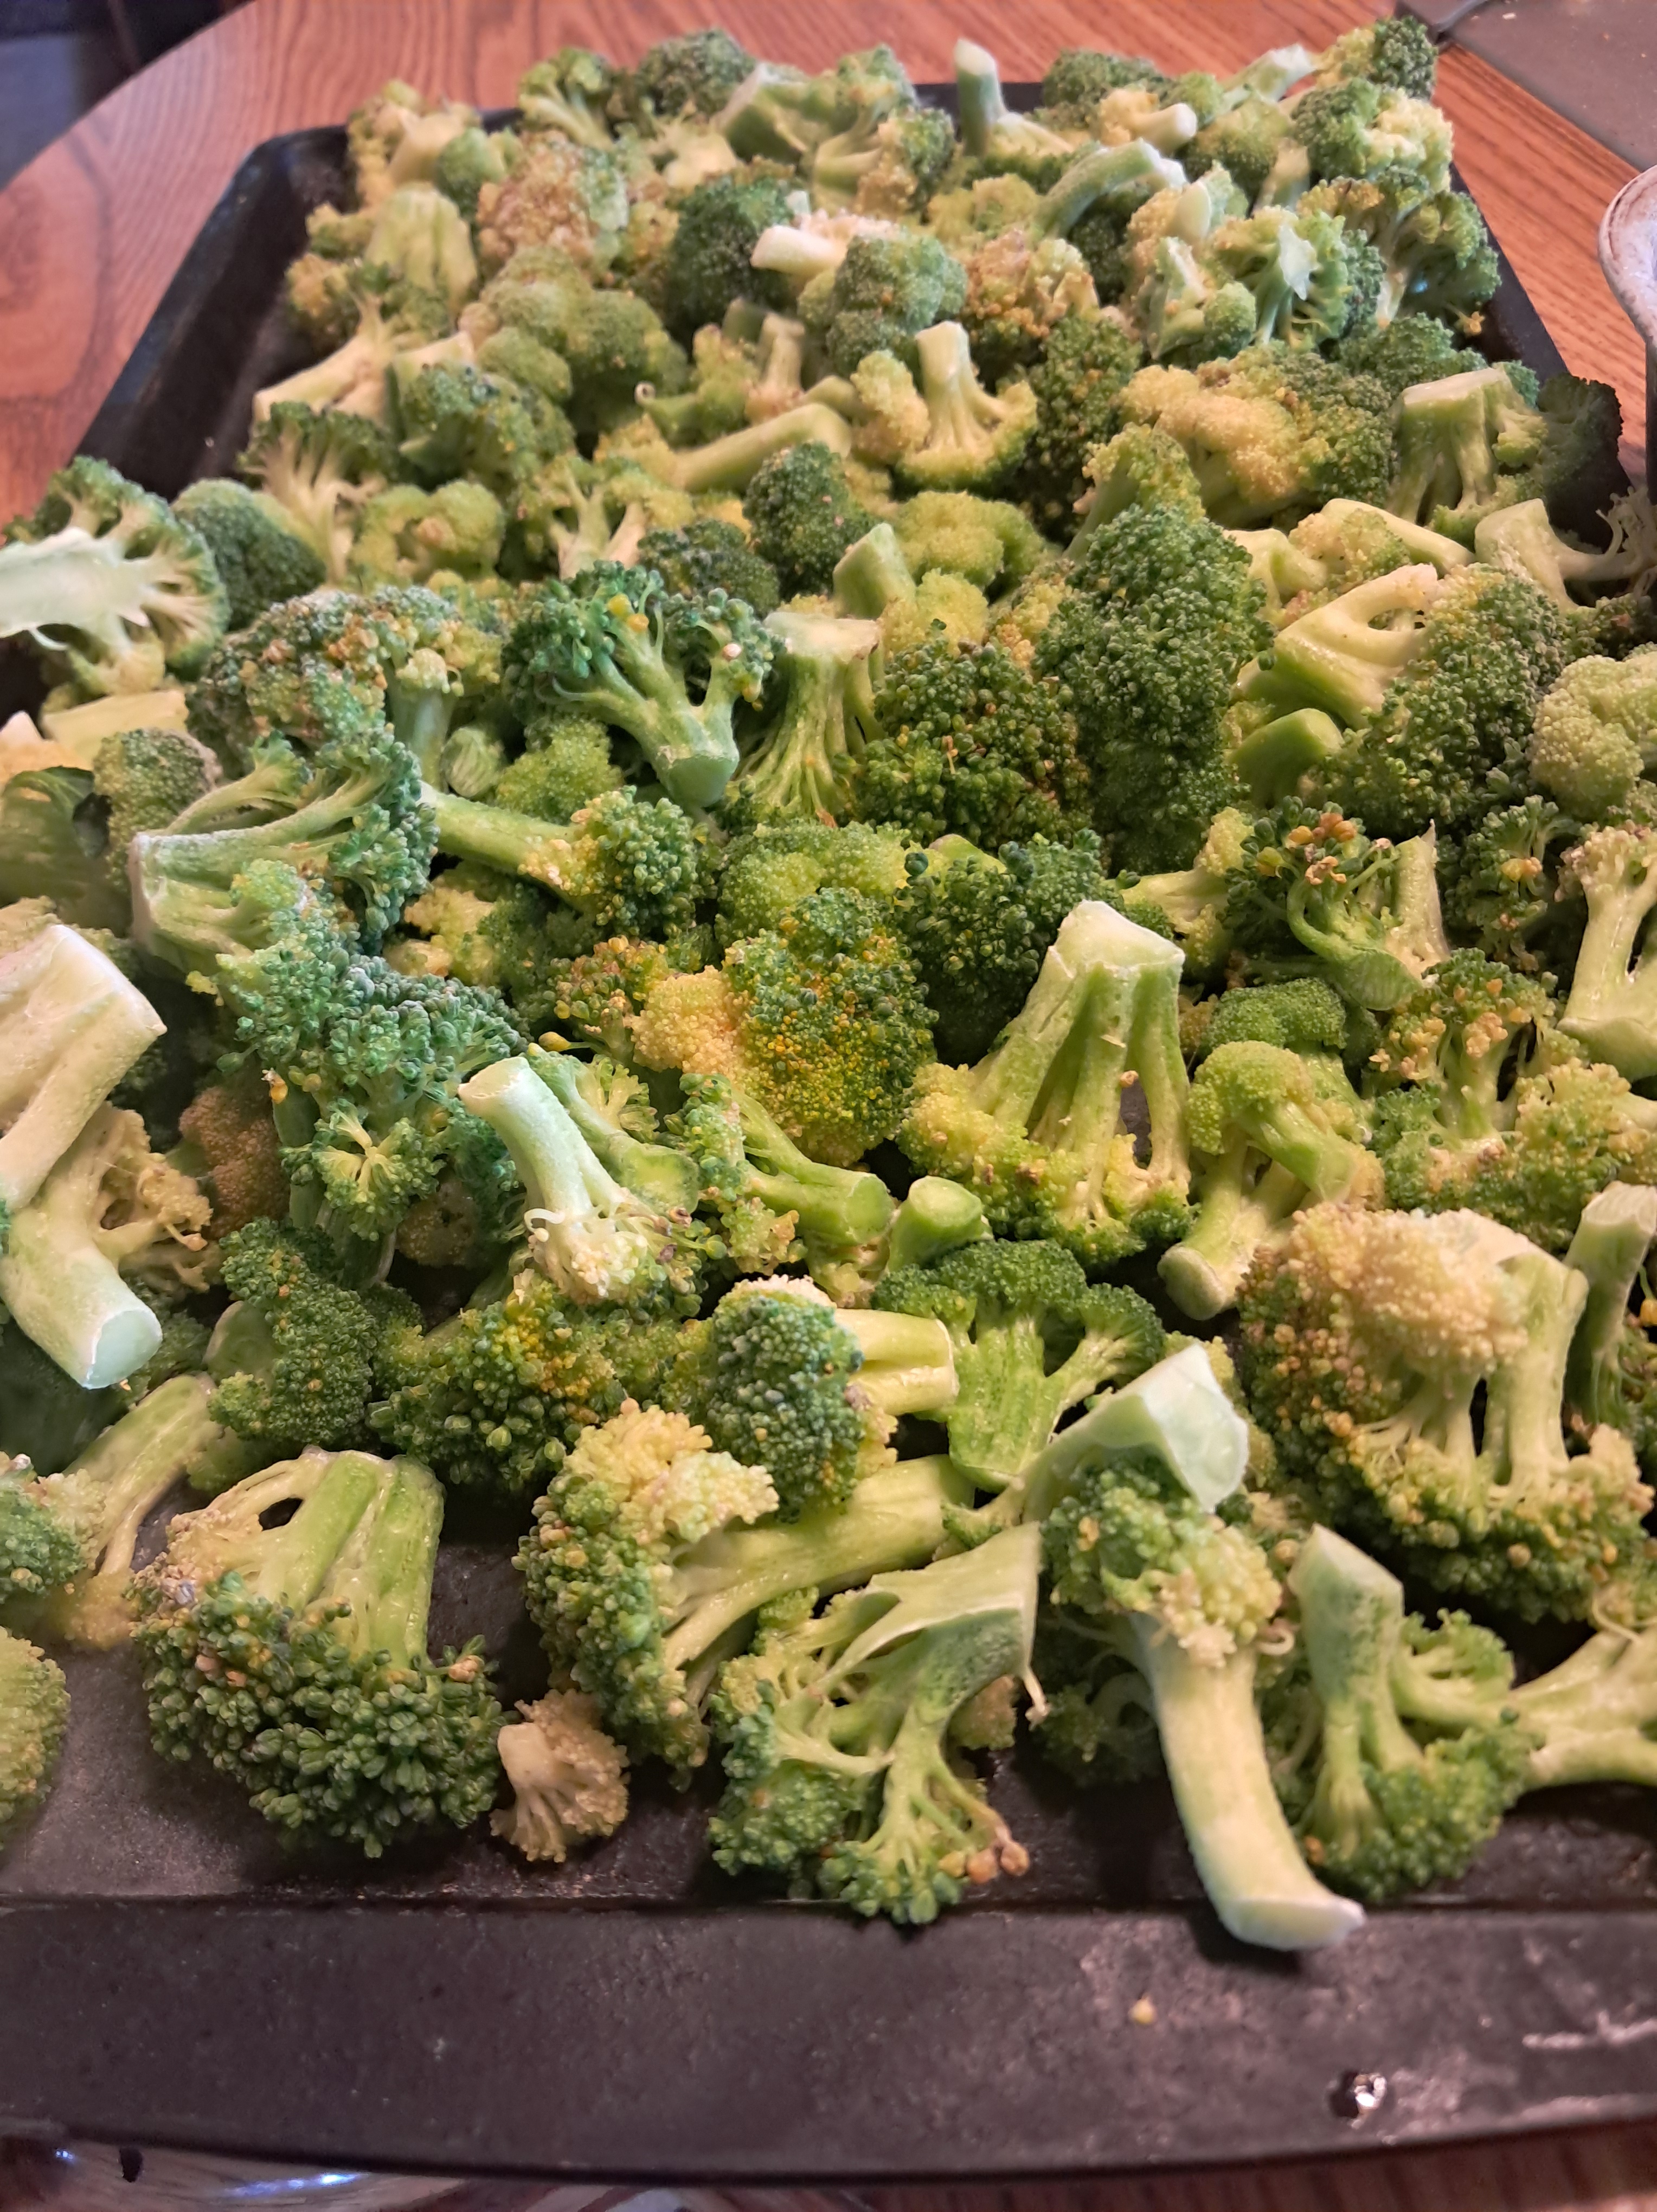
Vegetables can take a little more preparation because many benefit from blanching before drying. Blanching briefly heats the vegetables before they go into the dehydrator. It helps preserve color and quality, slows enzyme activity, and can help vegetables dry and rehydrate more evenly later.
If you need a refresher on the basic blanching process, see my post, How to Blanch and Freeze Broccoli and Other Garden Vegetables.
Vegetables that often benefit from blanching or cooking before drying include:
- Green beans
- Broccoli
- Cauliflower
- Carrots
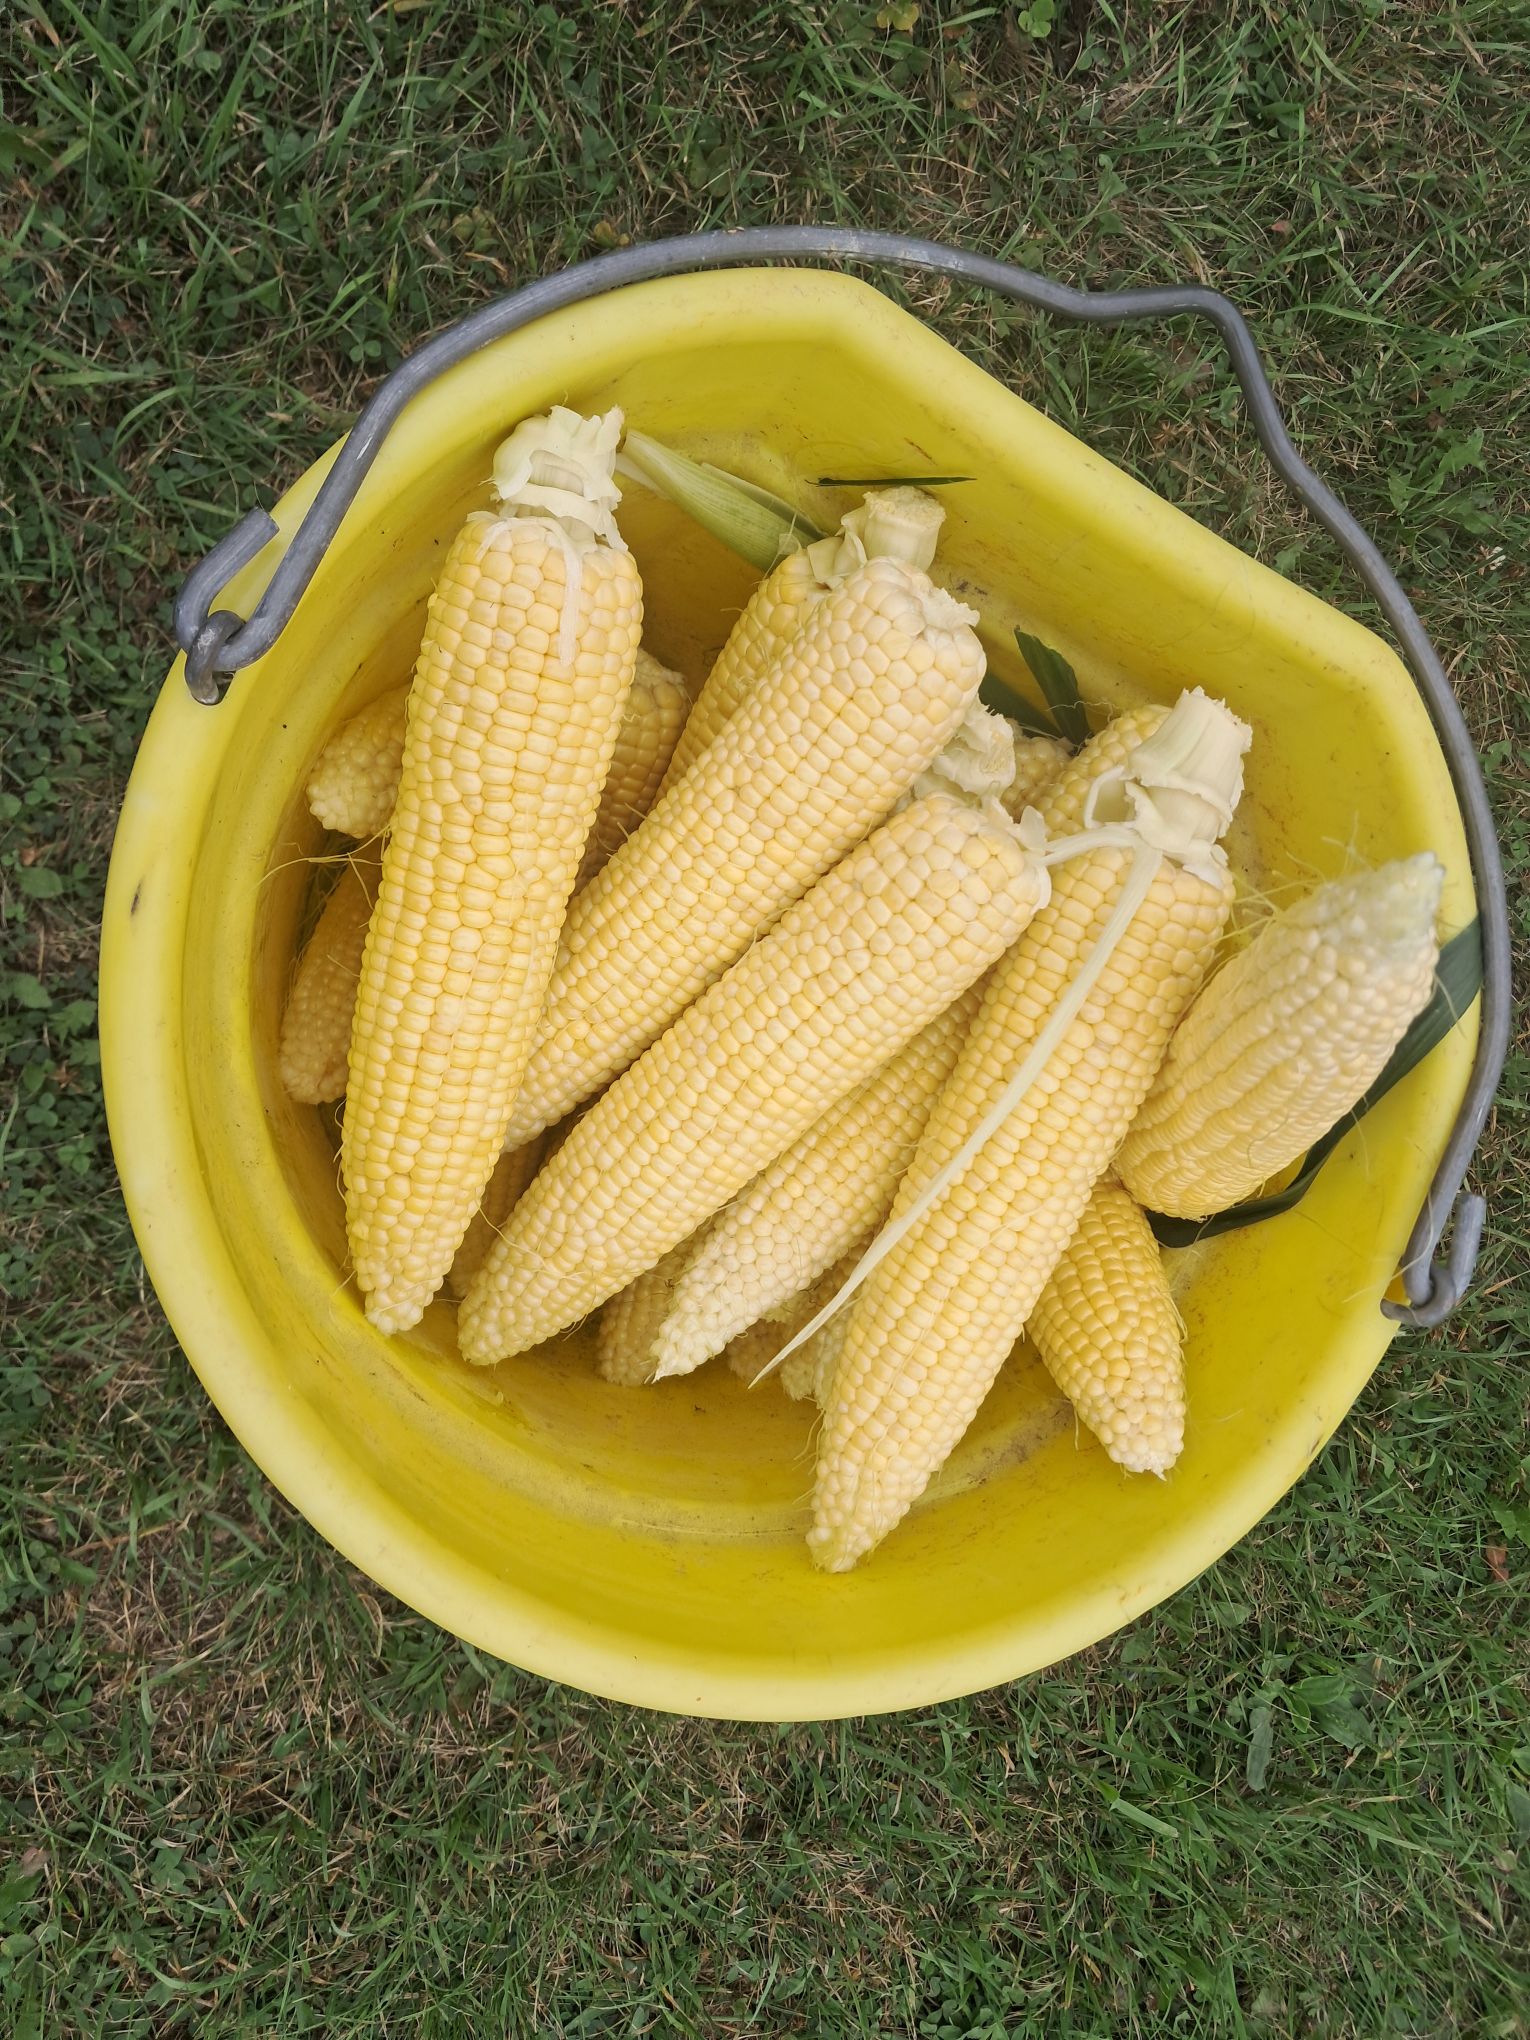
- Corn
- Peas
- Celery
After blanching, plunge the vegetables into ice water to stop the cooking process. Then drain them well before arranging them in a thin, even layer on dehydrator trays. Too much moisture or overcrowding can slow down the drying process.
Most vegetables dry well at about 135–140°F. Not every vegetable needs blanching, though. Onions, garlic, peppers, and herbs can usually be dried without that extra step.


Herbs Are One of the Easiest Foods to Dry
Herbs are one of the easiest places to start if you are new to dehydrating. Basil, mint, parsley, oregano, thyme, sage, and rosemary dry much more quickly than most fruits and vegetables.
Wash garden herbs gently if needed, then dry them very well before placing them on trays. Extra water on the leaves will make the drying process take longer.
Herbs need a lower drying temperature than fruits and vegetables. I usually dry herbs between 95–115°F so they hold onto more of their flavor and aroma.
Once the leaves are brittle and crumble easily between your fingers, they are ready to store. I like drying herbs because a little goes a long way, and it is such a satisfying way to preserve a garden harvest. It is also nice to have homegrown herbs ready to use during the winter.
A Note About Drying Times
Drying time can vary depending on the food, the thickness of the slices, the humidity in your home, and the type of dehydrator you use. Use any recommended drying time as a starting point, but always check the food itself before deciding it is finished.
Thinner, evenly cut pieces usually dry more consistently. When in doubt, let the food cool before testing it, since warm food often feels softer than it will after it cools.
Simple Dehydrating Preparation Guide
Use this chart as a quick preparation guide. Drying temperatures and times can vary a little by dehydrator model, so always check your machine’s manual and the food itself as it dries.
| Food | How to Prepare | Drying Temperature | Special Tip | Good Uses |
| Berries | Wash, dry well, and place in a single layer | 135–140°F | Crack thicker-skinned berries such as whole blueberries and cranberries before drying | Snacks, smoothies, baking, trail mix |
| Strawberries | Wash, hull, and slice into even pieces | 135–140°F | Keep slices similar in thickness for more even drying | Snacks, oatmeal, muffins, granola |
| Cherries | Wash, pit, and place in a single layer | 135–140°F | Expect a longer drying time | Snacks, oatmeal, granola, baking |
| Apples | Wash, peel or leave peel on, core, and slice | 135–140°F | Dip in lemon water if you want to reduce browning | Snacks, oatmeal, pies, trail mix |
| Blanched vegetables | Wash, cut evenly, blanch, cool, drain, and spread on trays | 135–140°F | Keep layers thin for better airflow | Soups, stews, casseroles |
| Peppers and onions | Wash, slice, and spread on trays | 135–140°F | These usually do not need blanching | Soups, chili, skillet meals |
| Herbs | Wash if needed and dry thoroughly | 95–115°F | Dry until crisp and crumbly | Seasoning blends, cooking, tea |
Want a kitchen-friendly reference?
My Garden Drying Guide includes printable preparation, temperature, drying time, storage, and rehydration charts for garden produce.
How to Tell When Food Is Dry
Fruit should be dry enough that no moisture can be squeezed from it. It is often leathery and pliable rather than brittle. When folded in half, dried fruit should not feel moist or sticky inside.
Vegetables are usually finished when they are brittle, crisp, or leathery. Herbs should crumble easily when rubbed between your fingers.
Test food after it has cooled completely, since warm food often feels softer than it will once it reaches room temperature. Once food is dry, let it cool completely before packaging it in airtight containers.
I usually label each container with the food and date so I can keep track of what needs to be used first. Store dried food in airtight containers in a cool, dark, dry place.
Next in This Series
In the next post, I’ll share one of the most useful ways to use a dehydrator: making simple meal bases that can be rehydrated later for camping, pantry meals, or busy days at home.
What are your favorite fruits, vegetables, or herbs to dehydrate from the garden? Share your go-to foods and favorite ways to use them in the comments.
If this post was helpful, please like and share it with a friend who enjoys gardening, dehydrating food, or preserving the harvest.
Read More Here: How to Make Homemade Venison Jerky: Smoked vs. Dehydrated