Category: Gardening

  • How to Dehydrate Fruits, Vegetables, and Herbs From the Garden

    How to Dehydrate Fruits, Vegetables, and Herbs From the Garden

    This is the second post in my dehydration series. In the first post, I covered How to Dehydrate Food at Home: Air Drying, Oven Drying, and Dehydrators. In this post, I’m focusing on how to prepare fruits, vegetables, and herbs before drying them.

    Once you have chosen a drying method, the next step is preparing the food. Not every fruit, vegetable, or herb needs the same treatment before it goes into the dehydrator.

    Some foods can be washed, sliced, and placed right on the tray. Others benefit from a little extra prep, such as blanching or an acidic dip to help preserve color. Once you learn a few basic preparation methods, it becomes much easier to work through whatever your garden is producing.


    IIf you would like a printer-friendly reference to keep in the kitchen, my Garden Drying Guide includes expanded preparation, drying time, temperature, and storage charts for garden produce.


    How to Prepare Fruit for Dehydrating

    Fruit is one of the simplest foods to dehydrate. Start with clean, good-quality fruit, and cut it into similarly sized pieces so it dries evenly.

    Many fruits can go directly onto dehydrator trays after washing and cutting. Arrange the pieces in a single layer without touching or overlapping.

    Most fruits dry well at about 135–140°F. Since dehydrators vary, use the closest setting on your machine and check food regularly as it gets closer to being finished.

    Berries

    Berries are one of my favorite foods to dehydrate because they are easy to prepare and so useful later. Make sure they are well dried after washing so you are not adding extra moisture to the dehydrator.

    Whole blueberries and cranberries have thicker skins, so they usually need to be cracked before drying. A brief dip in boiling water followed by a quick dip in cold water can split the skins and help moisture escape.

    Strawberries are also wonderful to dry. Hull them first, then slice them into even pieces so they dry more evenly. Dried strawberries are especially good in trail mix, oatmeal, muffins, and homemade granola.

    Cherries

    Cherries are one of my favorite dehydrated foods. They take a little more prep because they need to be pitted first, and they can take quite a while to dry. But the end result is worth it.

    Once pitted, place the cherries in a single layer on the tray. Dried cherries are wonderful for snacking, trail mix, oatmeal, baking, and homemade granola.
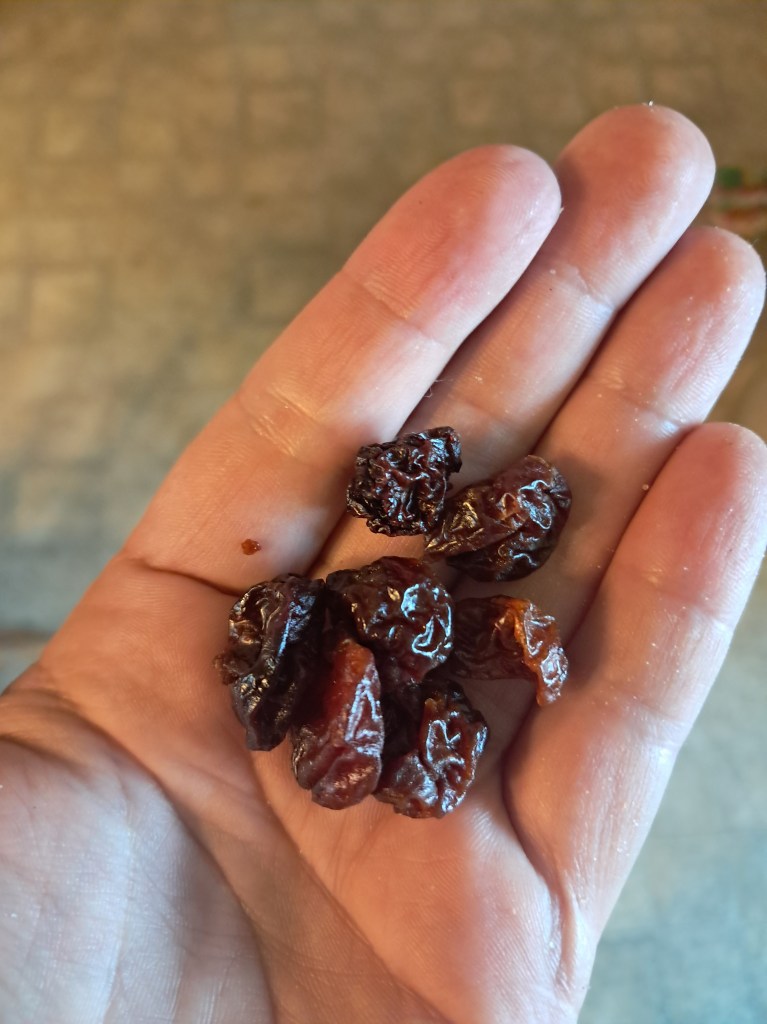
    Dehydrated cherries are a wonderful dried snack.

    Apples

    Apples are another favorite, especially during apple season. The easiest way I have found to prepare apples is with a Johnny Apple Peeler. It cores, peels, and slices apples all at once, which makes the job go much faster.

    After slicing, apples can be placed directly on the dehydrator trays. If you want to help prevent browning, dip the slices in a mixture of equal parts bottled lemon juice and water for a few minutes, then drain them well before drying. This step is optional, but it helps the apples keep a lighter color.

    Dried apples are great for snacking, baking, oatmeal, and homemade trail mix.
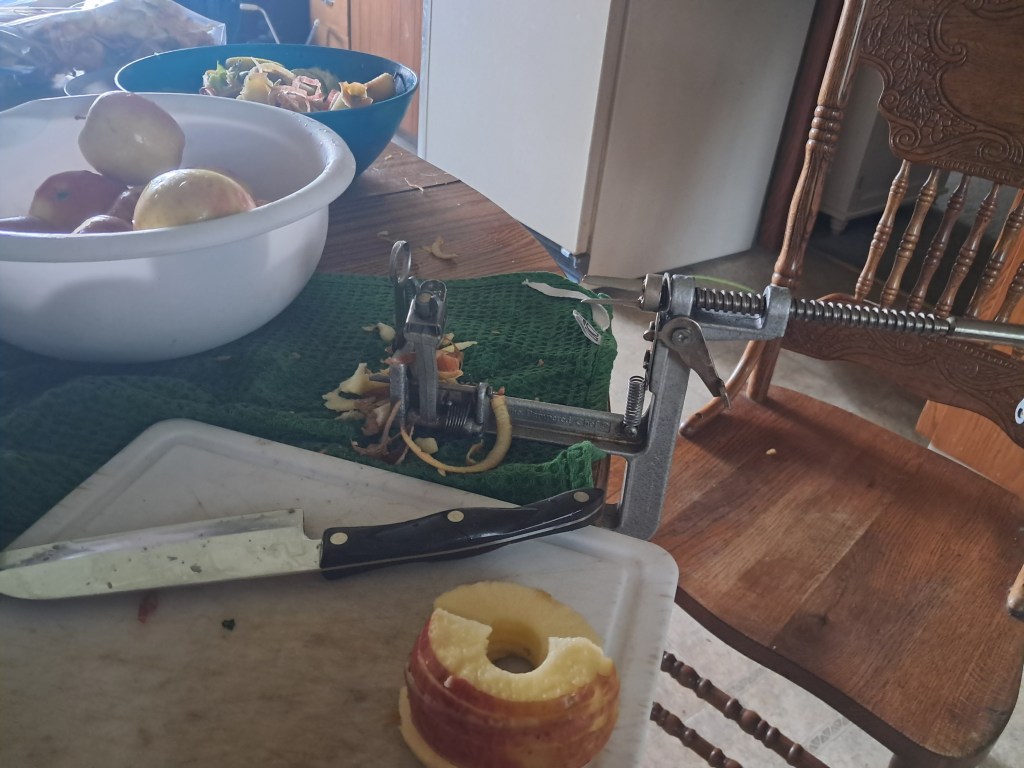
    I use a Johnny Apple Peeler to core, peel, and slice the apples in thin strips for the dehydrator.
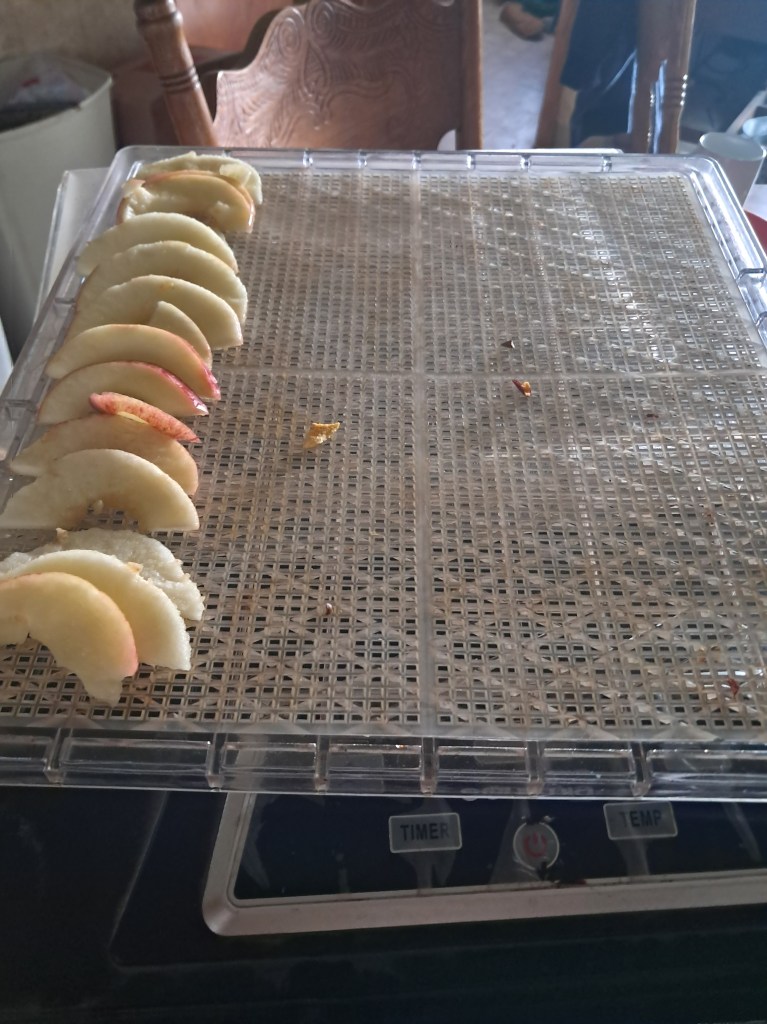
    Stack the pieces neatly on a dehydrator tray. You can optionally dip them in a lemon juice/water mixture to prevent browning (I don’t).
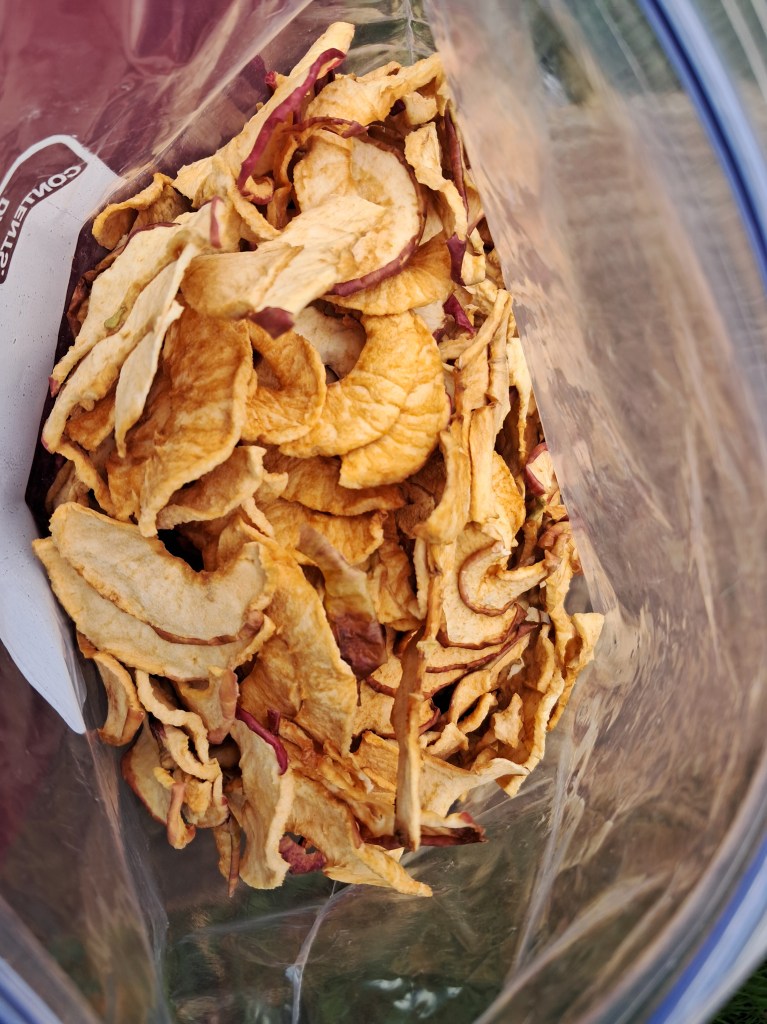
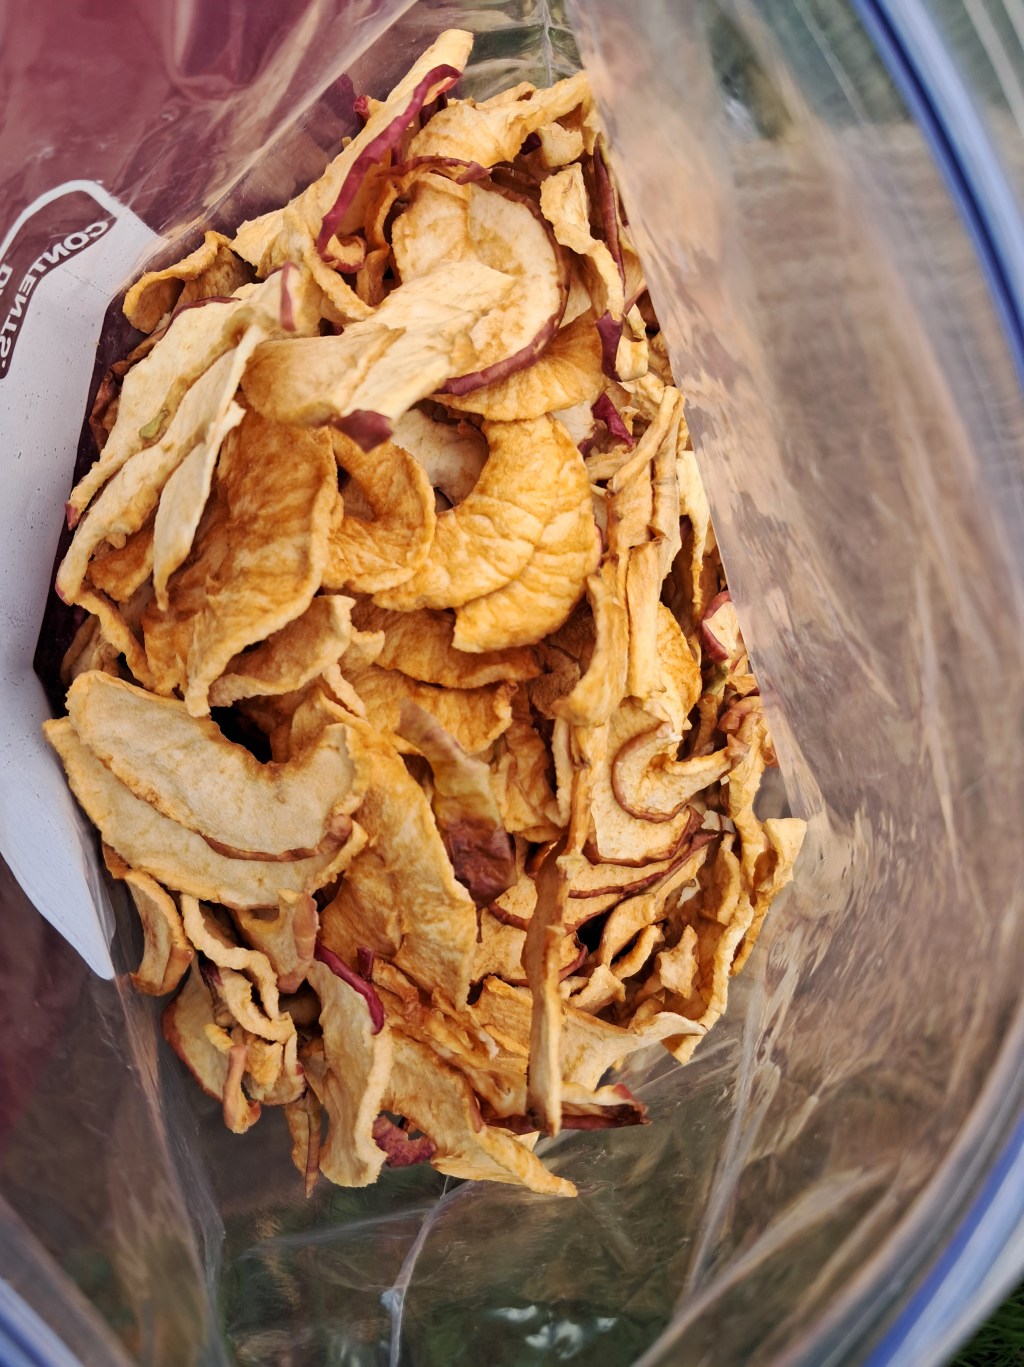
    After 8-12 hours, you get these delicious chips that are perfect on their own or in trail mix!

    How to Prepare Vegetables for Dehydrating

    Vegetables can take a little more preparation because many benefit from blanching before drying. Blanching briefly heats the vegetables before they go into the dehydrator. It helps preserve color and quality, slows enzyme activity, and can help vegetables dry and rehydrate more evenly later.

    If you need a refresher on the basic blanching process, see my post, How to Blanch and Freeze Broccoli and Other Garden Vegetables.

    Vegetables that often benefit from blanching or cooking before drying include:

    • Green beans
    • Broccoli
    • Cauliflower
    • Carrots
    • Corn
    • Peas
    • Celery

    After blanching, plunge the vegetables into ice water to stop the cooking process. Then drain them well before arranging them in a thin, even layer on dehydrator trays. Too much moisture or overcrowding can slow down the drying process.

    Most vegetables dry well at about 135–140°F. Not every vegetable needs blanching, though. Onions, garlic, peppers, and herbs can usually be dried without that extra step.
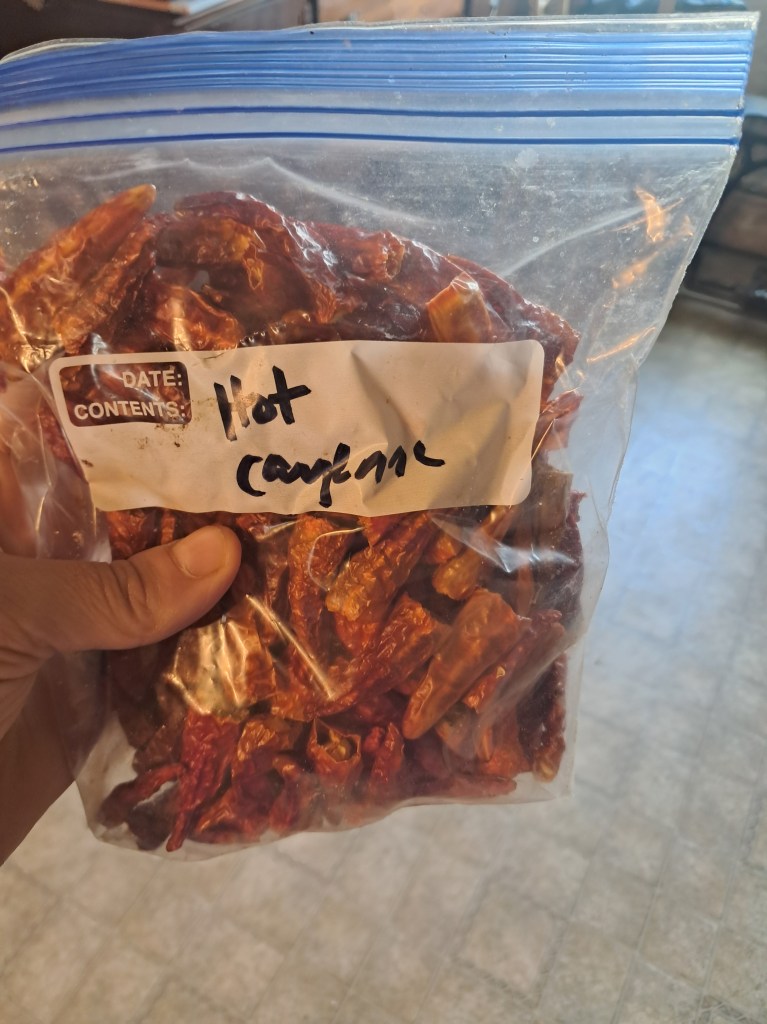
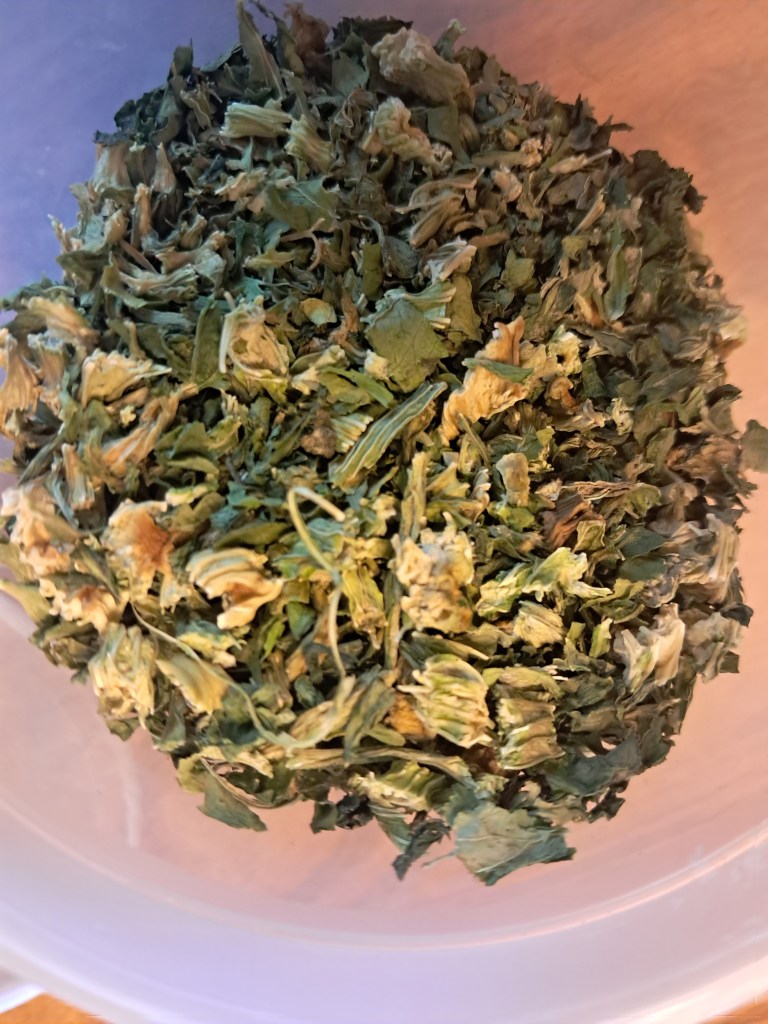
    Peppers (including cayenne) do not need to be blanched before drying.
    While blanching is not necessary for dried celery, the process helps preserve the vibrant green color.

    Herbs Are One of the Easiest Foods to Dry

    Herbs are one of the easiest places to start if you are new to dehydrating. Basil, mint, parsley, oregano, thyme, sage, and rosemary dry much more quickly than most fruits and vegetables.

    Wash garden herbs gently if needed, then dry them very well before placing them on trays. Extra water on the leaves will make the drying process take longer.

    Herbs need a lower drying temperature than fruits and vegetables. I usually dry herbs between 95–115°F so they hold onto more of their flavor and aroma.

    Once the leaves are brittle and crumble easily between your fingers, they are ready to store. I like drying herbs because a little goes a long way, and it is such a satisfying way to preserve a garden harvest. It is also nice to have homegrown herbs ready to use during the winter.

    A Note About Drying Times

    Drying time can vary depending on the food, the thickness of the slices, the humidity in your home, and the type of dehydrator you use. Use any recommended drying time as a starting point, but always check the food itself before deciding it is finished.

    Thinner, evenly cut pieces usually dry more consistently. When in doubt, let the food cool before testing it, since warm food often feels softer than it will after it cools.

    Simple Dehydrating Preparation Guide

    Use this chart as a quick preparation guide. Drying temperatures and times can vary a little by dehydrator model, so always check your machine’s manual and the food itself as it dries.

    FoodHow to PrepareDrying TemperatureSpecial TipGood Uses
    BerriesWash, dry well, and place in a single layer135–140°FCrack thicker-skinned berries such as whole blueberries and cranberries before dryingSnacks, smoothies, baking, trail mix
    StrawberriesWash, hull, and slice into even pieces135–140°FKeep slices similar in thickness for more even dryingSnacks, oatmeal, muffins, granola
    CherriesWash, pit, and place in a single layer135–140°FExpect a longer drying timeSnacks, oatmeal, granola, baking
    ApplesWash, peel or leave peel on, core, and slice135–140°FDip in lemon water if you want to reduce browningSnacks, oatmeal, pies, trail mix
    Blanched vegetablesWash, cut evenly, blanch, cool, drain, and spread on trays135–140°FKeep layers thin for better airflowSoups, stews, casseroles
    Peppers and onionsWash, slice, and spread on trays135–140°FThese usually do not need blanchingSoups, chili, skillet meals
    HerbsWash if needed and dry thoroughly95–115°FDry until crisp and crumblySeasoning blends, cooking, tea

    Want a kitchen-friendly reference?

    My Garden Drying Guide includes printable preparation, temperature, drying time, storage, and rehydration charts for garden produce.


    How to Tell When Food Is Dry

    Fruit should be dry enough that no moisture can be squeezed from it. It is often leathery and pliable rather than brittle. When folded in half, dried fruit should not feel moist or sticky inside.

    Vegetables are usually finished when they are brittle, crisp, or leathery. Herbs should crumble easily when rubbed between your fingers.

    Test food after it has cooled completely, since warm food often feels softer than it will once it reaches room temperature. Once food is dry, let it cool completely before packaging it in airtight containers.

    I usually label each container with the food and date so I can keep track of what needs to be used first. Store dried food in airtight containers in a cool, dark, dry place.

    Next in This Series

    In the next post, I’ll share one of the most useful ways to use a dehydrator: making simple meal bases that can be rehydrated later for camping, pantry meals, or busy days at home.


    What are your favorite fruits, vegetables, or herbs to dehydrate from the garden? Share your go-to foods and favorite ways to use them in the comments.

    If this post was helpful, please like and share it with a friend who enjoys gardening, dehydrating food, or preserving the harvest.

    Read More Here: How to Make Homemade Venison Jerky: Smoked vs. Dehydrated
  • How to Dehydrate Food at Home: Air Drying, Oven Drying, and Dehydrators

    How to Dehydrate Food at Home: Air Drying, Oven Drying, and Dehydrators

    I love the many different ways food can be preserved at home and enjoyed throughout the year. In my last three posts, I covered different methods of freezing garden produce. Today, I’m starting a new preservation series with one of the oldest methods: dehydration.

    Dehydration removes most of the moisture from food, which changes its texture and helps it keep longer when it is dried and stored properly. Some foods become chewy, some become crisp, and some can later be rehydrated and added to soups, casseroles, or other meals.


    In this dehydration series, I’ll cover three simple topics:


    Want a kitchen-friendly reference?
    My Garden Drying Guide includes printable preparation, temperature, drying time, storage, and rehydration charts for garden produce.


    There are several ways to dry food at home. Some are simple and inexpensive, while others take a little more equipment. The important things are gentle heat, moving air, and enough time for moisture to leave the food before it has a chance to spoil or mold.


    Drying Methods at a Glance

    Before we get into each method, here is a quick look at the different ways you can dry food at home.

    Drying MethodBest ForWhat You NeedBenefitsThings to Keep in Mind
    Air dryingHerbs, stale bread for croutons or bread crumbsCookie sheet, drying rack, or hanging bundles; a dry indoor space with airflowSimple, inexpensive, and requires no special equipmentBest for herbs and dry bread rather than fresh produce; protect food from dust and moisture; do not overcrowd pans
    Sun dryingFruit in hot, dry climatesDrying racks or screens, insect protection, and consistent sunshineTraditional method with no electricity requiredDepends on hot, dry weather; bring food in at night; protect it from insects and animals; not practical in every climate
    Oven dryingSmall batches, tomato paste, and foods you want to dry without a dehydratorLow-temperature oven, racks or trays, and careful monitoringUses equipment many people already ownWorks best if the oven can hold about 140–150°F; moisture needs a way to escape; can use more energy and requires close attention
    Dedicated dehydratorRegular dehydrating, garden harvests, larger batches, and more consistent resultsElectric dehydrator and traysConsistent airflow and temperature control; useful for larger batchesCosts more upfront; round models may need tray rotation, while rectangular models often provide more even airflow

    Air Drying Food at Home

    The most basic drying method is air drying. This works especially well for herbs such as basil, mint, and parsley. You can spread clean, dry leaves in a thin layer or hang small bundles in a dry place with good airflow until they are fully dry.

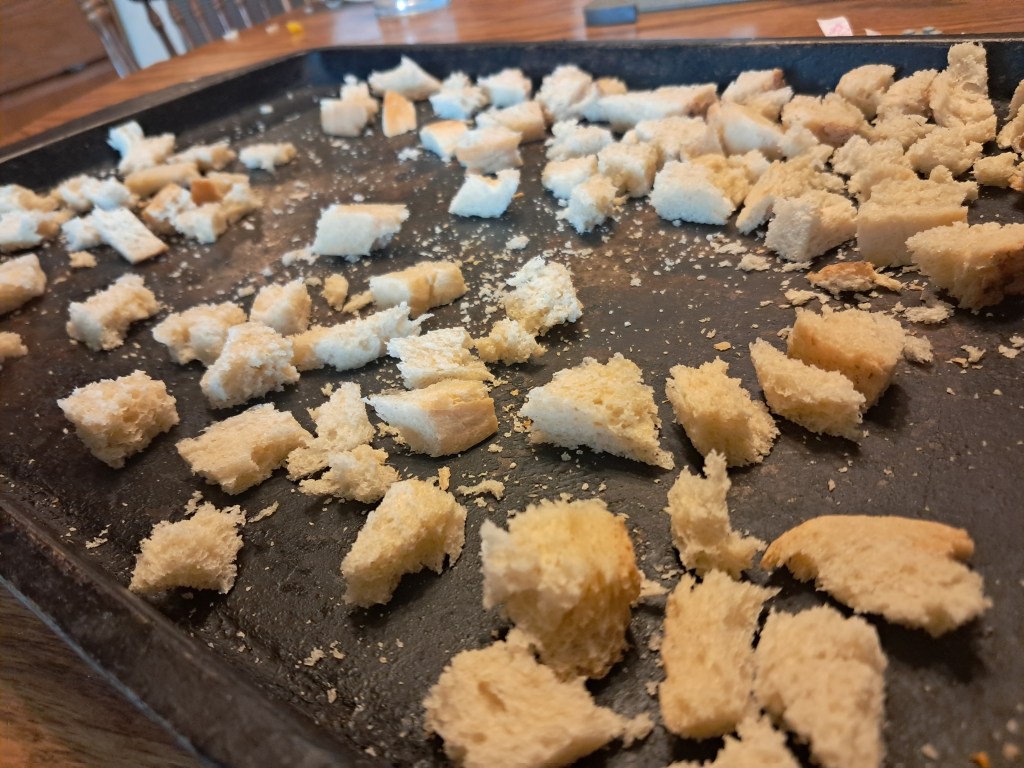
    I have also used this method very effectively with old stale bread. I cut the bread into cubes for croutons or crumble it for homemade bread crumbs, then spread it on a cookie sheet in a dry spot out of the way and stir it from time to time. It is a simple way to use bread that might otherwise go to waste.

    The key with air drying is not to overcrowd the pan or pile the food too densely. Food needs plenty of room for air to move around it. Stir small pieces occasionally, and make sure everything is completely dry before putting it away.

    Dehydrating old bread for crutons or bread crumbs couldn’t be easier

    Sun Drying Food

    Sun drying is another traditional preservation method, although it is not one I have used enough to give much personal advice about it. Between my roaming chickens and other curious homestead critters, I am afraid my food would be gone before I got the chance to enjoy it myself.

    Sun drying is similar to air drying, but it depends on consistently hot, dry, sunny weather. It is most practical in climates with very low humidity, which is also not here in southeastern Wisconsin. In more humid areas, food may mold before it has a chance to dry thoroughly, so an oven or dehydrator is usually a more dependable choice.

    If you do try sun drying, protect food from insects and animals, bring it in at night, and watch the weather closely. Because sun drying depends so heavily on the weather, I see it as more of a traditional option than an everyday preservation method for my own kitchen.

    How to Use an Oven as a Dehydrator

    Before I owned a dedicated dehydrator, I used my oven often. It works, although it does take a little extra attention.

    Spread food in a single layer on oven-safe drying racks or trays. If your oven can be set as low as 140–150°F, that is ideal for many fruits and vegetables. Prop the oven door open slightly so moisture can escape, and check the food regularly.

    I still use the oven method when I make tomato paste because it works so well. Creating tomato paste from juiced tomatoes takes time, but the slow oven heat helps cook down and dry the tomatoes into something thick, rich, and caramelized.

    Oven drying can be less efficient than using a dedicated dehydrator, and not every oven holds a low temperature evenly. Check food regularly, especially toward the end, so it does not scorch or become overly brittle. Always follow your oven manufacturer’s guidance, and do not leave a propped-open oven unattended.

    If your oven’s lowest setting is 170°F, it can still be useful for certain projects. Just check food often, since the higher heat can dry the outside more quickly than the inside.

    Why I Prefer a Dedicated Dehydrator

    My favorite method is using a dedicated dehydrator. These machines are made to move heated air steadily over the food, which helps it dry more evenly. They also make it much easier to control the temperature, which is helpful when you are drying different kinds of food.

    There are two common styles of dehydrators. Round or stacked-tray dehydrators usually move air vertically through the unit. Rectangular dehydrators generally move heated air from the back across the trays.

    I have used both kinds, and I personally prefer rectangular dehydrators. For me, the results seem more even, and I find the trays easier to load. I like being able to spread food out in a single layer without trying to fit everything around a center opening. The biggest downside is that rectangular dehydrators are usually more expensive.

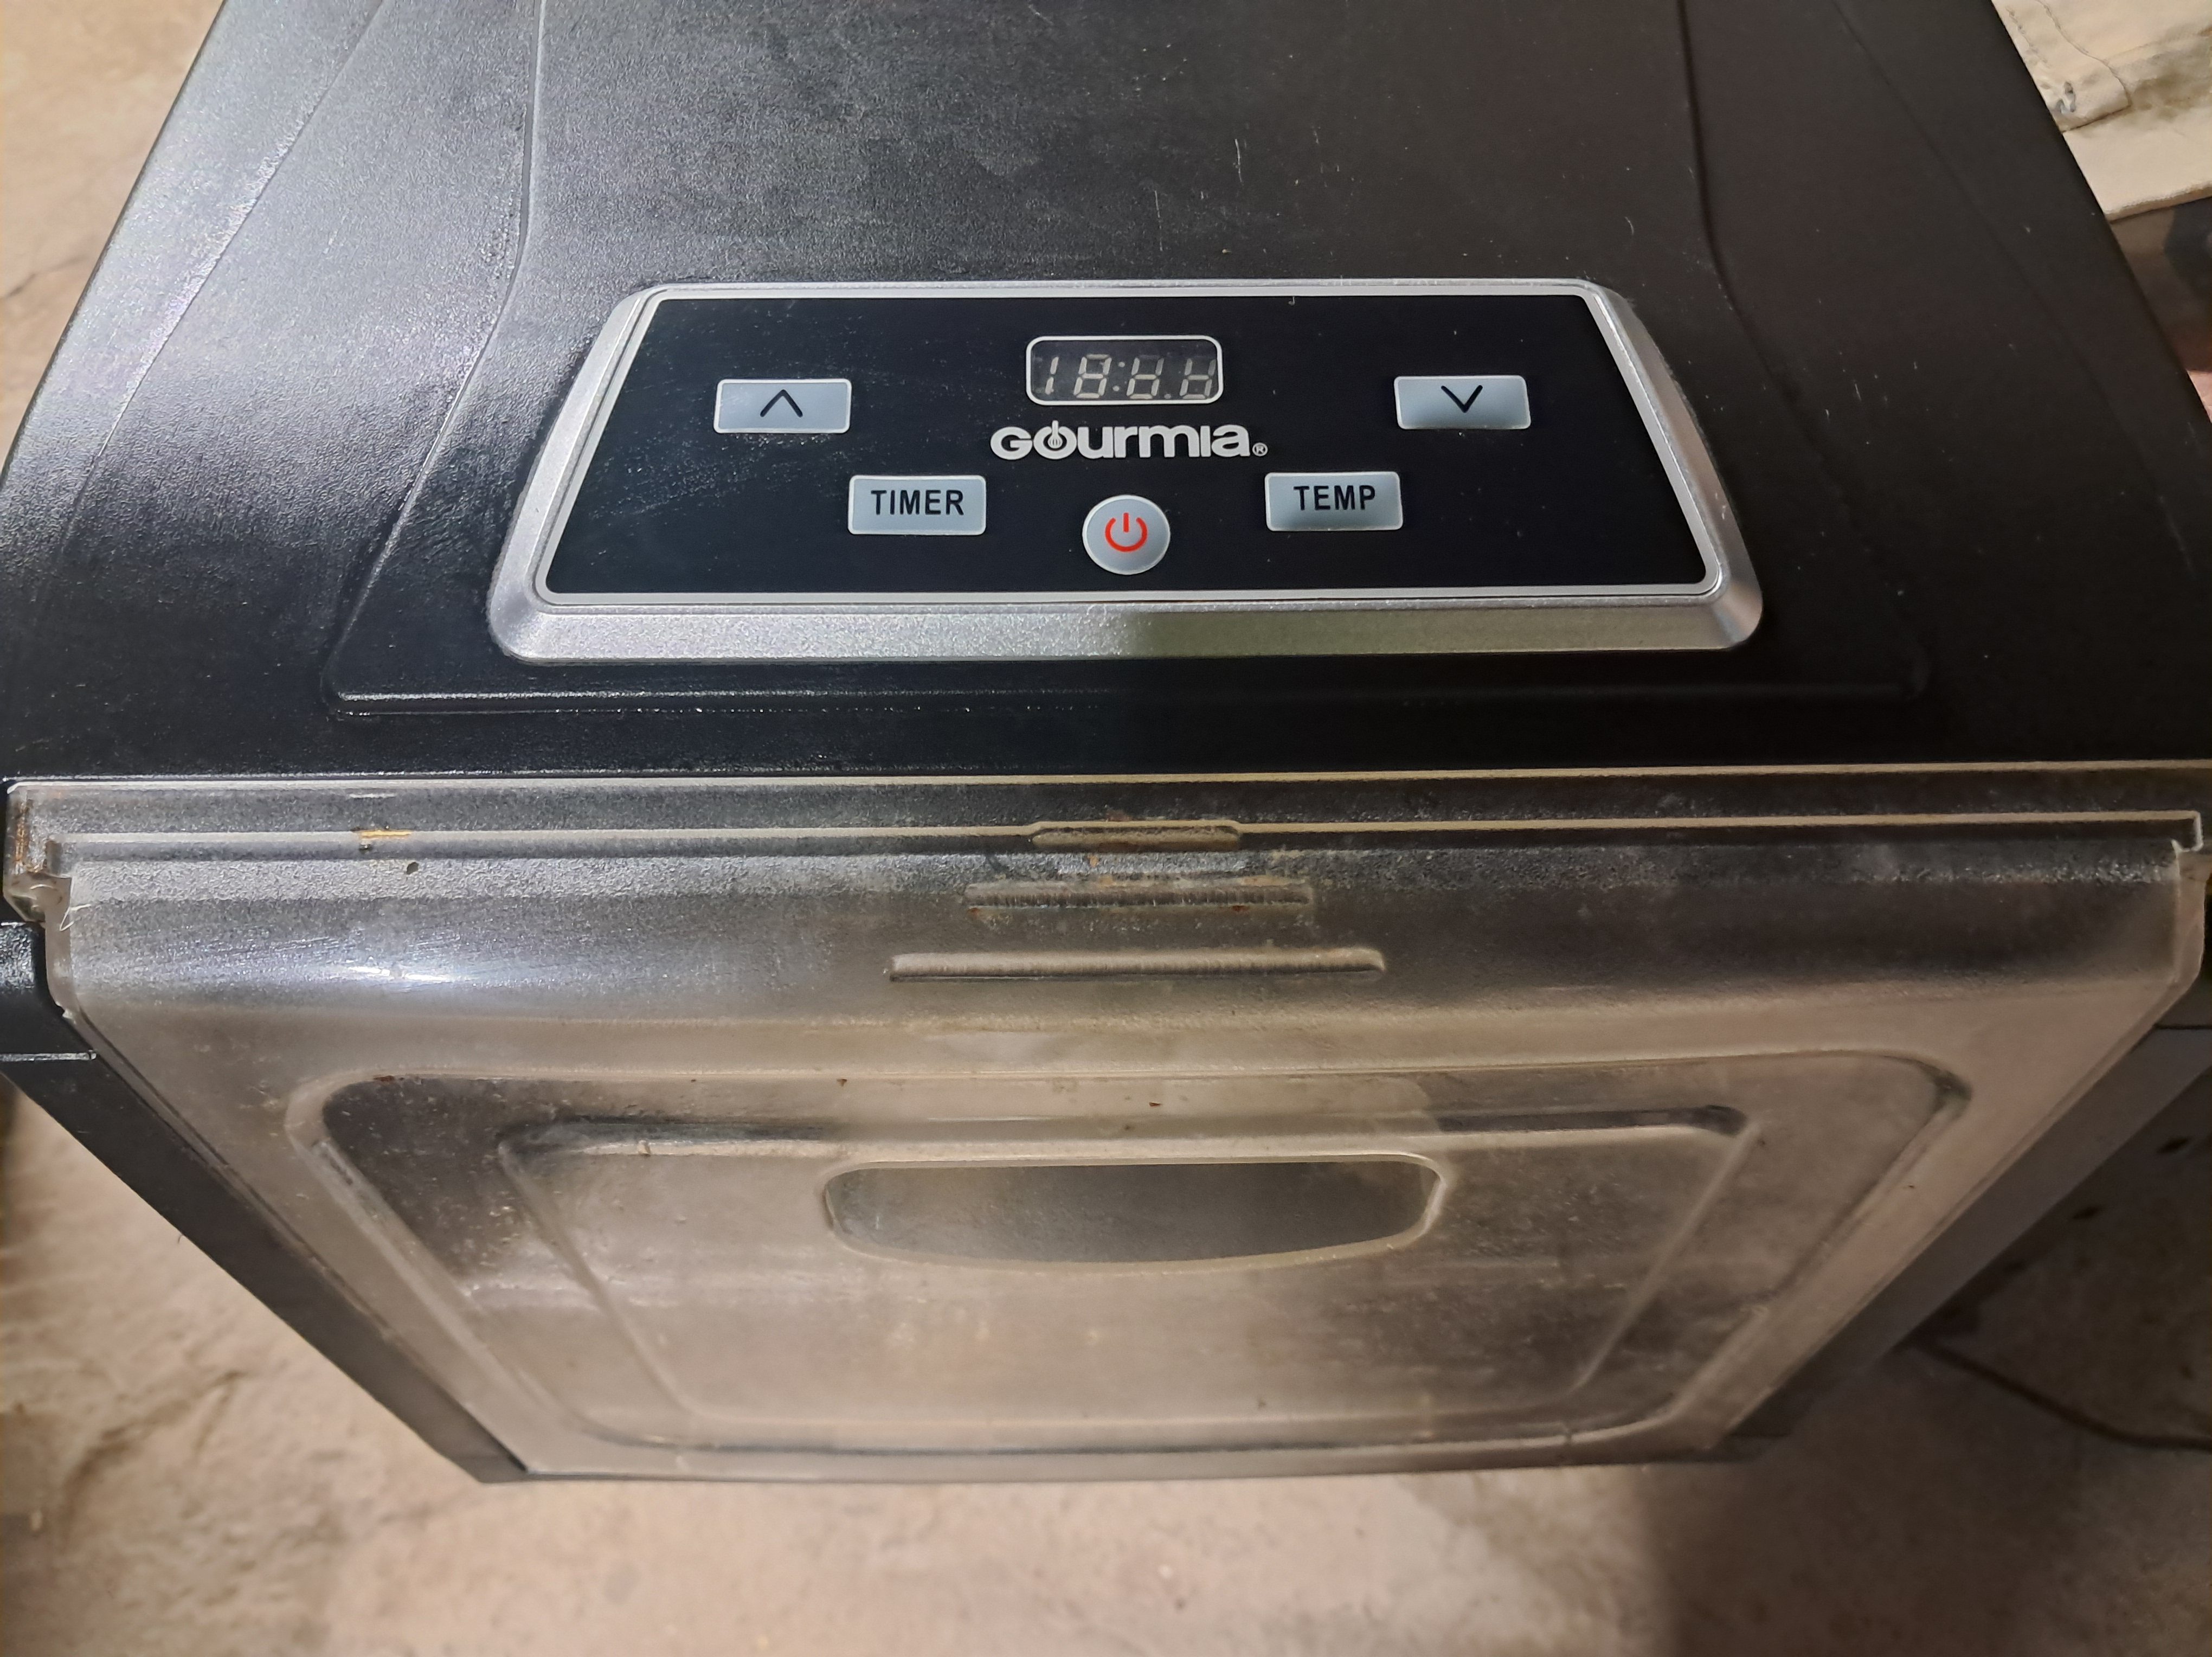
    Here’s the rectangular dehydrator that I use.

    Horizontal-airflow dehydrators can be especially helpful when you are drying different foods at once because the air moves evenly across the trays. Vertical-flow models can work well too, but they may require more tray rotation for even drying.

    Basic Tips for Dehydrating Food

    No matter which drying method you use, a few habits make a big difference:

    • Start with fresh, good-quality food. Drying will not improve food that is already bruised, moldy, or beginning to spoil.
    • Wash and prepare food before drying.
    • Cut pieces into similar sizes so they dry evenly.
    • Arrange food in a single layer without overlapping.
    • Stir small pieces or rotate trays when needed.
    • Let dried food cool before testing it or packaging it.
    • If you are unsure whether something is dry enough, give it a little more time. It is better to dry food thoroughly than to store it with hidden moisture.
    • Remember that warm food can feel softer than it will after cooling.

    Fruits should usually be leathery or pliable, with no moisture squeezing out when pressed. Vegetables are often dry when they are crisp, brittle, or leathery. Herbs should crumble easily between your fingers.

    Storing Dried Food

    Let dried food cool completely before putting it into airtight jars, containers, or bags. Label each container with the food and date, then store it in a cool, dark, dry place.

    If you notice moisture collecting inside a container after a day or two, return the food to the dehydrator before storing it again. I usually label each container with the food and date so I can keep track of what needs to be used first.

    Taking the time to cool, label, and store dried food properly helps protect your hard work and keeps it ready to use later.

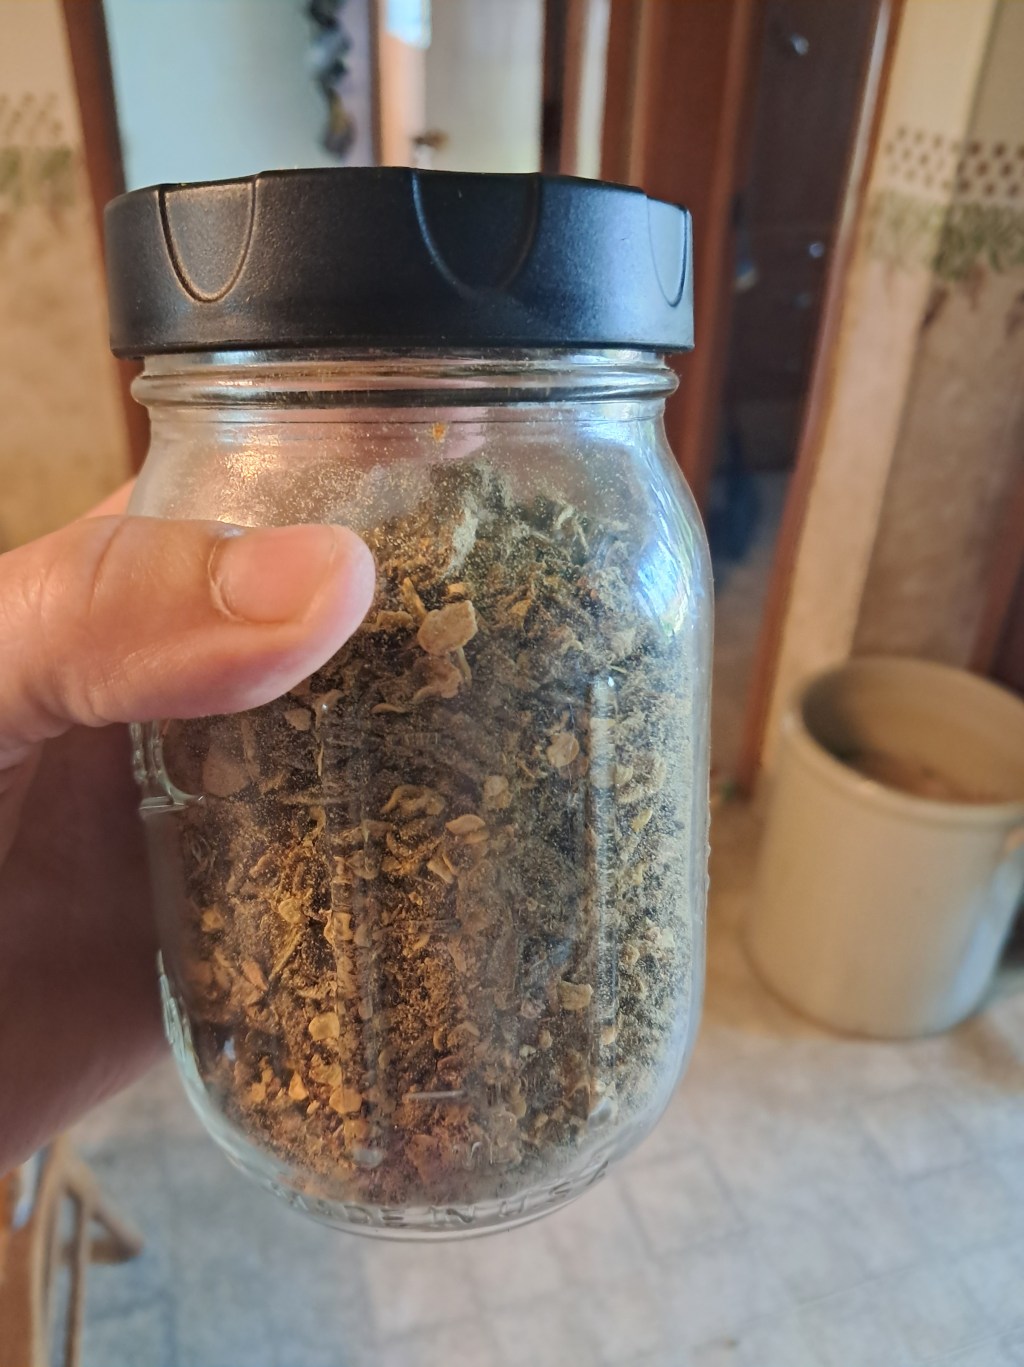
    Properly dehydrated food typically keeps for 6 months to 1 year at peak quality when stored in a cool, dark, and dry place. While safe to eat for longer if kept completely dry, quality, flavor, and nutrients begin to fade after 12 months

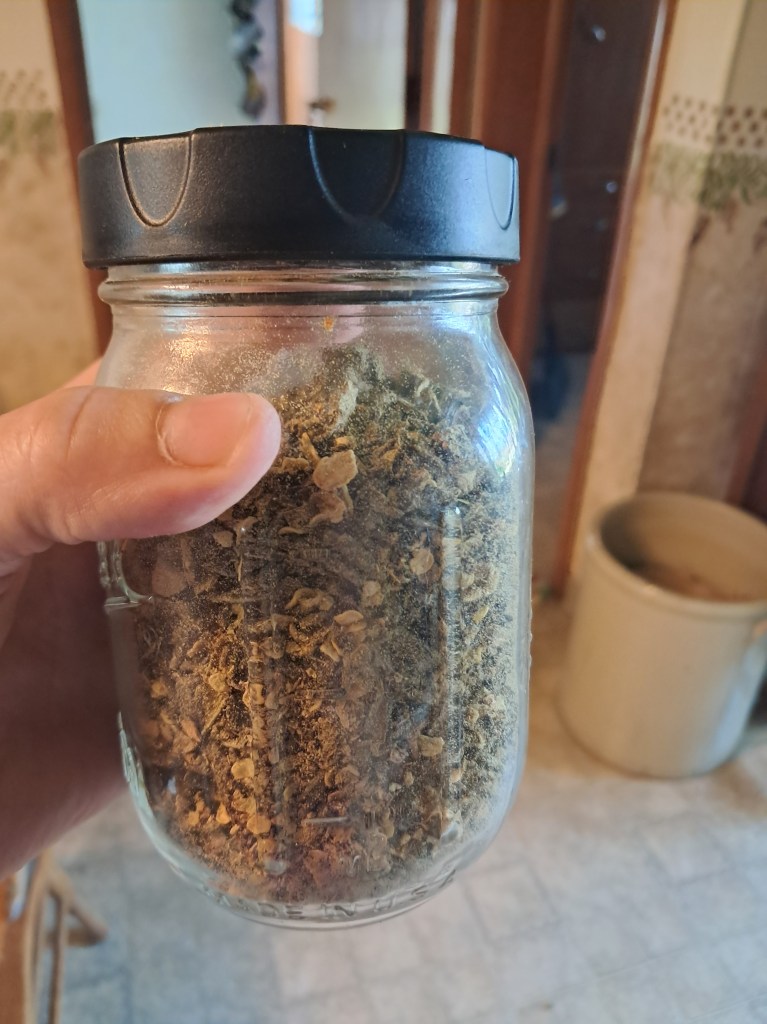
    Dehydrated jalopeno peppers make a wonderful (if potent) spice addition and keep a long time in a dry dark space.

    Next in This Series

    In the next post, I’ll cover how to prepare different foods for dehydration, including fruit, vegetables, herbs, and a few of my favorite garden foods.


    Have you ever dehydrated food at home? I’d love to hear which method you use most often—an oven, a dehydrator, or something simpler like air drying herbs.

    If this post was helpful, please like and share it with a friend who enjoys gardening, preserving food, or stocking a pantry for later.

    Read More Here: Zone 4B Vegetable Garden Ideas: What We Planted in 2026

  • How to Freeze Cooked Garden Vegetables Like Beets, Corn, and Winter Squash

    How to Freeze Cooked Garden Vegetables Like Beets, Corn, and Winter Squash

    This post is the last in my garden freezing series, where I’m sharing three simple ways to preserve the harvest:

    • easy no-blanch freezer foods,
    • blanch-and-freeze vegetables, and
    • cooked vegetables for the freezer.

    In this post, I’m covering the final step — freezing cooked garden vegetables.


    Want all three freezer methods in one printable guide?


    Why Freeze Cooked Vegetables?

    Some garden vegetables freeze best after they’ve been fully cooked first. It adds a little extra prep, but for certain vegetables it helps preserve texture and makes them easier to use later.

    How to Freeze Beets

    Beets are one of the best examples. I cook them until tender, let them cool, then peel and slice or cube them before freezing. Sometimes I freeze them plain, and other times I season them lightly depending on how I think I’ll use them later. Frozen cooked beets are great for salads, side dishes, or reheating with a little butter and salt.

    How to Freeze Corn

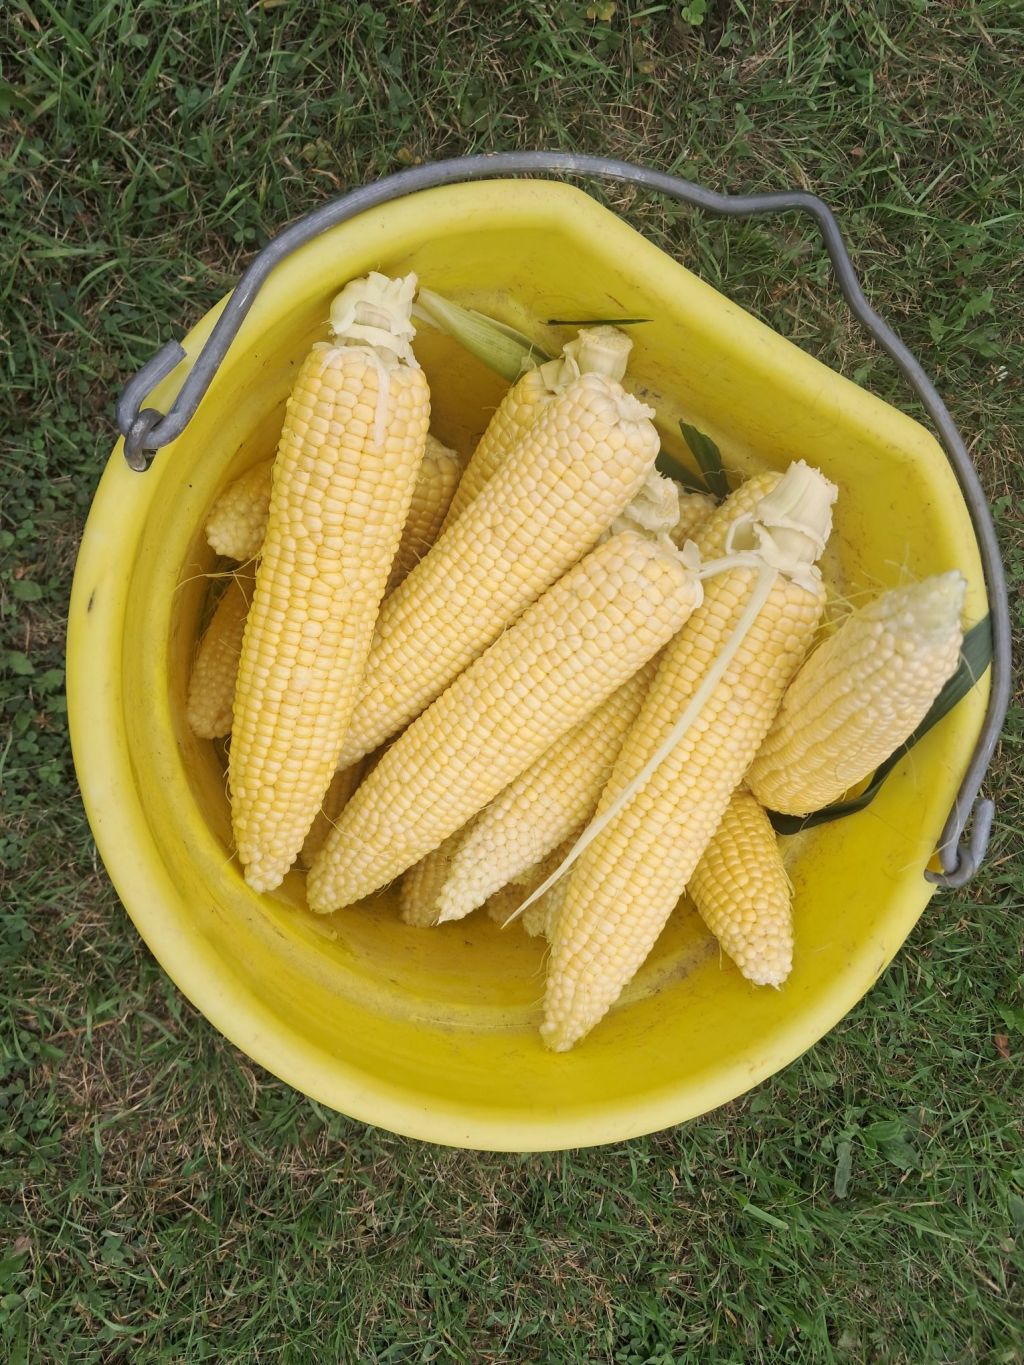
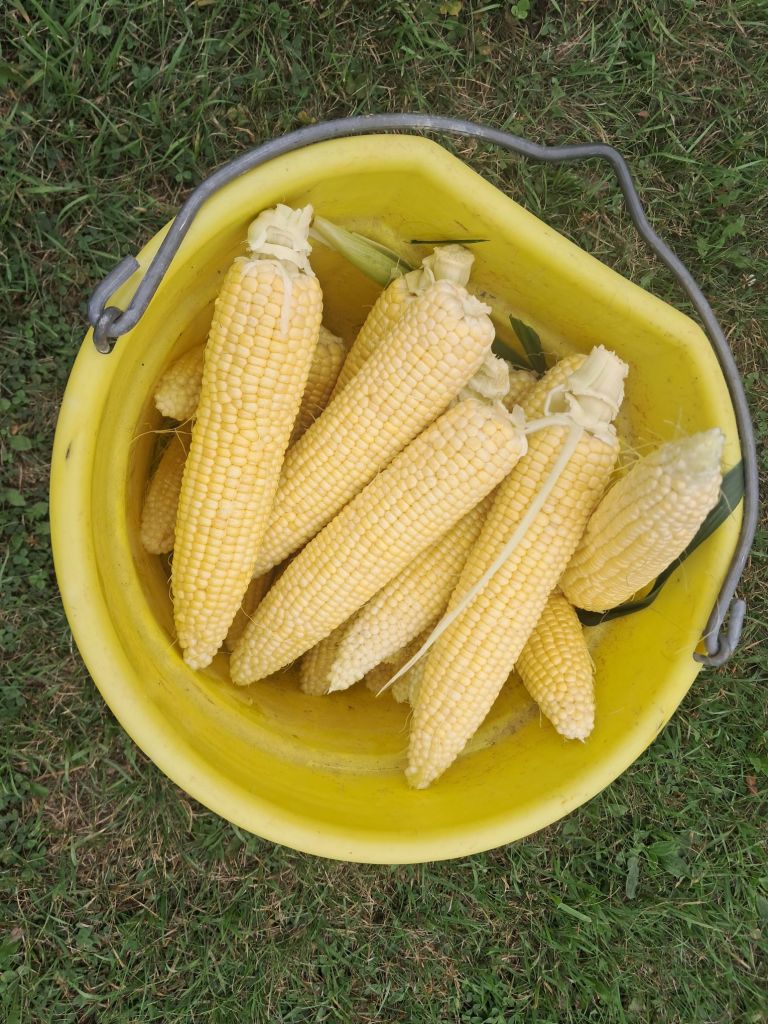
    Corn is another vegetable that freezes beautifully after cooking. First I husk the corn.

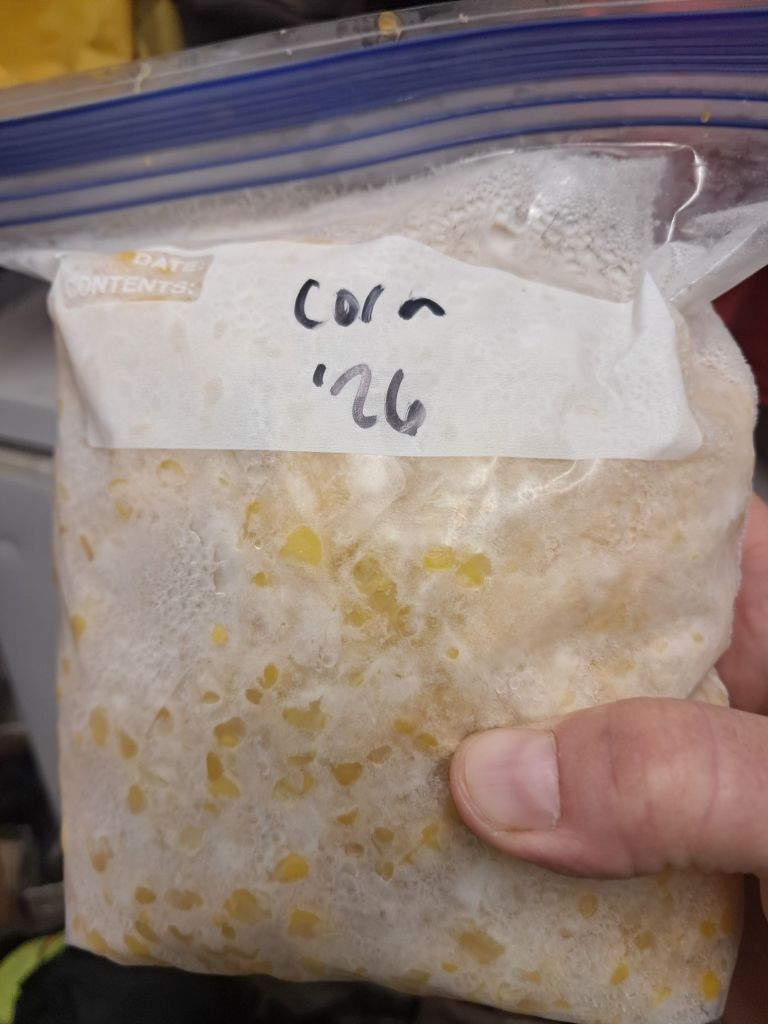
    Then I cook the corn on the cob, let it cool, then cut the kernels off the cob before freezing them in portion-sized bags. I squeeze out the air, seal the bags, and place them in the freezer. I usually don’t freeze whole cobs, mostly because the kernels take up less space and are easier to use later in soups, casseroles, chowders, skillet meals, and homemade dinner bowls.

    How to Freeze Winter Squash

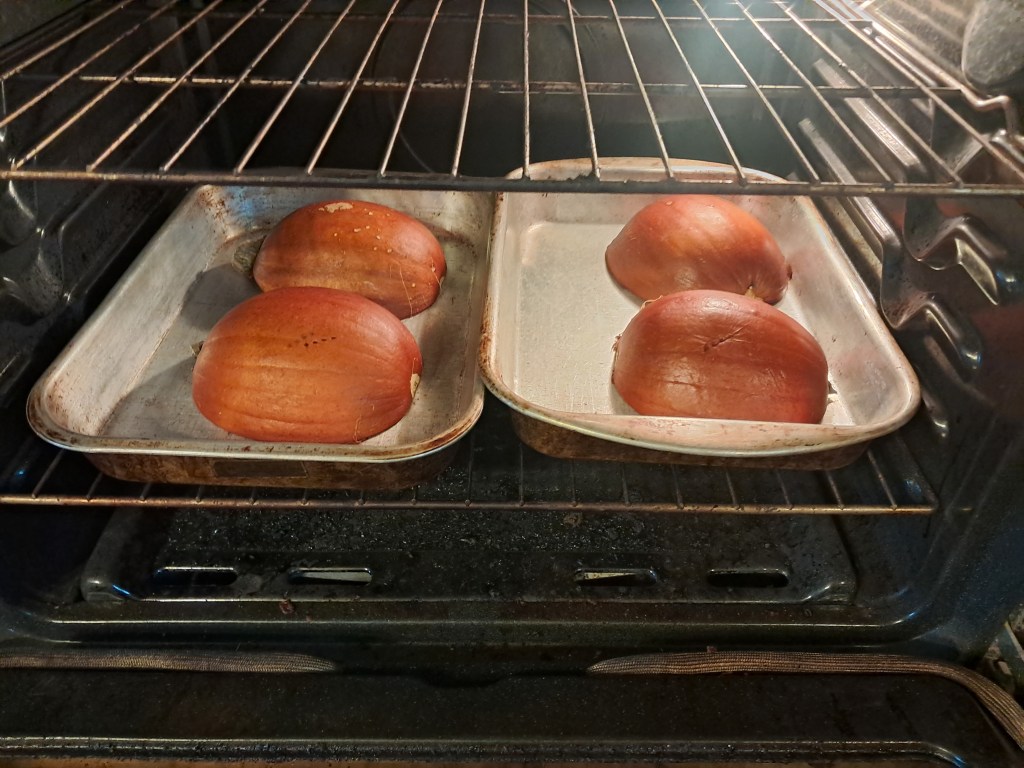
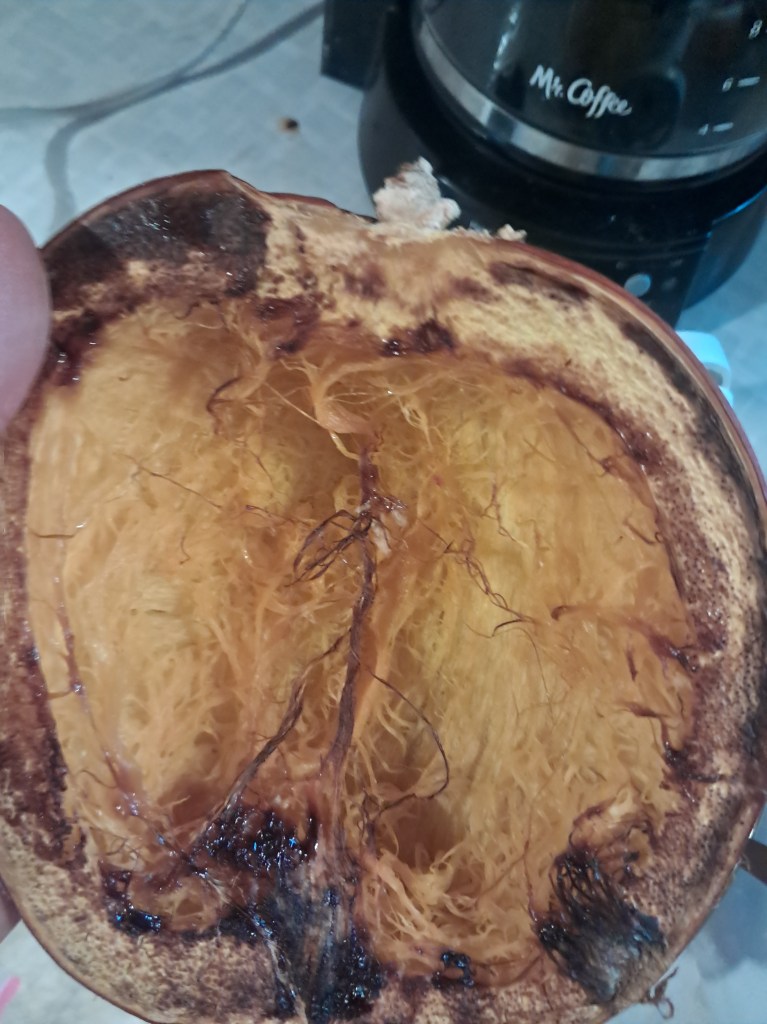
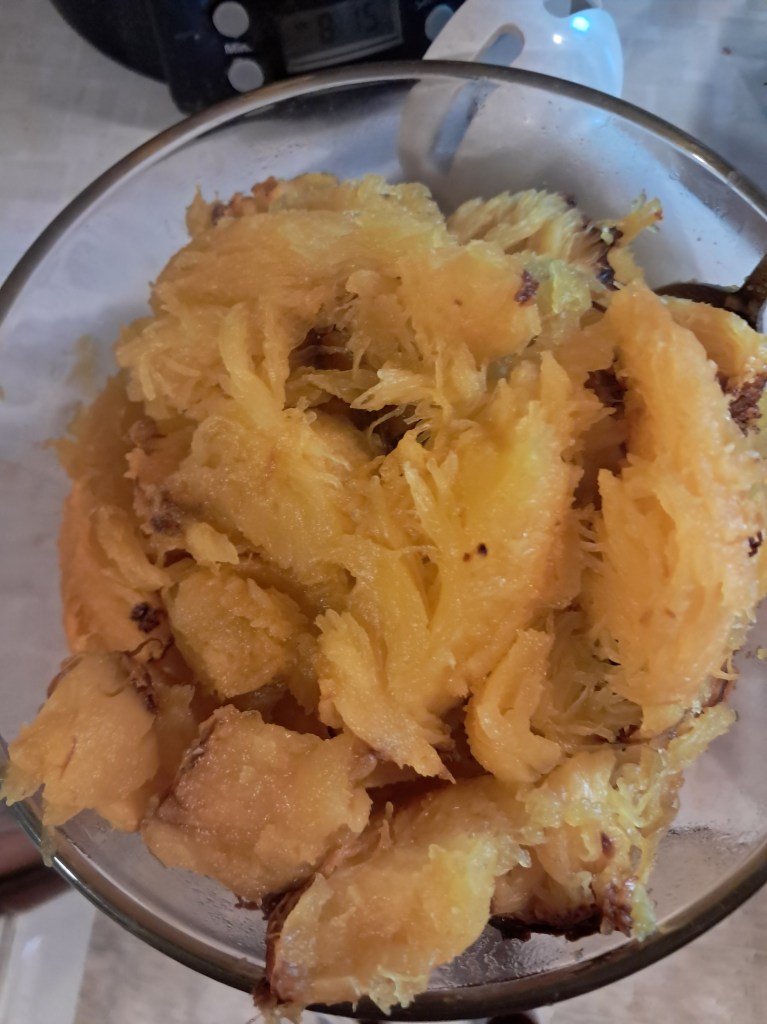
    Winter squash also works well with this method, especially varieties like acorn squash, pumpkin, and spaghetti squash. I like to cook them until tender, let them cool, and then freeze the flesh in portions that are easy to thaw later. The texture softens a bit after freezing, but these squash varieties are still wonderful for purees, soups, casseroles, baked dishes, and other recipes where the squash will be mixed in or mashed.

    Best Vegetables to Freeze Cooked

    This method also works well for other vegetables that are usually cooked before serving or that don’t hold up quite as well when frozen raw. The key is to think ahead about how you’ll want to use them later. If the goal is to save time during the winter, freezing them after cooking can be a great option and only adds a little more work when you’re already cooking a larger batch.

    Like the other freezer methods, this one helps us make the most of summer’s harvest. Instead of watching good food go to waste, I can tuck it away for a colder day when a quick homemade meal is exactly what we need.

    Cooking and Freezing Guide

    If you want a quick reference, here’s a simple guide for freezing cooked vegetables after they’ve been prepared and cooled.

    VegetableHow to CookHow Long It Lasts in the FreezerHow to Use After Thawing
    BeetsBoil or roast until tender, then peel and slice or cube8–12 monthsSalads, side dishes, reheating with butter, soups
    CornCook on the cob, then cut kernels off after cooling8–12 monthsSoups, casseroles, chowders, skillet meals, homemade dinner bowls
    Acorn squashBake or roast until tender, then scoop out the flesh8–12 monthsPurees, soups, casseroles, baked dishes
    PumpkinRoast or steam until tender, then puree or mash8–12 monthsPies, muffins, breads, soups, sauces
    Spaghetti squashBake or roast until tender, then scrape out the strands6–8 monthsCasseroles, skillet dishes, vegetable sides, mixed vegetable bowls

    I usually label each bag with the date so I know what to use first. I’ll cover canning methods in future posts.


    Do you freeze any vegetables after cooking them first? I’d love to hear what works best for you in the comments.

    If this post was helpful, please like and share it with a friend who loves preserving garden produce.

    Read More Here: Biggest Garden Yet: Lessons, Laughs, and Pig-Approved Produce

  • How to Blanch and Freeze Broccoli and Other Garden Vegetables

    How to Blanch and Freeze Broccoli and Other Garden Vegetables

    This post is the second in my garden freezing series, where I’m sharing three simple ways to preserve the harvest:

    In this post, I’m covering the next step — the simple process of blanching and freezing garden produce.


    Want all three freezer methods in one printable guide?


    Why I Freeze Broccoli

    I love harvesting vegetables from the garden and putting them up for later. There’s something satisfying about knowing summer’s work will carry us through the colder months. One of my favorite ways to preserve vegetables is by blanching and freezing them, and broccoli is one of the easiest places to start.

    I usually plant far more broccoli than our family can eat during the summer, which makes it a perfect candidate for the freezer. The same method also works well for other garden vegetables like green beans, cauliflower, and carrots, depending on the vegetable and how it holds up to blanching.

    How to Blanch Broccoli

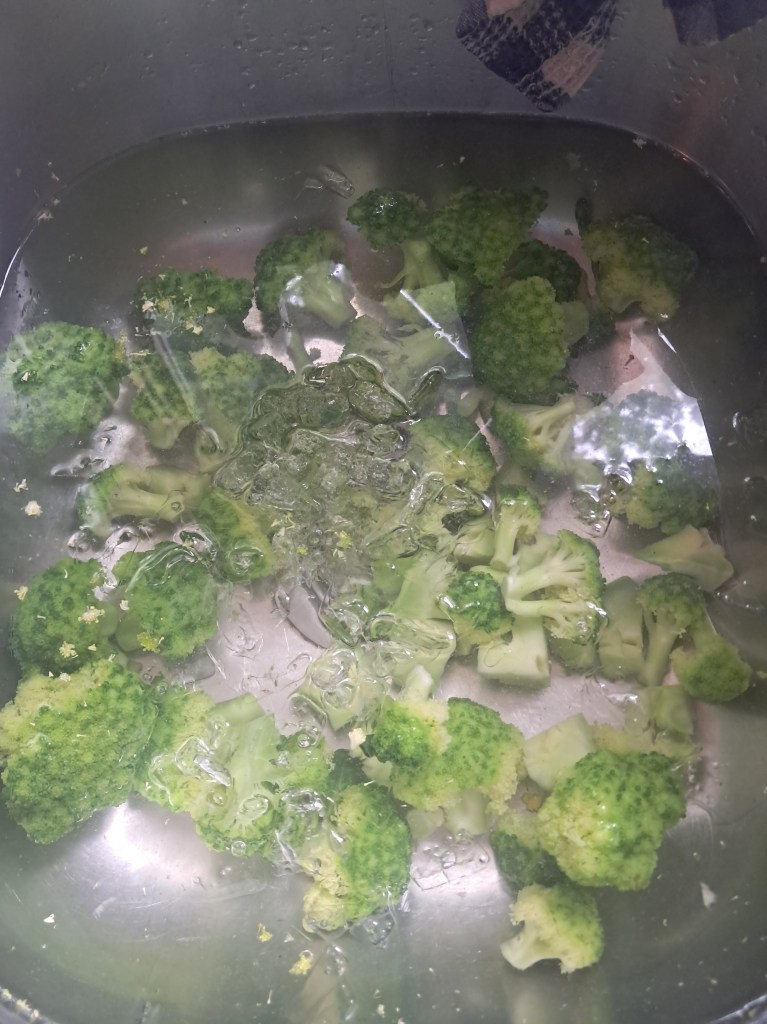
    I start by harvesting broccoli heads when they are ready, then cut them into bite-size pieces with some stem attached and soak them in cold water. While the broccoli is soaking, I bring a large kettle of water to a boil.

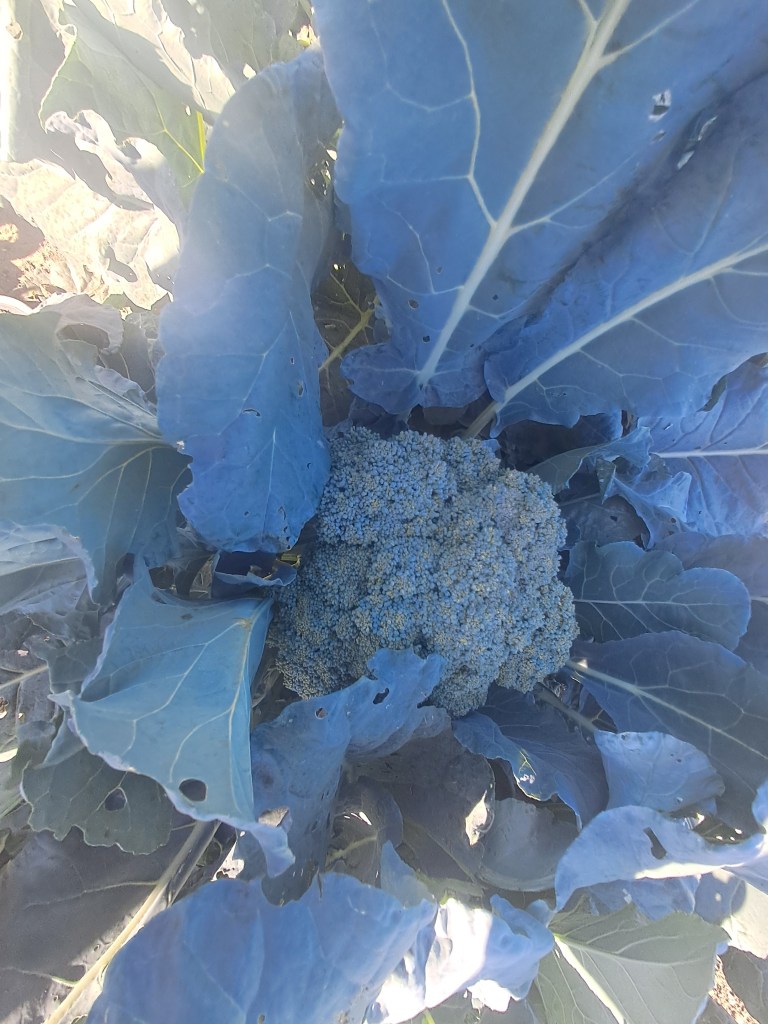
    Select good heads of broccoli that have not flowered and are full

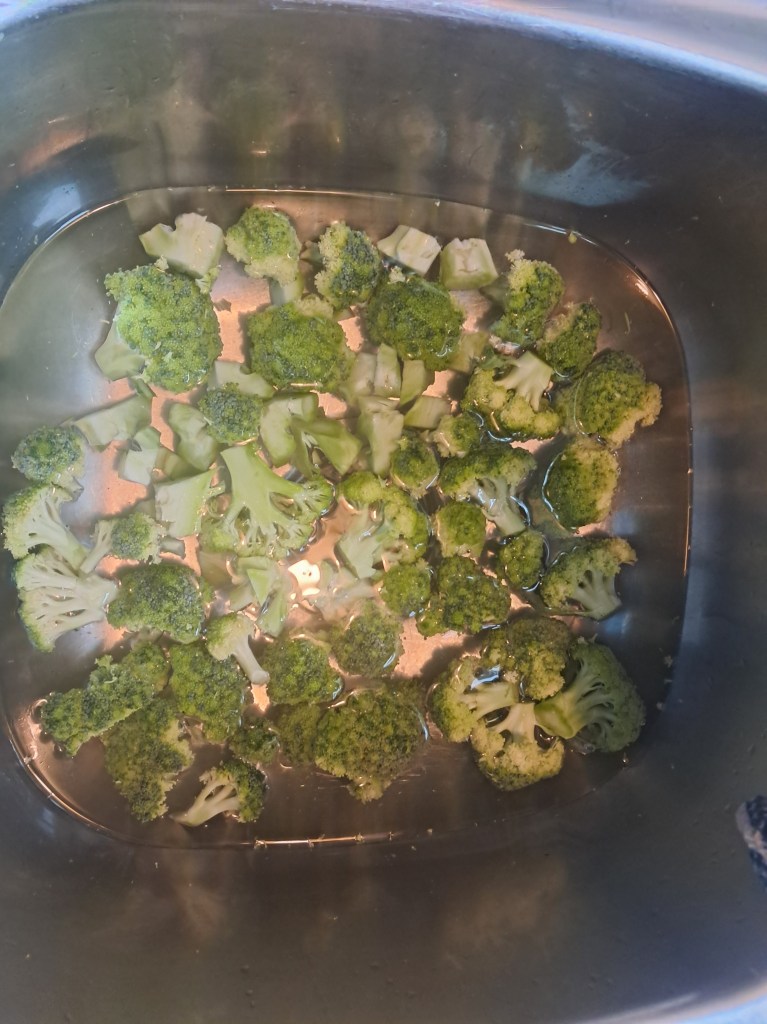
    Once the water is boiling, I add the broccoli and blanch it for 2.5 minutes. Then I remove it immediately and plunge it into icy water to stop the cooking process. This helps preserve the broccoli’s color, flavor, and texture for long-term storage by slowing the enzymes that can cause spoilage and off-flavors.

    Before blanching
    After blanching

    How to Freeze Broccoli

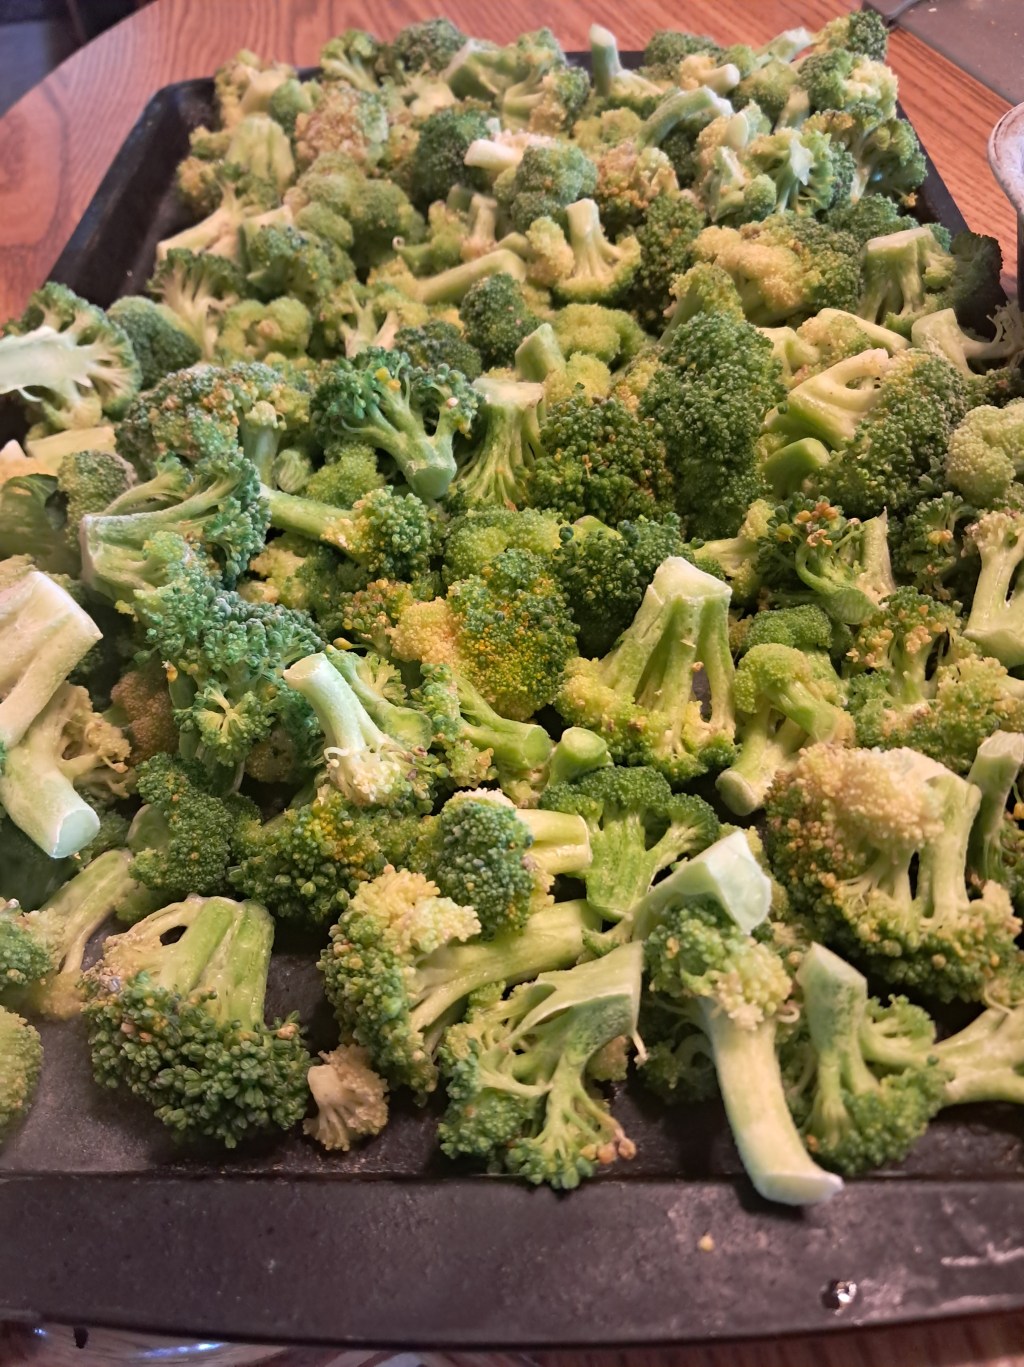
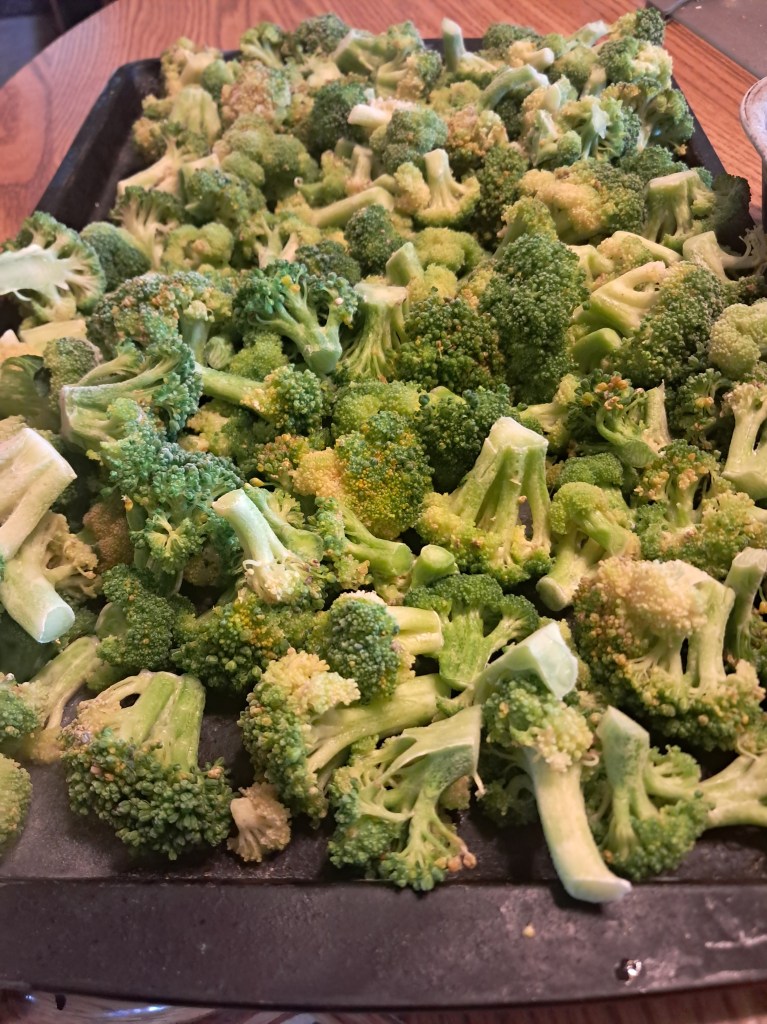
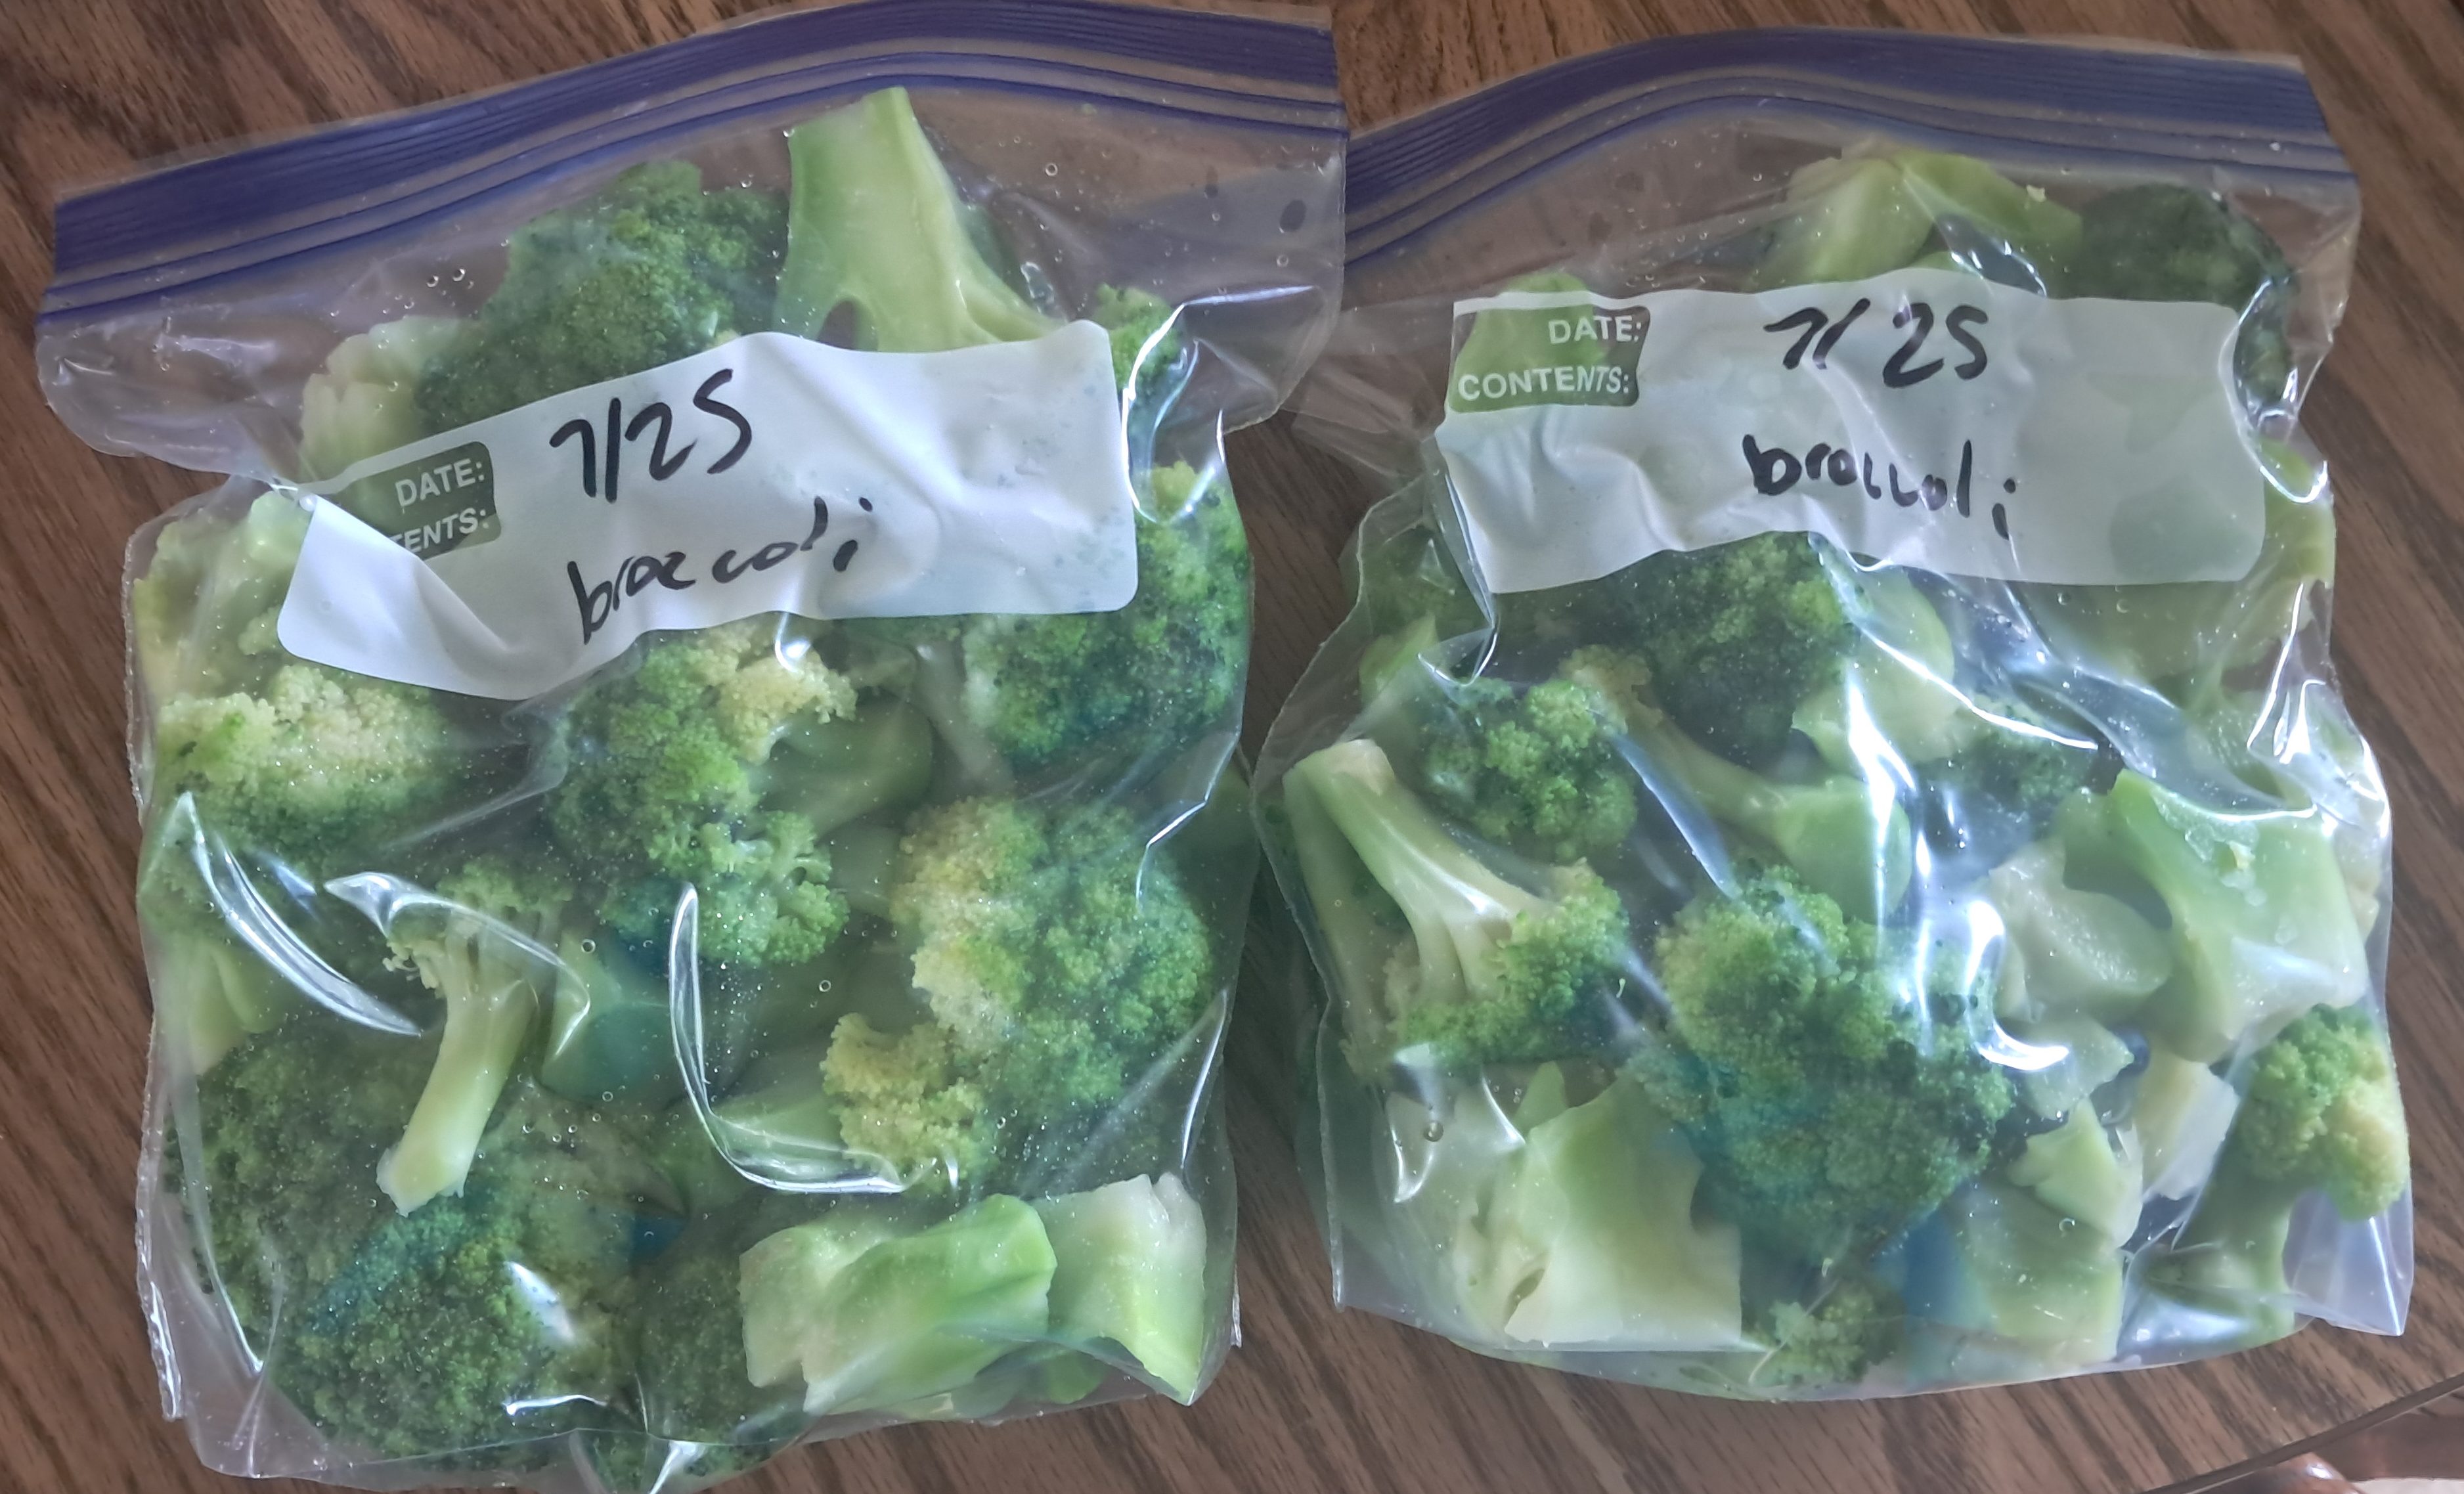
    After the broccoli has cooled completely, I spread it out on a cookie sheet and place it in the freezer overnight. This step keeps the pieces from freezing into one big clump, so I can easily grab just what I need later. Once frozen, I transfer the broccoli into quart- or gallon-size freezer bags and store it in the freezer until I’m ready to use it.

    I spread the broccoli onto a cookie sheet and place it in the freezer overnight so I can pull out as much as I need.
    Don’t forget to properly label the bags! Here, I kept it simple: food, and month/year of harvest.

    Frozen broccoli is one of my favorite vegetables to pull out in the middle of winter. I use it in dressed-up ramen, soups, stir-fries, and as a simple side dish with dinner. It never seems to last until the next harvest season. Even with my best efforts, we usually run out by February, right around the time I’m planting broccoli again from seed.

    Other Vegetables to Blanch and Freeze

    The same basic blanch-and-freeze method works well for other vegetables from the garden too. Green beans are a freezer favorite, and I also like to preserve cauliflower and carrots when we have extra. If you grow a garden, freezing vegetables this way is one of the easiest ways to avoid waste and enjoy your harvest later in the year.

    Blanching Guide for Garden Vegetables

    If you like having a quick reference, here’s a simple blanching guide for a few common garden vegetables, along with the kinds of dishes they work best in after freezing.

    VegetableBlanch TimeFreezer LifeBest For
    Broccoli2.5 minutes8–12 monthsRoasting, soups, stir-fries, side dishes
    Green beans3 minutes8–12 monthsSide dishes, casseroles, sautés
    Cauliflower3 minutes8–12 monthsRoasting, soups, mash, casseroles
    Carrots2–3 minutes10–12 monthsSoups, stews, roasting, glazing
    Brussels sprouts3–5 minutes8–12 monthsRoasting, skillet dishes, side dishes

    Blanch times can vary a little depending on the size and freshness of the vegetable, so use this as a starting point. When I freeze vegetables, I usually label the bag with the date so I can keep track of what needs to be used first.

    More Garden Freezer Ideas

    In my next post, I’ll cover how to freeze garden vegetables that you fully cook first, such as sweet corn, beets, and squash.


    Do you preserve vegetables from your garden? What are your favorites to freeze? Share your favorites in the comments.

    If this post was helpful, please like and share it with a friend who loves preserving garden produce.

    Read More Here: Zone 4B July Garden Tour: Our 2026 Garden Updates

  • How to Freeze Peppers, Tomatoes, Zucchini, and Berries for Later

    How to Freeze Peppers, Tomatoes, Zucchini, and Berries for Later

    This post is part of my garden freezing series, where I’m sharing three simple ways to preserve the harvest:

    In this post, I’m covering the easy stuff — the garden produce you can prep and freeze without blanching.


    Want all three freezer methods in one printable guide?


    I love putting up garden produce for later in the year, especially when the freezer starts to feel like a quiet little backup pantry. Some vegetables need to be blanched before freezing, but a few summer favorites are even easier: just prep them, freeze them, and stash them away for winter.

    Peppers

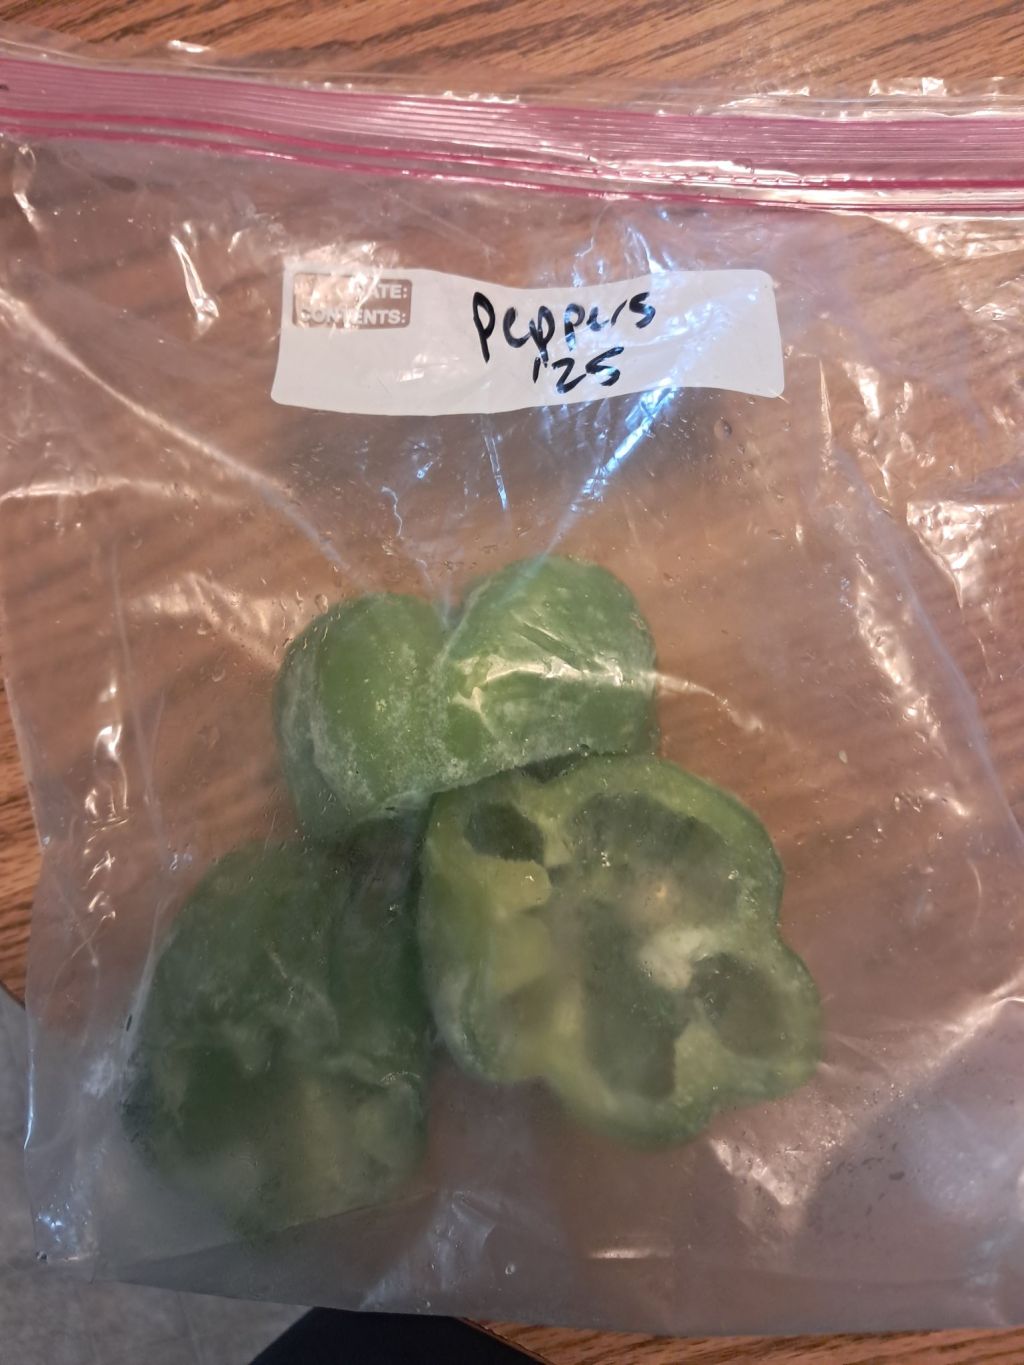
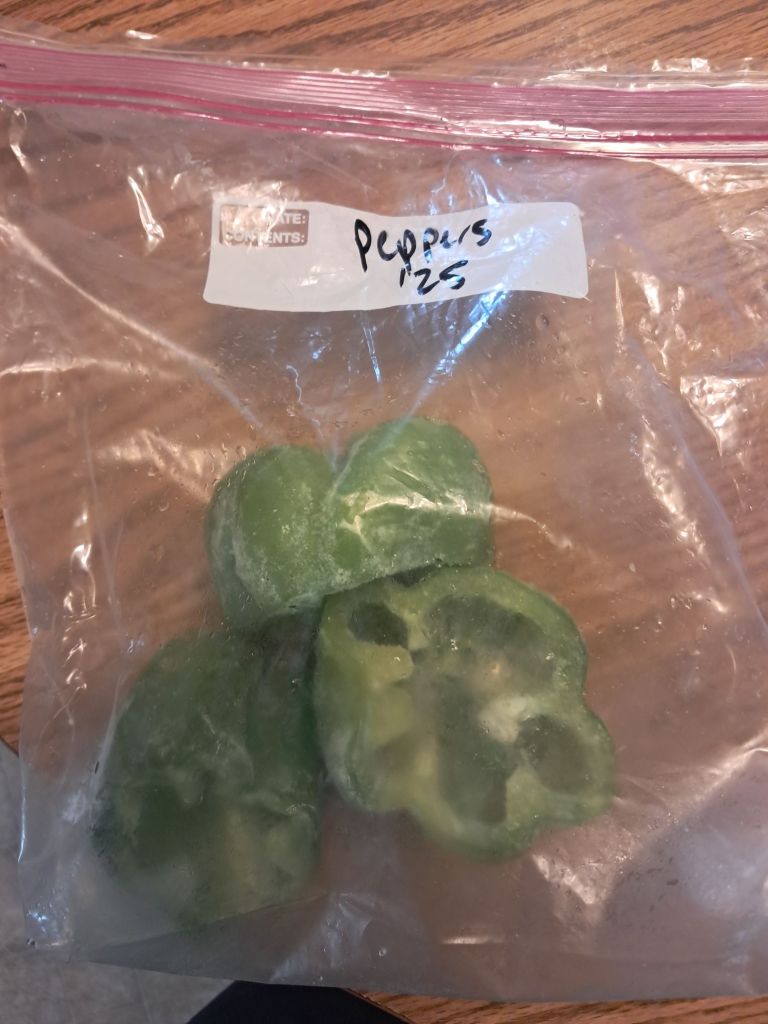
    Peppers are one of the easiest things to freeze. I wash them, remove the stems and seeds, and slice or chop them depending on how I plan to use them later. Sometimes I leave them whole for stuffed peppers. Then I spread the pieces on a tray or place them directly into freezer bags. Frozen peppers are great for soups, omelets, stir-fries, casseroles, and stuffed peppers.

    Tomatoes

    Tomatoes are another simple freezer food. I usually core them, then place them whole into a gallon freezer bag. This is especially helpful in August when I’m overwhelmed with produce and don’t have time to process everything right away. In winter, when I have more time, I take them out of the freezer. Once they thaw, the skins slip off easily, which makes them especially handy for sauces, soups, and stews.

    If I have a bumper crop, freezing tomatoes is one of the fastest ways to deal with them before they start to soften on the counter.

    Zucchini

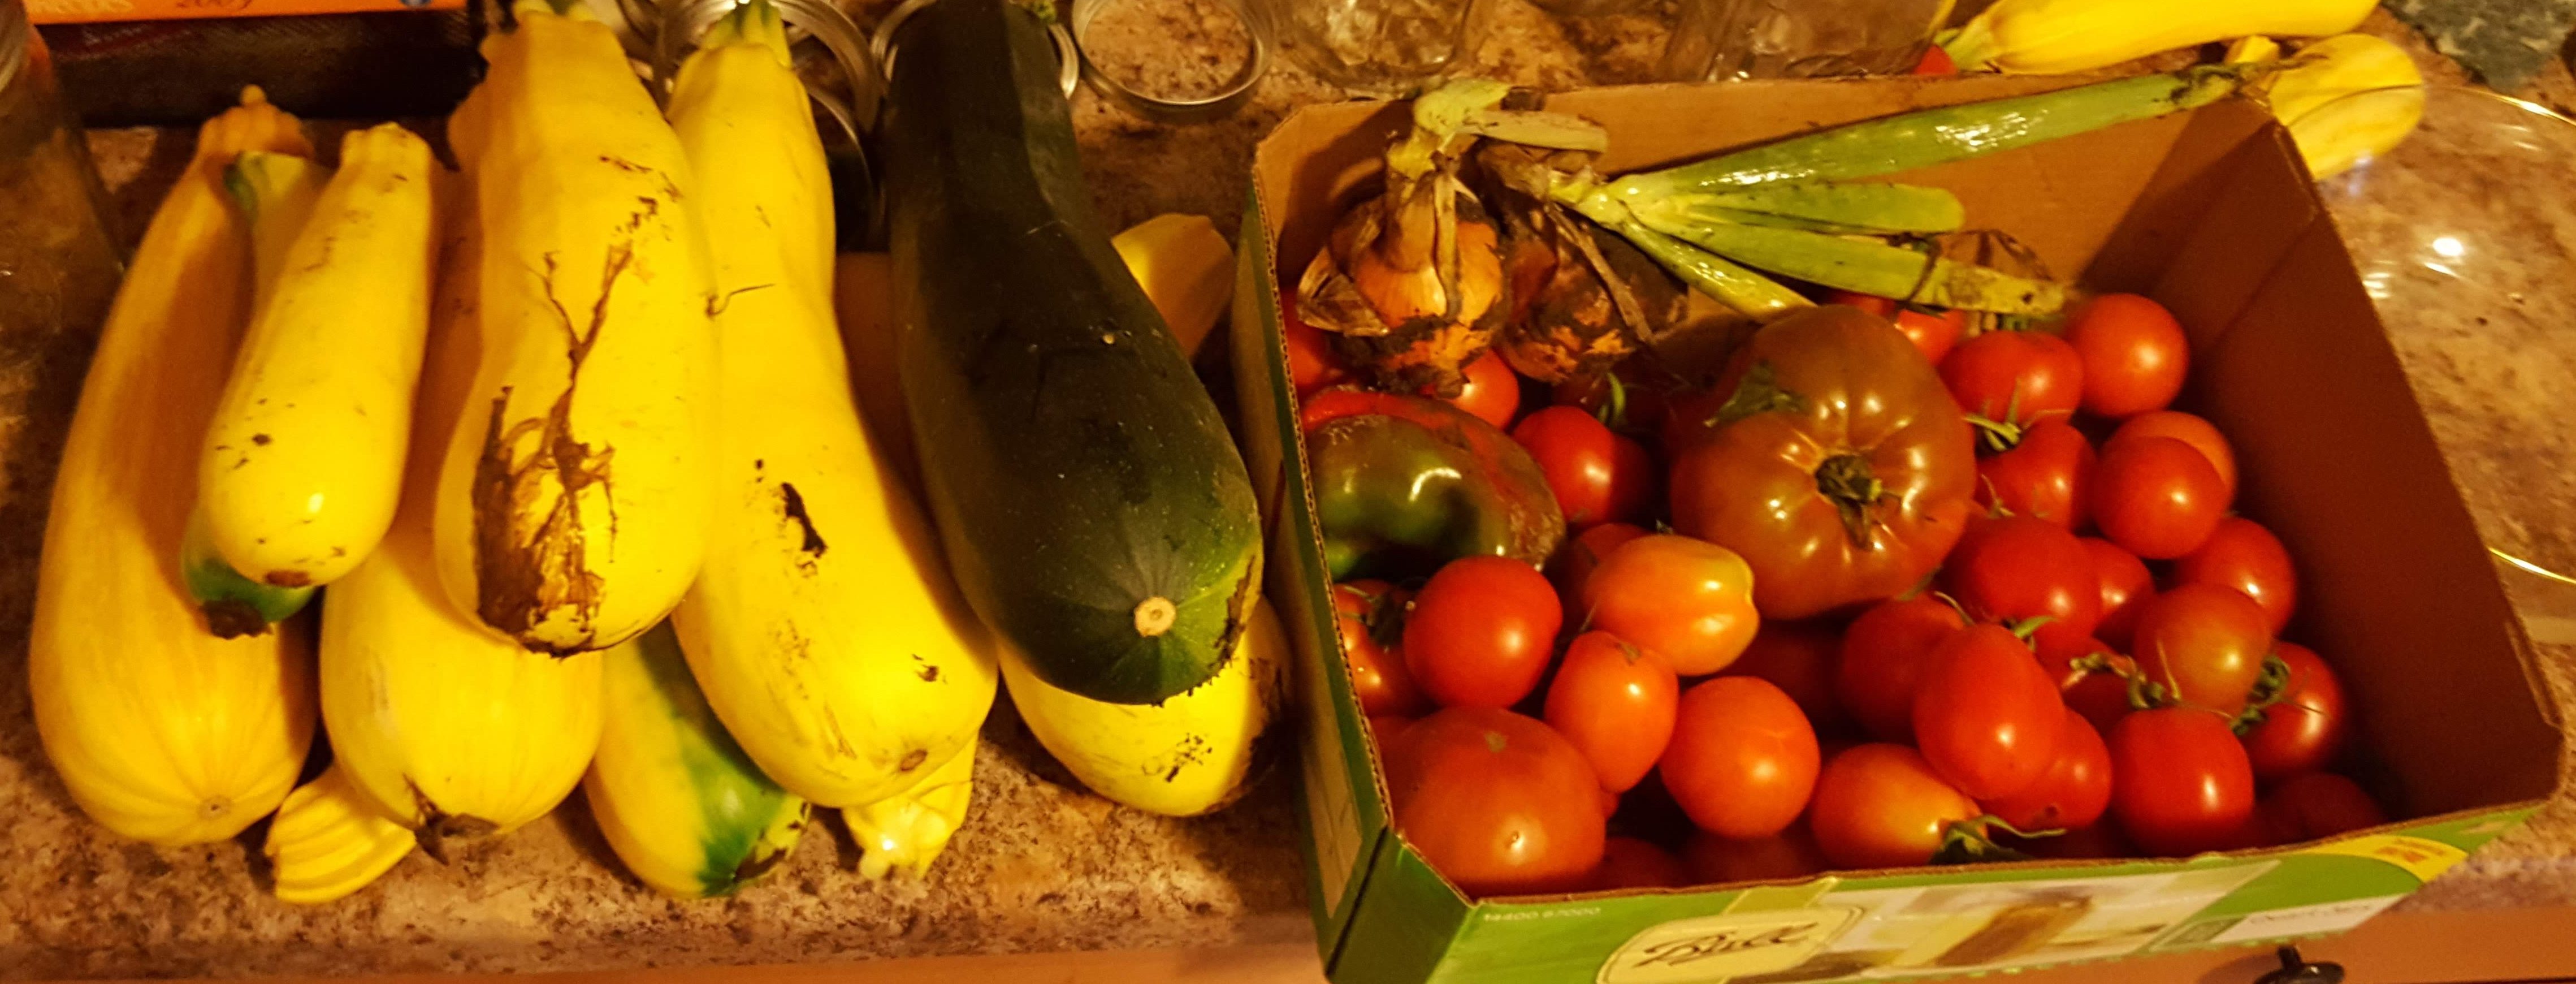
    Zucchini is a little more flexible. I usually shred it before freezing, since that works well for muffins, breads, and casseroles. If I want to use it in soups or skillet dishes, I may slice it instead. Zucchini has a high water content, so it won’t always hold its texture perfectly after thawing, but it is still worth freezing when the garden is overflowing. I’ve found that it helps to prep the veggie the way I expect to use it later, because that makes it much more likely I’ll actually use it.

    Berries

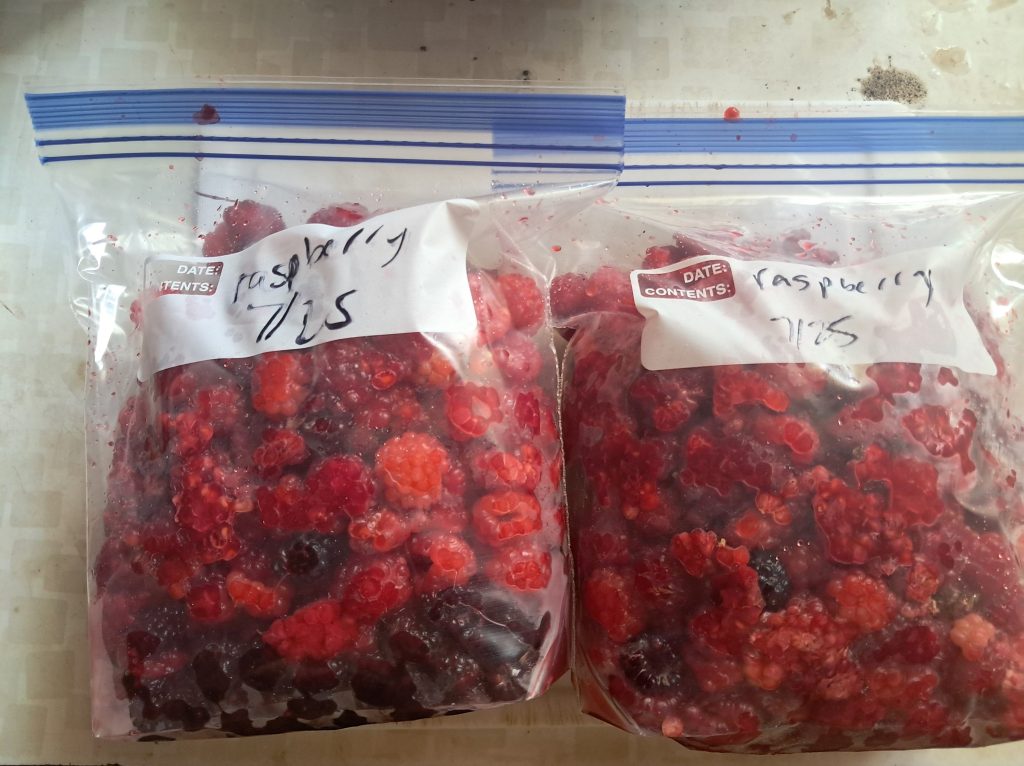
    Berries are one of my favorite easy freezer foods. After washing and drying them well, I spread them on a tray and freeze them before bagging. This keeps them from clumping together so I can grab just what I need for smoothies, muffins, pancakes, or cobblers. Frozen berries are one of those things that make winter breakfasts feel a little brighter.

    If you like having a quick reference, here’s a simple guide for these easy freezer foods:

    FoodGeneral MethodHow Long It Keeps in the FreezerBest Use After Thawing
    PeppersWash, remove stems and seeds, slice or chop, then freeze on a tray or in bags8–12 monthsSoups, omelets, stir-fries, casseroles, stuffed peppers
    TomatoesCore and freeze whole in freezer bags6–12 monthsSauces, soups, stews
    ZucchiniShred or slice, then freeze in portions8–12 monthsMuffins, breads, casseroles, soups
    BerriesWash, dry well, tray-freeze, then bag8–12 monthsSmoothies, muffins, pancakes, cobblers

    The nice thing about these foods is that they don’t require a lot of extra steps. If you’re short on time, they’re a great way to preserve a harvest quickly and keep food from going to waste.


    What easy freezer foods do you like to put away from the garden? Share your favorites in the comments.


    If this post was helpful, please like and share it with a friend who loves preserving garden produce.

    Read More Here: Zone 4B Vegetable Garden Ideas: What We Planted in 2026

  • Zone 4B July Garden Tour: Our 2026 Garden Updates

    Zone 4B July Garden Tour: Our 2026 Garden Updates

    Somehow, it’s already early July. How is your garden doing?

    We’re in Zone 4B, and in late May I shared what we planted in our garden this year. In this post, I’m expanding on that first update and sharing how things are going now. How much work have we done so far? What veggies have we harvested already (spoiler: not too many yet, but that’s changing fast!)?

    It’s been a fairly wet season so far (with plenty of tornado warnings), which has meant we haven’t had to start watering yet. I expect that to change as July continues and we slide into our usual hotter, drier stretch.

    Think of this as a walk-through of our garden rows, plus a few notes on what’s working, what isn’t, and what we’ve noticed already this year.


    Strawberries: The Semi-Permanent Front Row

    The first two rows of our garden are dedicated to strawberries. This is a semi-permanent location for them. Back in April, we transplanted the plants, and since then we’ve pinched off the blossoms and weeded the rows.

    We’ve been pinching blossoms to allow the plants to focus more on strong root and leaf growth, but have recently stopped. We’ve harvested a grand total of two berries so far (and they’re delicious!). Besides the berries, the plants themselves have sent off large shoots that re‑root themselves. We’ve been working to direct those so they don’t take over the middle of the row.


    Root Vegetables: Fresh Salads Now, Storage Roots Later

    The next rows are dedicated to root vegetables and salad greens. These rows have shown a rapid return, with us harvesting many salads’ worth of lettuce and spinach (my salad spinner is working overtime!), and we’ve finished harvesting radishes.

    Other veggie updates:

    • Parsnips: They didn’t come up well, so we replanted a couple of weeks ago.
    • Carrots: They’re coming up great, and we hope to harvest our first fresh carrots (nature’s candy) within the next couple of weeks. My son cannot wait.
    • Beets: We hope to harvest these soon too.

    Red and Yellow Onions

    After the root bed come two full rows of onions—both red and yellow.

    Our transplanted yellow onions have been growing vigorously; they are now about the size of baseballs. Our red onions are a little further behind, but are still quite healthy.

    We’ve started harvesting some of the larger yellow onions. Fresh onions from the garden are divine!


    Peas: Kid-Favorite Garden Candy

    Our peas are starting to blossom, which means any week now they’ll begin producing. The kids think of them as garden candy, and eat them straight from the vine.


    Cucumbers in the Middle (On Purpose) + Tomatoes and Peppers

    The cucumbers are coming up well and are starting to blossom. We’ll start getting cucumbers in just a couple of weeks. We planted them in the middle of the garden on purpose, where they’re easy to water and can climb on a trellis without taking over the edges.

    I did see my first cucumber beetles this week. Right now I’m just keeping a close eye on them; if anyone has favorite ways to manage cucumber beetles organically, I’d love to hear your advice.

    We’ve actually started harvesting some peppers already—delicious!

    We have tiny Roma tomatoes on the vine that are steadily getting bigger, and some Early Girls. I expect to get a couple of Early Girls in a couple of weeks, then the Romas and Mortgage Lifters by the end of July into early August.


    Cruciferous Row: Cauliflower, Kale, Broccoli, and Brussels Sprouts

    I’ve harvested my first kale and made my first batch of Zuppa Toscana. It was lovely—though maybe not the best meal to eat on a 90‑degree day, haha.

    Cauliflower, broccoli, and Brussels sprouts haven’t produced yet. I expect the broccoli to start producing within the next couple of weeks. The Brussels sprouts will likely be ready in about 2–3 months (they have a long growing period).


    Cabbage, Bok Choy, and Kohlrabi

    The next row is a mix of:

    • Cabbage: Destined for sauerkraut, boiled cabbage, and coleslaw. Not ready yet, but I expect smaller heads to be ready in about a month.
    • Bok choy: We harvested our first head, and it was delicious in our beef stir fry.
    • Kohlrabi: The “heads” are starting to form (they look like a little bulb with leafy hair coming out).

    Summer Squash, Rutabagas, and a Few Flowers

    In the back corner of the garden, we planted summer squash—three hills of it.

    In my unsolicited opinion, three hills is about two hills too many. If you’ve ever been buried in zucchini or summer squash, you know exactly what I mean. We also have several volunteer squash plants coming up in random spots throughout the garden. If a volunteer squash plant pops up in a really inconvenient spot (where it will interfere with my favorite veggies), I pull it out.

    The rest of that row holds garlic and rutabagas:

    • We plan to harvest the four bulbs of garlic within the next couple of weeks.
    • The interplanted rutabagas will begin to be harvested in about a week or two.

    We’ve also tucked marigolds into the garden, which I love both for their pest‑control benefits and because they’re simply beautiful. On top of that, we have a lot of volunteer sunflowers coming up throughout the garden—they add a bit of cheer and should make the bees happy later in the season.


    Sweet Corn and Cantaloupe at the Front

    The front of the garden holds our sweet corn patch. It’s doing well so far. They always say corn is doing well if it’s “knee high by the Fourth of July,” and this year it’s about waist high (I’m writing this on the Fourth). I suspect we will be battling the raccoons and possums for the crop later in the season, and I hope we win at least some this time!

    The cantaloupe patch is on the other side. So far, so good—the plants are still small, but they grow fast this time of year. I expect to harvest our first cantaloupes in about a month.


    How Much Weeding We’ve Done (So Far)

    We weed the garden the most at the beginning of the garden season. My dad has always said, “You win or lose the battle with weeds in the month of June,” and I wholeheartedly agree.

    If you catch them early and don’t let them go to seed, there are fewer by the end of the year (although you still have to do maintenance weeding after that). In June, my husband and I have spent an average of 3–4 hours per week on weeding. As the weather gets drier and the plants start to shade out more of the garden, I expect that time to be drastically reduced, down to about an hour per week.

    I’ll shift that “extra” time to harvesting and preservation as the season continues. Stay tuned for all the ways I like to preserve garden‑fresh veggies!


    Potatoes, Pumpkins, and Future Plans

    Beyond the main garden rows, we have two additional patches:

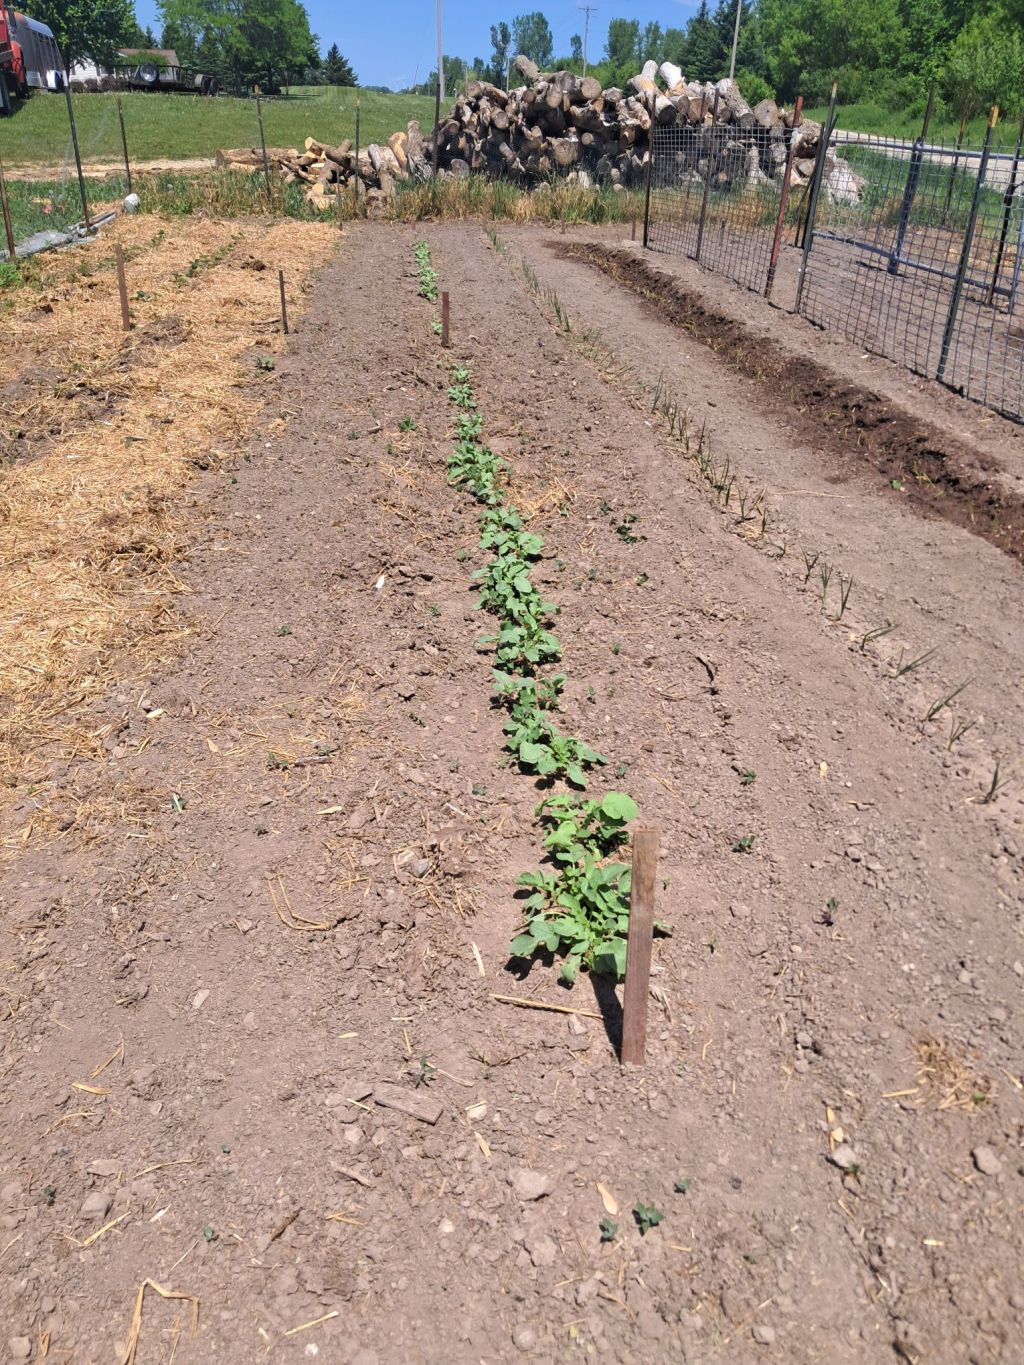
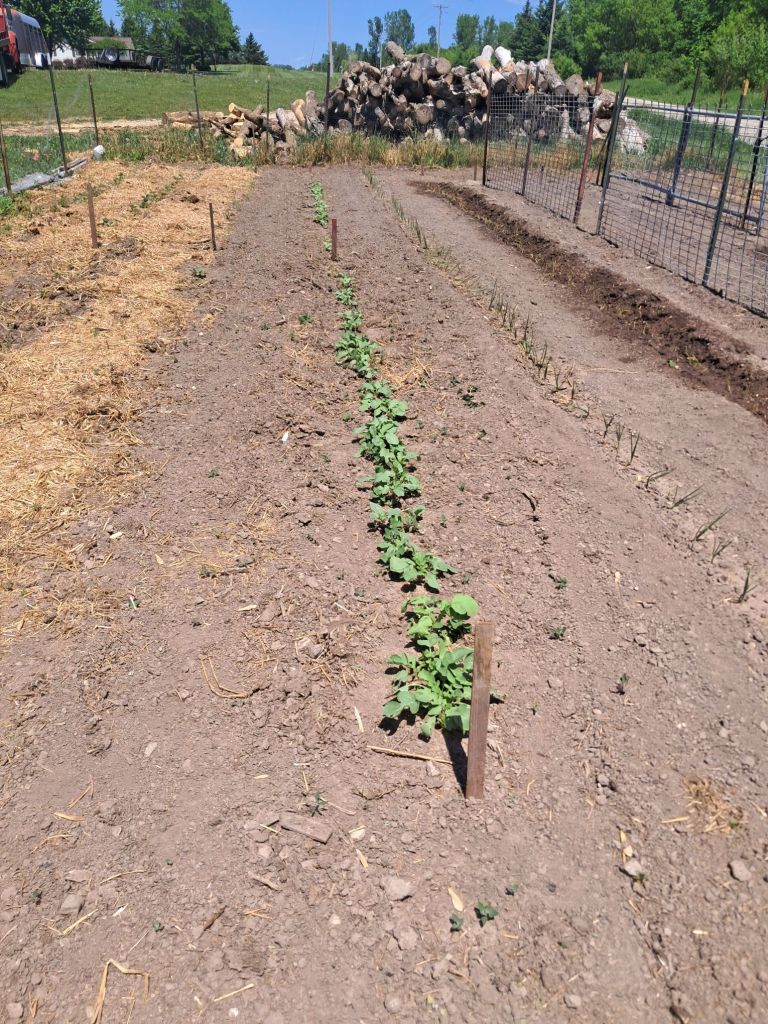
    • The potato patch has been hilled, and we’re starting to find the dastardly potato bugs (both the babies and the adults). For now we’re picking them off by hand and doing our best to stay ahead of them.
    • Behind our barn, we have established a pumpkin patch, and I’m already picturing fall—whether that means jack‑o’‑lanterns, pies, or both.

    So far, I don’t have big “lessons learned” to share this season. I’m sure they’re coming as the summer unfolds, but right now we’re mostly observing, adjusting as needed, and enjoying the early harvests.

    That’s where things stand in our Zone 4B garden this early July.


    Garden produce starting to come in?

    My free Grow What You’ll Use planner helps you decide what to eat fresh, freeze, dehydrate, store, share, or use up this week—before the harvest gets ahead of you.


    If you’re gardening in a similar climate, I’d love to hear: what’s thriving for you right now, what pests you’re seeing, and what’s been your biggest surprise so far this season?


    If this garden tour was helpful or encouraging, would you share it with another gardener—especially someone in a colder zone? Your shares and comments help these updates reach more folks who are growing right alongside us.

    Read Next: Biggest Garden Yet: Laughs, Lessons, and Pig-Approved Produce

  • Zone 4B Vegetable Garden Ideas: What We Planted in 2026

    Zone 4B Vegetable Garden Ideas: What We Planted in 2026

    Our Late-May Garden Tour: What We Planted and Why

    Somehow, May is already almost over. If you plant a garden, have you gotten yours in yet?

    We’re in Zone 4B, and by late May our garden is finally in full swing. If you’re looking for ideas for your own Zone 4B vegetable garden, here’s exactly what we planted this year and why. In this post, I’m sharing what we planted in our garden this year and the order we planted it in (spoiler: it definitely did not all happen in one day). Think of this as a walk-through of our garden rows, plus a few notes on what’s working, what isn’t, and what we’re excited to try.

    Strawberries: The Semi-Permanent Front Row

    We started about a month ago by dedicating the first two rows of our garden to strawberries. This will be a semi-permanent location for them.

    Here’s our basic setup:

    • Transplanted strawberry plants into two full rows.
    • Plan to layer straw on top to help suppress weeds and hold moisture in during the warm months.
    • I’m pinching the blossoms off all the plants for the first two months.

    The blossom-pinching feels a little cruel in the moment, but it lets the plants focus on strong root and leaf growth. If all goes well, we should be enjoying delicious berries by July or August from the everbearing varieties.

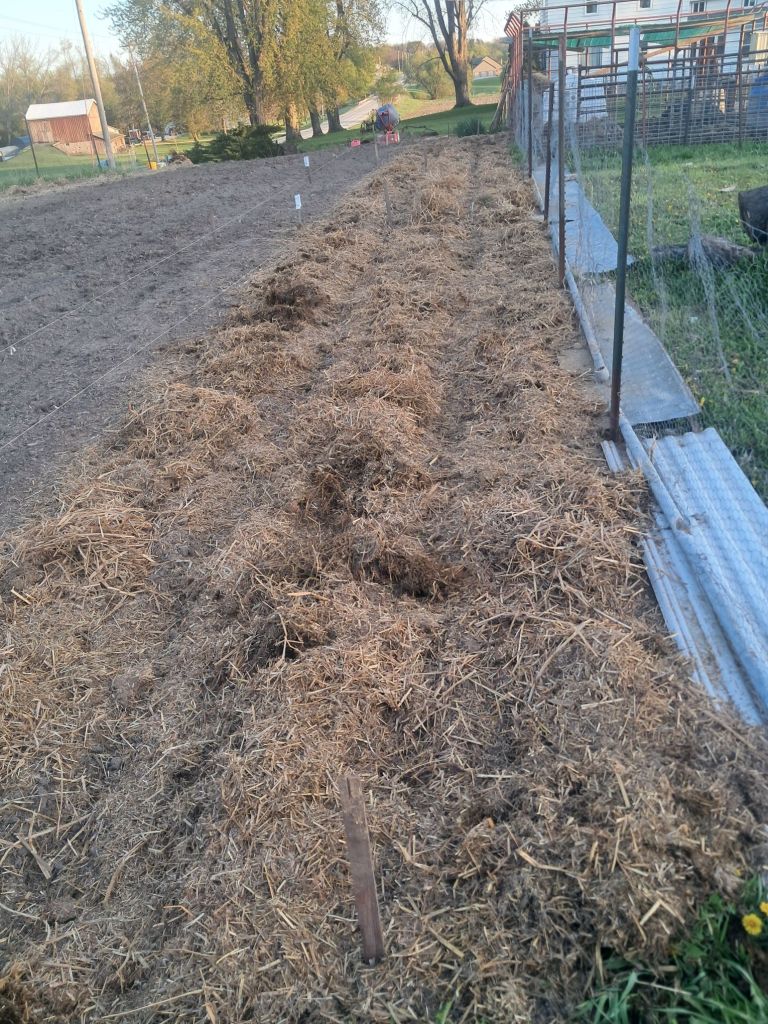
    Strawberries plants are hidden amongst the straw (for now)

    Root Vegetables: Fresh Salads Now, Storage Roots Later

    Next, we planted our root vegetables and salad greens. This is one of my favorite parts of the garden because it gives both quick wins and long-term rewards. (You’ll notice I have a lot of “favorite” parts—my garden just brings me that much joy.)

    In this section we planted:

    • Parsnips – for fresh roots next March and April.
    • Radishes – for quick crunch and color in early salads.
    • Lettuce and spinach – fast growers, so we can enjoy fresh greens in just a couple weeks.
    • Carrots – for fresh eating in the next couple months and for later winter storage.
    • Beets – for roasting, pickling, and everything in between.

    I plan to share in a future post how we keep garden-fresh carrots through the Wisconsin winter, and also how we turn all of these roots and greens into actual meals (rather than just “good intentions” in the crisper drawer).

    Radishes, we just harvested our first bunch last night!

    Onions: The Powerhouse Vegetable (and a Confession)

    After the root bed came two full rows of onions—both red and yellow.

    I prefer transplanting onion plants rather than using onion sets. That was the plan this year too…in theory.

    Confession time:

    • I did start onion seeds this year.
    • Between poor starting soil, my “casual” watering habits, and not trimming the tops, my onion starts never made it to the garden.

    Instead, my dad kindly shared some surplus onion plants he purchased from the Amish, and they became our onion rows.

    Don’t judge me too harshly for the crooked row. I was planting with a toddler in tow…

    Why we love onions:

    • They’re a true powerhouse vegetable in the kitchen.
    • They store well when kept under the right conditions.
    • Even in our less-than-perfect storage setup, I pulled my last onion from last year’s harvest about a month and a half ago.

    We plant:

    • Red onions for fresh eating and pickling (they’re fantastic pickled).
    • Yellow onions for long-term storage and everyday cooking.

    Peas: Kid-Favorite Garden Candy

    Next up: peas.

    Peas are one of our family’s favorite vegetables to eat right in the garden. The kids love:

    • Picking them straight off the vine.
    • Popping the pods open.
    • Eating the peas fresh, still warm from the sun.

    They disappear almost as soon as they ripen.

    We installed a trellis right away, but “trellis” might be a generous term. In true homestead fashion, we used:

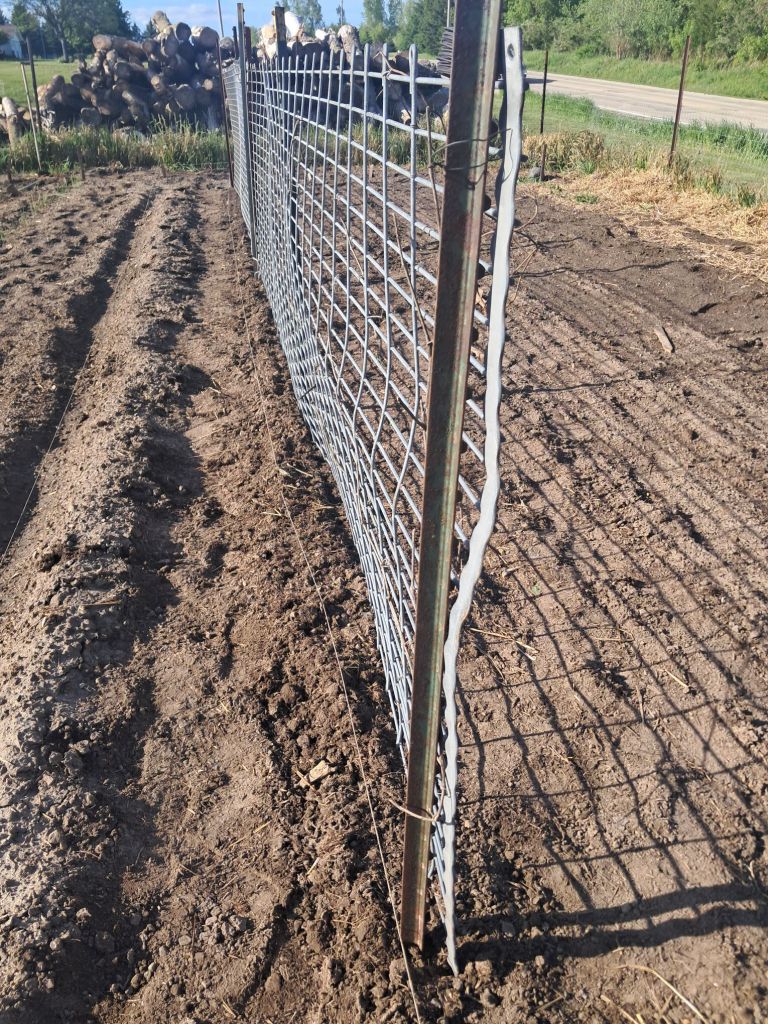
    • An old corn crib side as the main panel.
    • Old fence posts to hold it in place.

    We love recycling old farm implements wherever possible—it saves money, reduces waste, and gives these materials a second life.

    Somewhere in the sky, an old farmer is smiling down on our resourcefulness (I hope)

    Cucumbers in the Middle (On Purpose) + Tomatoes and Peppers

    Next came cucumbers.

    Some gardeners might be clutching their pearls at this, but yes: we plant our cucumber patch in the middle of the garden.

    The reason we can get away with this is our trellis. Instead of letting the vines sprawl everywhere, we:

    • Use an old cattle panel as a trellis.
    • Hold it in place with old fence posts.

    This keeps the vines mostly vertical and contained, which makes it easier to walk around the garden and keeps the cucumbers cleaner and easier to harvest. It might not be traditional, but it works for us.

    Once the cucumbers were in, we filled the rest of that row with transplanted veggies:

    • Peppers (both bell and hot).
    • Tomatoes – a mix of early-ripening varieties, Romas (for sauce), and Mortgage Lifters (for big slicing tomatoes).
    Peppers galore!

    Cruciferous Row: Cauliflower, Kale, Broccoli, and Brussels Sprouts

    The next row is devoted to some of my favorite vegetables: cauliflower, kale, broccoli, and Brussels sprouts.

    I love cruciferous veggies for a few reasons:

    • They’re incredibly versatile in the kitchen.
    • They freeze beautifully, which makes them a big part of how we keep eating vegetables all winter without visiting the grocery aisle.
    • They’re hardy and forgiving once established.

    In a future post, I hope to share exactly how we prep and freeze these so they stay tasty and usable.

    Quick kale note: I may be late to the party, but I also love kale soup. I’m still not sold on kale chips—mine tend to swing between soggy and burnt—but I’m open to conversion if someone can show me the magic method. Shoutout to my friend who shared her Zuppa Toscana (and the recipe!) and officially turned me into a kale-soup person.

    Cabbage, More Cauliflower, Bok Choy, and Kohlrabi

    The next row is a mix of:

    • Cabbage – destined for sauerkraut.
    • More cauliflower – because we’re not sure how well the older seed in the other row will germinate.
    • Bok choy – for stir-fries and Chinese dumplings.
    • Kohlrabi – one of my underrated favorites.
    A quick note about kohlrabi: the name literally translates from German as “turnip cabbage,” describing its shape. I grew up with it, but I don’t know how many people outside German ancestry know what it is.

    Why I love kohlrabi:

    • It grows above the ground and matures in about two months.
    • Around the 4th of July, it’s usually ready, and it’s one of my favorite veggies to snack on then.
    • It’s delicious raw—peeled and sliced.
    • The flavor is like a cross between a mild radish and broccoli.

    I’ve experimented with cooking it, but honestly, we usually eat it raw before I get a chance to cook or roast it. I’ve also pickled it with great success.

    If you’ve never tried kohlrabi and you love cruciferous veggies, I’d highly recommend grabbing some seed and giving it a spot in your garden.

    Summer Squash and Rutabagas

    In the back corner of the garden, we planted summer squash—three hills of it.

    In my unsolicited opinion, three hills is about two hills too many. If you’ve ever been buried in zucchini or summer squash, you know exactly what I mean.

    The rest of that row holds garlic and rutabagas.

    • The garlic was planted way too late last October, and it shows; it didn’t come up well.
    • To make better use of the space, we interplanted rutabagas.

    Rutabagas are another veggie I’ve only recently fallen for. They make a great “potato” replacement in mid-summer and are wonderful:

    • Sautéed.
    • Roasted.
    • In pot pies.

    Sweet Corn and Cantaloupe at the Front

    The front of the garden holds our sweet corn patch.

    Full honesty: I have not had the best luck with sweet corn in recent years. The local raccoons and possums seem to love it even more than we do. We’ll see how it goes this year.

    On the other side, we planted cantaloupe. In my experience (Zone 4B), you don’t need to transplant cantaloupe:

    • When you plant seed directly into soil that’s warm enough (late May here), it catches up quickly.
    • Direct-seeding saves time and space in the seed-starting area.

    If you’re curious about how we store carrots, freeze broccoli and cauliflower, or use bok choy in dumplings, those posts are coming (or, in the case of Chinese dumplings, are already here).

    Potatoes, Pumpkins, and Future Plans

    Beyond the main garden rows, we have two additional patches:

    • My husband planted a patch of potatoes using a restored potato planter, which was a fun bit of old-meets-new on the homestead.
    • Behind our barn, we plan to establish a pumpkin patch.

    I’m already dreaming of fall pumpkins, roasted seeds, and maybe even some homegrown pumpkin purée for baking.

    That’s our lineup for this year’s Zone 4B garden, from strawberries in front to pumpkins out back.


    Planning a garden that works for your real life?

    Download the free Grow What You’ll Use planner to map out your crops, expected harvests, and how you hope to use them.


    What’s growing in your garden this year, and which veggie are you most excited to harvest first?


    If this little garden tour gave you some ideas (or just made you feel less behind on planting), would you share it with a fellow gardener or save it for later?

    You can also join my email list for more honest, Zone 4B garden updates, planting ideas, and what’s actually working for us from season to season.

    Subscribe for weekly homesteading tips:

    Read Next: Biggest Garden Yet: Lessons, Laughs, and Pig-Approved Produce

  • Spring Homestead Projects: Fruit Trees, Piglets, and Property Improvements

    Spring Homestead Projects: Fruit Trees, Piglets, and Property Improvements

    This spring on our homestead has been both chaotic and full of life. Between new animals, fresh plantings, and long-awaited property upgrades, it feels like everything is waking up at once. If you’re curious what real-life spring homestead projects look like for us—or looking for ideas for your own place—here’s what we’ve been up to.

    Spring Planting: Fruit Trees, Strawberries, and Garden Beds

    This spring, we’ve focused heavily on long-term food production. We planted new fruit trees, added strawberries, and finally started planting the garden.

    Fruit Trees

    We put in three apple trees to start planning ahead for the day when our older orchard slows down. Our established apple trees are slowly starting to die off, so these new trees are our way of making sure future us still has apples to harvest. In addition, we’ve planted two pear trees (because my 6-year-old son absolutely loves pears, and we love them too). All the fruit trees should start producing a small amount of fruit in about three years, with bigger harvests in the years after that. The kids are already talking about how they “can’t wait” to pick our own apples and pears someday.

    Strawberries

    We also planted 75 strawberry plants in three different varieties. About two-thirds are everbearing strawberries, which produce fruit throughout the growing season. The remaining third are June-bearing strawberries, the kind that give you that big flush of berries in June—what most people know from U-pick strawberry farms.

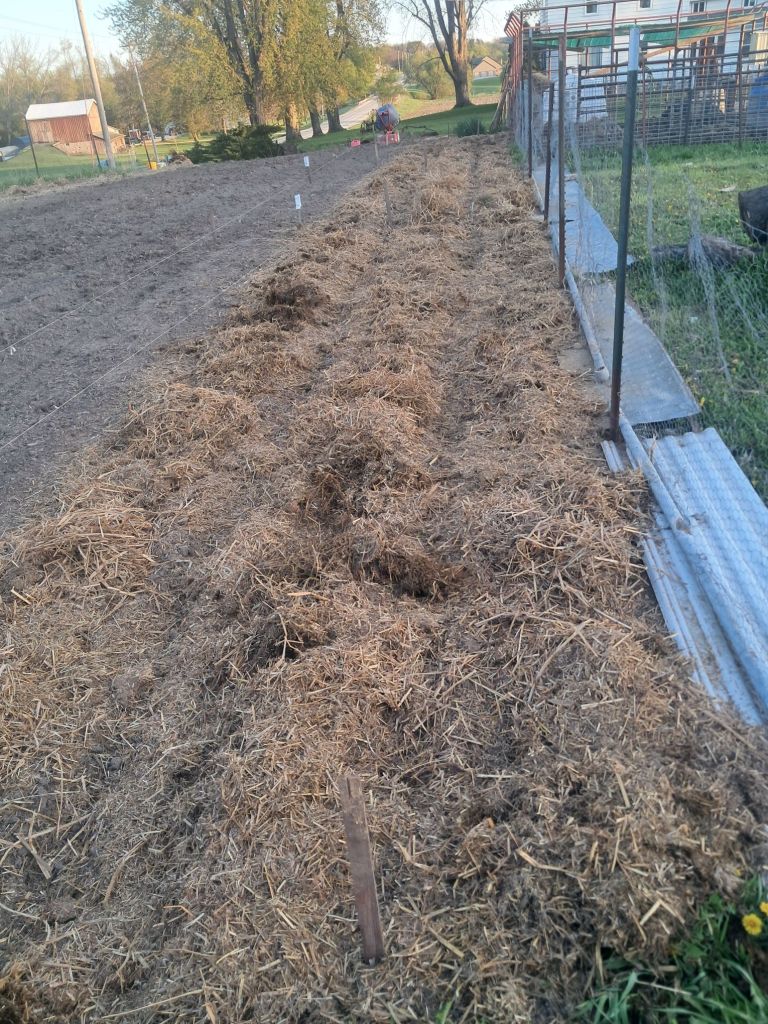
    Hard to see, but the strawberries are there!

    We’ll pinch the blossoms off the everbearing strawberries for the first couple of months while their root systems establish, then we’ll start letting them fruit. For the June-bearing strawberries, we’ll pinch all the blossoms this year so they can focus on roots, and we should start seeing fruit next summer. The kids are already excited, asking when they’ll get to pick strawberries and dreaming aloud about “strawberry snacks” straight from the garden.

    Field and Garden

    Out in the field, my husband planted our two-acre plot of oats, then tilled up a 120-foot by 30-foot field behind our barn (I know, cute) where we planted high population corn (planted more closely than typical field corn). These crops are intended to become feed for our pigs, chickens, and turkeys, which feels like a big step toward growing more of our own animal feed.

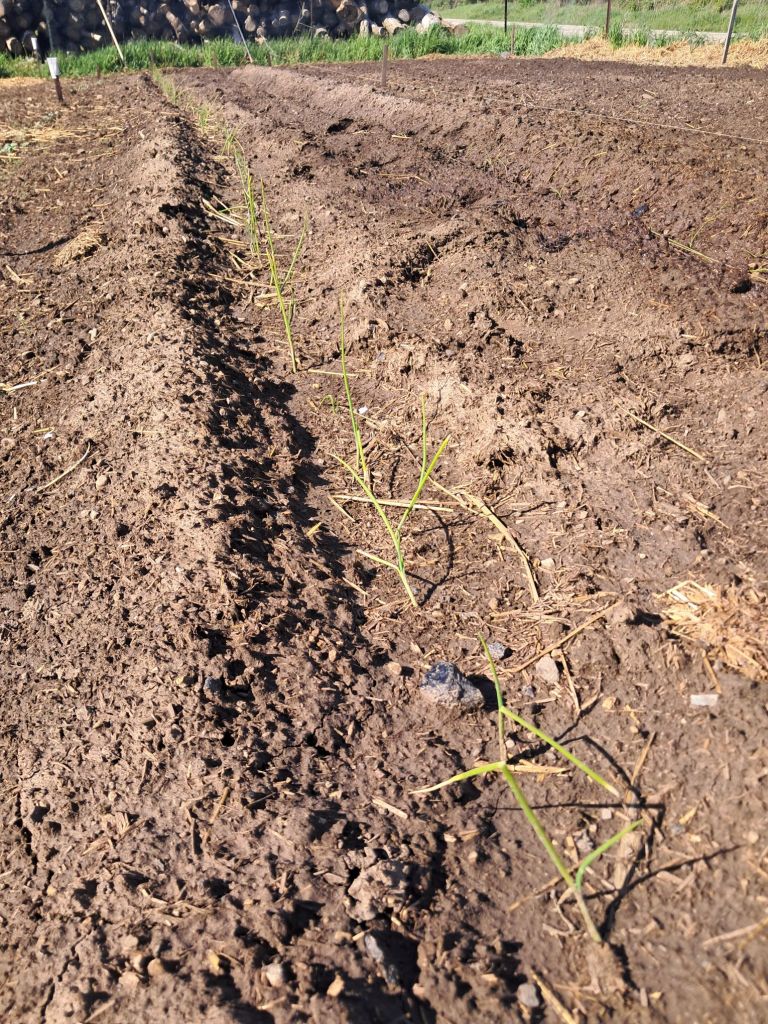
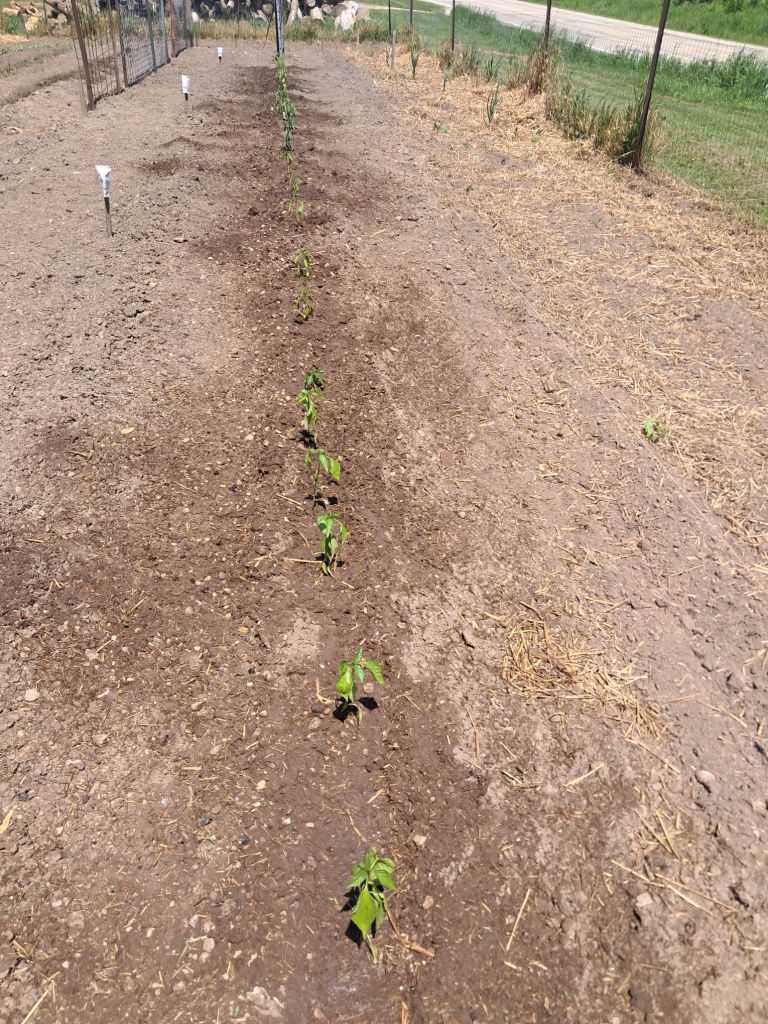
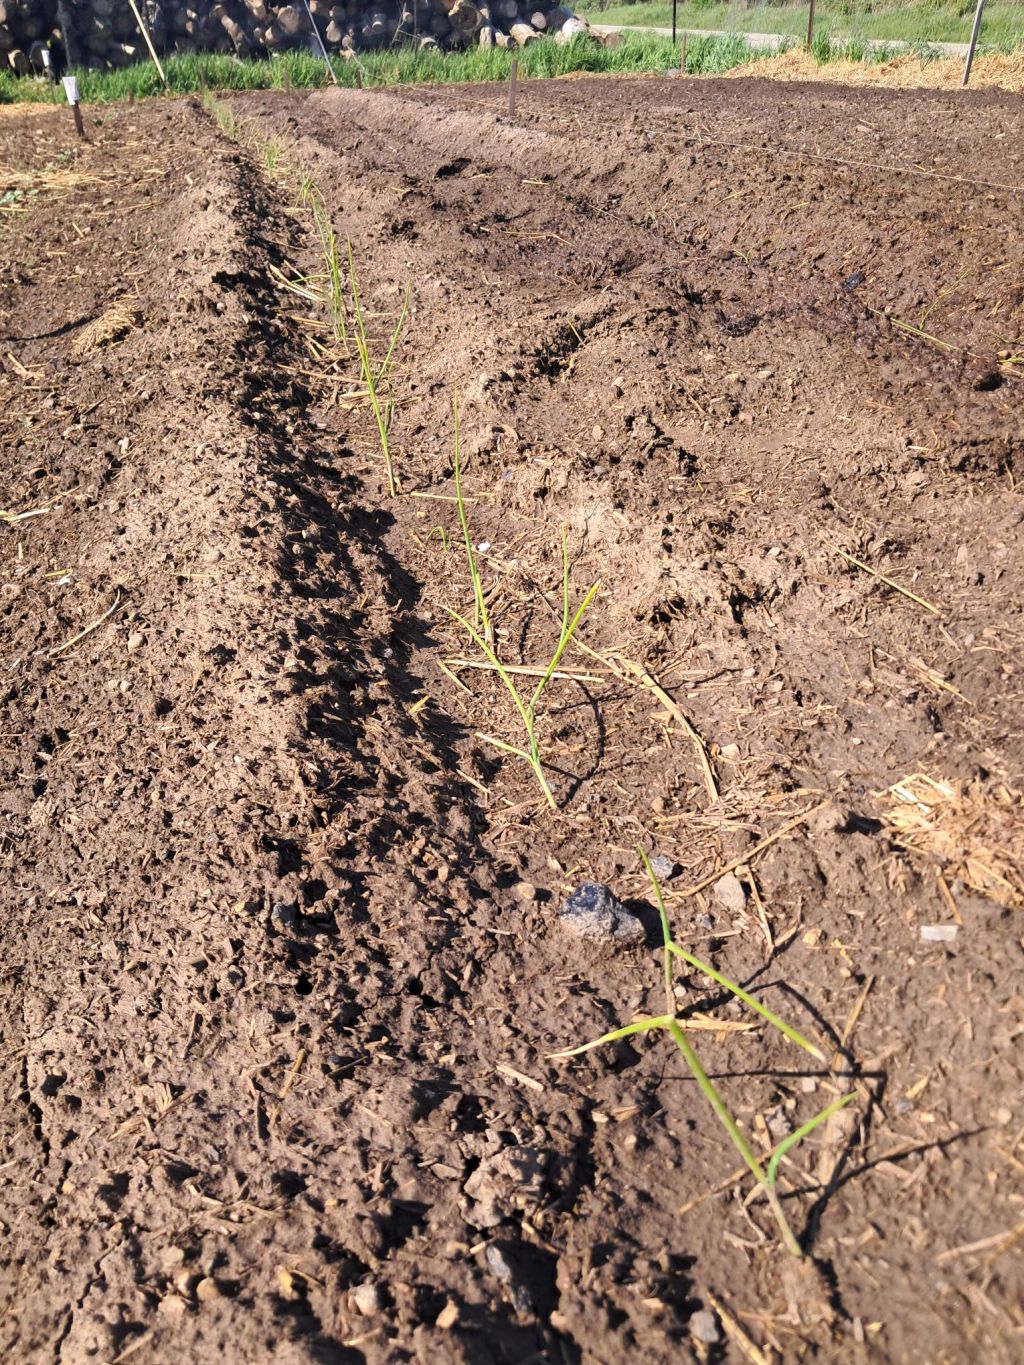
    Once the April flooding finally receded, we started planting the main garden. So far we’ve gotten radishes (the perfect cool-weather crop), rutabagas, parsnips, and transplanted onions in the ground. There’s still plenty more to do, but it feels good to see those first rows planted.

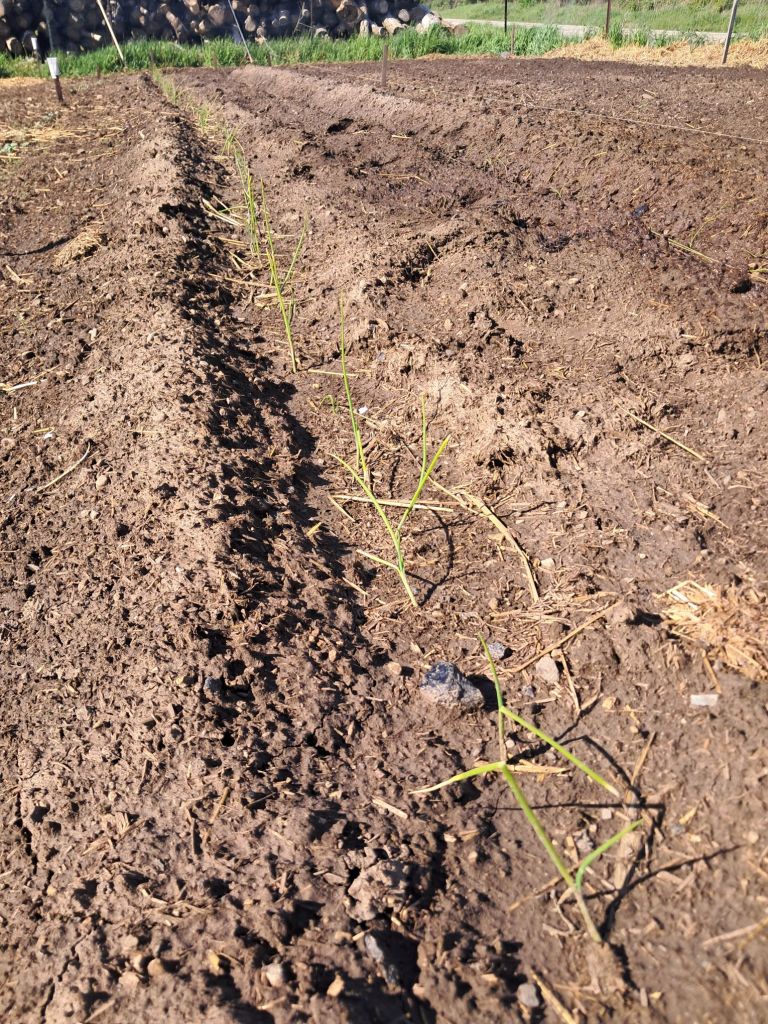
    Don’t judge my not-too-straight row of onions too harshly please!

    Spring Animal Projects: Piglets, Chicks, and Turkeys

    Anyone with animals knows that adding more livestock takes planning, patience, and a little bit of risk.

    Piglets

    Last year, we added two gilts to our pig herd and decided—almost on a whim—that we wanted to try farrowing piglets. Of course, biology says you can’t have piglets without a boar, so my brother-in-law graciously lent us his boar for two weeks in mid-January. In return, we helped him by cutting down a tree. Homestead barter at its finest.

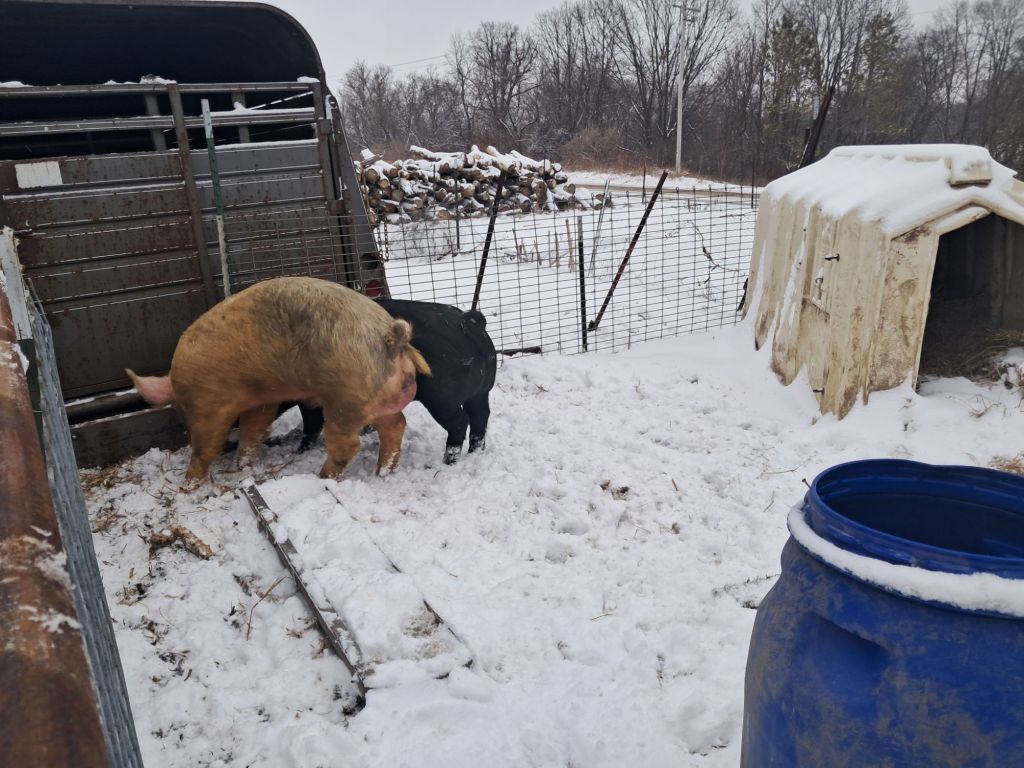
    Mr. Eligible Bachelor (pink) as he wooed his lady.

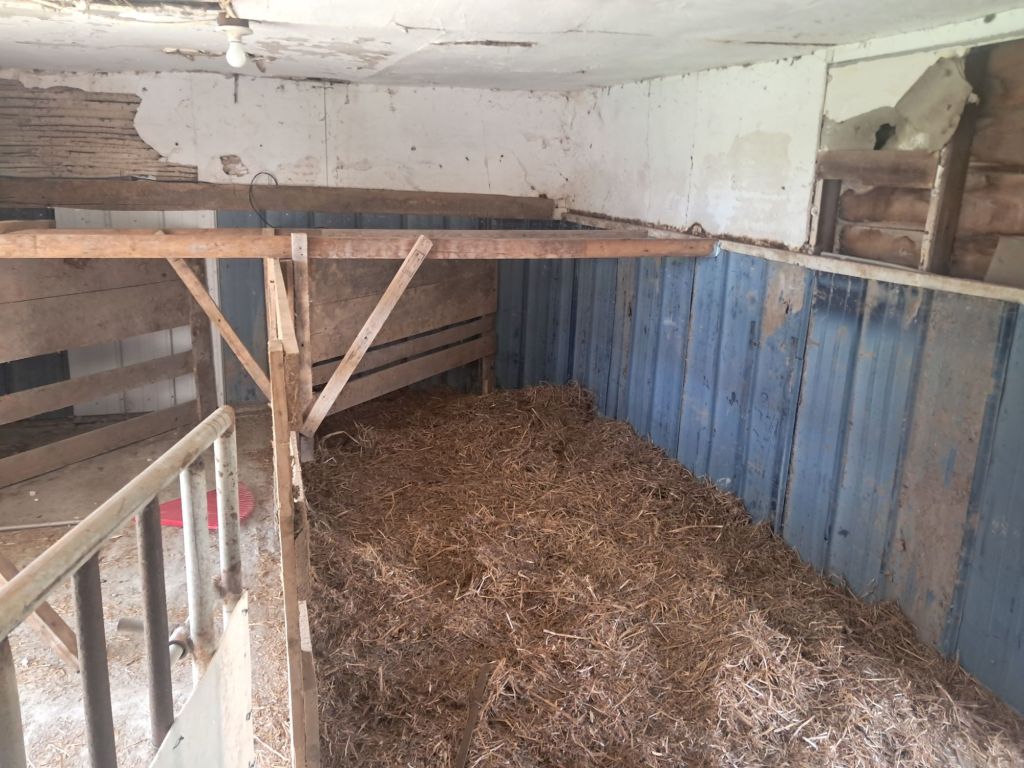
    Next, we needed a safe space for piglets to be born and grow for the first several weeks. My husband converted an old dilapidated shed into functional farrowing quarters. He shored up rotten sections, set used silo staves in cement to make a makeshift floor, and built a farrowing crate from reclaimed wood. He even added lights, knowing we’d be checking on her at all hours until she finally gave birth.
    All ready for some babies!

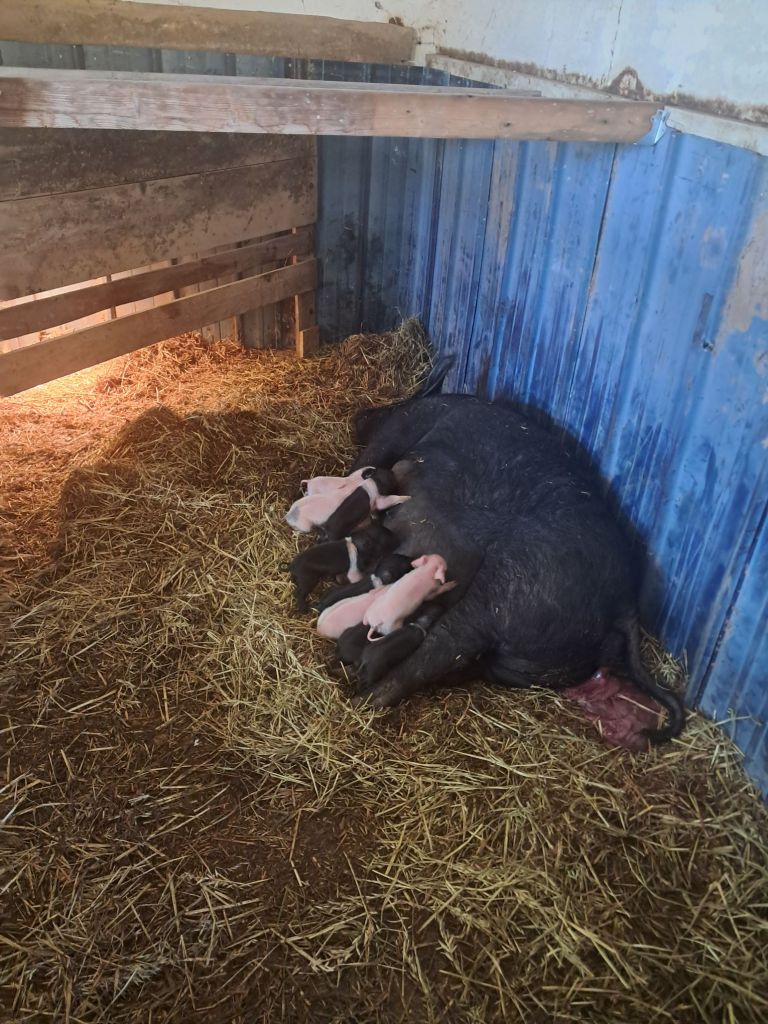
    So far, one gilt has farrowed 10 piglets, and the second is due any day. We love having little babies around the homestead—it’s noisy, busy, and pretty wonderful.

    Our plan is to either sell some of the piglets as feeder pigs or raise them for pork that’s grown outside on pasture. If you’re local (SE WI) and interested in either, feel free to reach out.
    Chicks

    About a month ago, we also added to our poultry flock. We purchased 15 straight-run Wyandotte chicks and set them up in our basement. At the same time, I set up my incubator with 22 eggs.
    My first attempt at incubating eggs was a complete failure—I didn’t hatch a single chick from 47 eggs. Lesson learned: the orientation of the eggs in the incubator matters. They can’t be placed upright in egg cartons; they need to lie horizontally or they simply won’t develop.

    This time, with the eggs properly positioned, 10 chicks hatched and 9 survived. That gives us 24 new chicks total. In theory, about half will be roosters and half hens. We plan to keep one rooster as our new stud, and the rest of the roosters will eventually head to “freezer camp” and become shredded chicken for soups, broth, and casseroles (yes, I’m from Wisconsin, and we call it casserole). The kids love checking on the chicks in the brooder, counting them, and reporting back on who’s sleeping, who’s eating, and which one is “their” favorite.

    Turkeys

    Our turkeys have their own spring plans. Both turkey hens found separate hidden spots around the property to sit on nests—despite the small detail that there are no toms currently on the homestead. My husband decided to do a little switcheroo and swapped one turkey’s eggs for fertile chicken eggs. We’ll see if any of those end up hatching. There’s never a dull moment with birds.

    Property Improvements: Upstairs Progress and Cleanup

    Spring hasn’t been all about plants and animals; we’ve made progress on the house and property, too.

    Upstairs Progress

    For those who don’t know, we bought our house in 2023 with an unfinished upstairs. Earlier this month, carpet was finally installed in most of that space, and now we’re down to finishing touches like closet doors and furniture. The last third of the upstairs still needs to be completed, and we’re planning to add a bathroom upstairs so we don’t have to navigate steep stairs in the middle of the night.

    Outside Cleanup

    Outside, my husband has been on a mission to clean up the property again, hauling away loads of scrap metal. The plan for this summer is to shore up one of the existing buildings so we can use it as temporary cover for our equipment while we demolish old structures and replace them with something more functional.


    It’s a lot—but it’s the good kind of work.

    Spring on a homestead is always busy, but seeing these projects come together—fruit trees in the ground, piglets in the barn, chicks in the brooder, and an upstairs that finally feels like it’s becoming livable—makes all the mud, mess, and chaos feel worth it.

    It’s one more season of growing food, raising kids alongside all this work, and slowly building the kind of place we want to call home.


    What spring projects are you working on around your home or homestead right now—plants, animals, or house upgrades?


    If this gave you ideas—or just made you feel less alone in the spring chaos—tap like and share it with a friend who’s also growing, raising, or rebuilding something this season.

    Subscribe for weekly homesteading tips:

    Read Next: Mid-Season Maple Syrup: 5 Gallons from 200 Gallons Sap

  • Why I Hate “What Do You Do?” – Homesteader’s Answer

    Why I Hate “What Do You Do?” – Homesteader’s Answer

    Daily writing prompt
    What is one question you hate to be asked? Explain.

    I hate the question “What do you do for a living?” because it shrinks a whole person into one job title. A single answer can’t capture the messy, beautiful layers of real life.

    Why It Feels Reducing

    People ask it as small talk icebreaker—easy, automatic. But I’ve learned the hard way that life isn’t defined by work. Take me: yes, I’m an environmental professional by trade. That’s just my 9-to-5, and I’m very passionate about what I do.

    The rest of me lives as a writer spinning homestead stories, a homesteader pulling winter carrots from frozen soil, a mom wrangling morning meltdowns, and a caretaker tending clucking chickens, strutting turkeys, and pigs rooting through the mud (who will hopefully farrow for the first time around Mother’s Day).

    These homesteading roles shape me equally—maybe more. The question pretends otherwise.

    Who It Leaves Out

    Worse, it sidelines anyone without “traditional employment.” Stay-at-home parents, caregivers, homesteaders, creators between gigs—they get frozen out. Conversation stalls: “Oh, nothing?” as if their days lack value.

    I’ve watched friends flush, stammer, or deflect. Motherhood is full-time labor. Homesteading demands innovation daily. Caretaking livestock like pigs and chickens builds worlds from scratch. Why does a paystub trump that?

    Better Questions Exist

    When cornered, I say: “I protect land by day, grow food and stories by life.” But I’d rather flip it: “What lights you up outside work?” That uncovers the human underneath.

    People are mosaics, not labels. Next time you’re tempted, ask about passions instead.

    Practical Homesteading: growing food, raising kids, building community.


    What’s YOUR most-hated question? Share below! 🔥 I bet we can rewrite the script together!

    If this resonates, like + share so other multi-role makers feel seen! 💕 Tag someone stuck in job-box conversations.

    Loved this? Subscribe for more homestead/mom reflections:

    Read Next: Our Biggest Homesteading Challenge: First-Time Pig Farrowing

  • 10 Unexpected Things I Love About Homesteading Life

    10 Unexpected Things I Love About Homesteading Life

    Before I started, I thought homesteading would mean endless chores and calloused hands. Instead, I’ve discovered these quiet joys that keep me hooked on this life.

    1. Dry toast mornings that actually work
    Recently, I started my 6-year-old son’s day by hugging him for two minutes (and telling him how great it was to see him) instead of rushing him. He ate his plain toast (despite us asking three times if he wanted butter or peanut butter—little monster), and we got to school early enough for playground time. Who knew starting slow could make us faster?

    2. Winter carrots tasting like candy
    Pulled bright orange carrots from frozen ground under snow and straw this past February. The deep cold turns their starches to sugars—they’re sweeter than anything from the store. I’m eating them in a pot roast dinner tonight. Proof that nature knows best.

    3. The taste of fresh mushrooms is incomparable
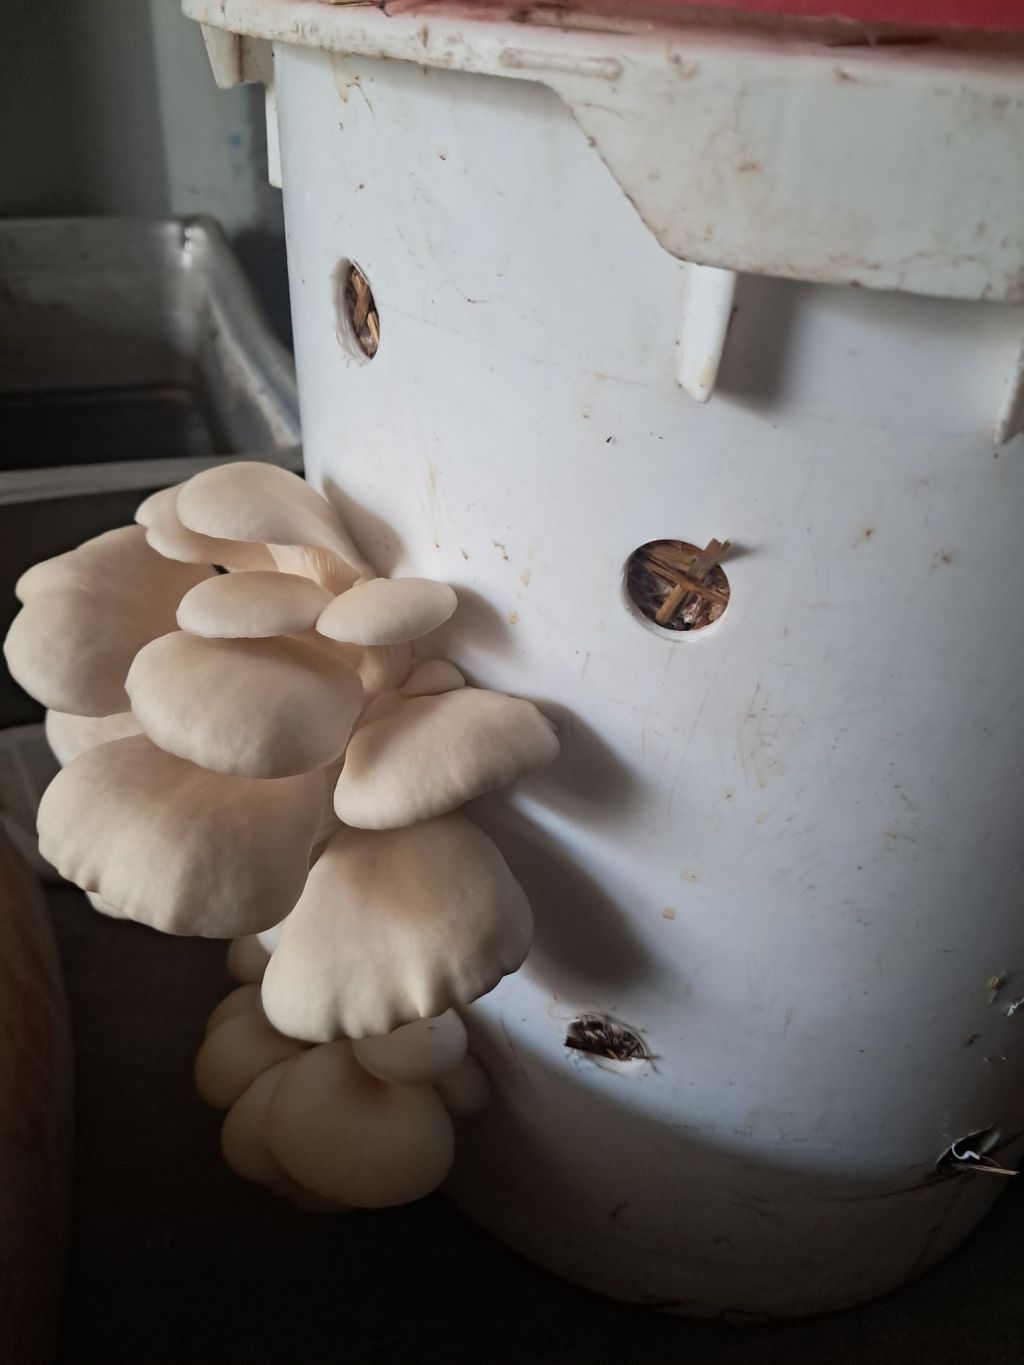
    I’ve successfully grown oyster mushrooms in a straw substrate, and they are delicious—so much tastier than the button mushrooms you get at the store (and those are good). I started shiitakes last year too, but they haven’t fruited yet (hoping they will this spring).

    4. Kids eating garden “weeds” they hate from stores
    My children turn up their noses at store kale but devour it fresh from our beds. They pull radishes straight from soil and munch like apples. Familiar dirt makes everything taste better.

    5. Fresh air fixing my mood instantly
    Ten minutes outside—picking beans, checking chickens, or just sitting—resets my whole nervous system. No therapy session beats weeding when anxiety creeps in. It’s free medicine growing right in my yard.

    6. Writing turning chaos into clarity
    Hospital stays, morning meltdowns, scar shame—scribbling it all down transforms tangle into meaning. What starts as venting becomes connection when I hit “publish.” This blog is my compost pile for hard emotions.

    7. Self-care mornings making me patient
    A quick workout and solid sleep before the kids wake up changes everything. Instead of snapping at heavy feelings, I can breathe through dysregulation and model it for my kids. The mom who shows up calm handles chaos ten times better.

    8. Crockpot smells everyone loves
    Even in my college dorm, that slow cooker made my floor smell like home. Now it draws my family to the kitchen hours before dinner’s ready. Simple food, big magic.

    9. Small wins building big confidence
    One perfect carrot harvest, one peaceful school drop-off, one good paragraph—they stack up. Each success whispers, “You can do hard things.” Homesteading proves I’m tougher than I think.

    10. Coming home to my roots wiser
    The girl who couldn’t wait to escape Dodge County returned at 33—not out of failure, but choice. I’ve circled back to gardening, animals, community with new eyes. Leaving helped me love it more.

    Practical Homesteading: growing food, raising kids, building community.


    What’s your unexpected love in this lifestyle? Share below—I’d love to hear!


    Loved these homesteading surprises? ❤️ Tap the heart, share with your farm friend, or tell me your unexpected joy below. Your support grows this community!

    Loved this? Subscribe for more homestead reflections:

    Read Next: Century Farm Renovation: Most Ambitious Homestead DIY (2026)