Here’s what foraging stinging nettles looked like for me this spring, and how I turned them into a safe, nourishing meal for my family.
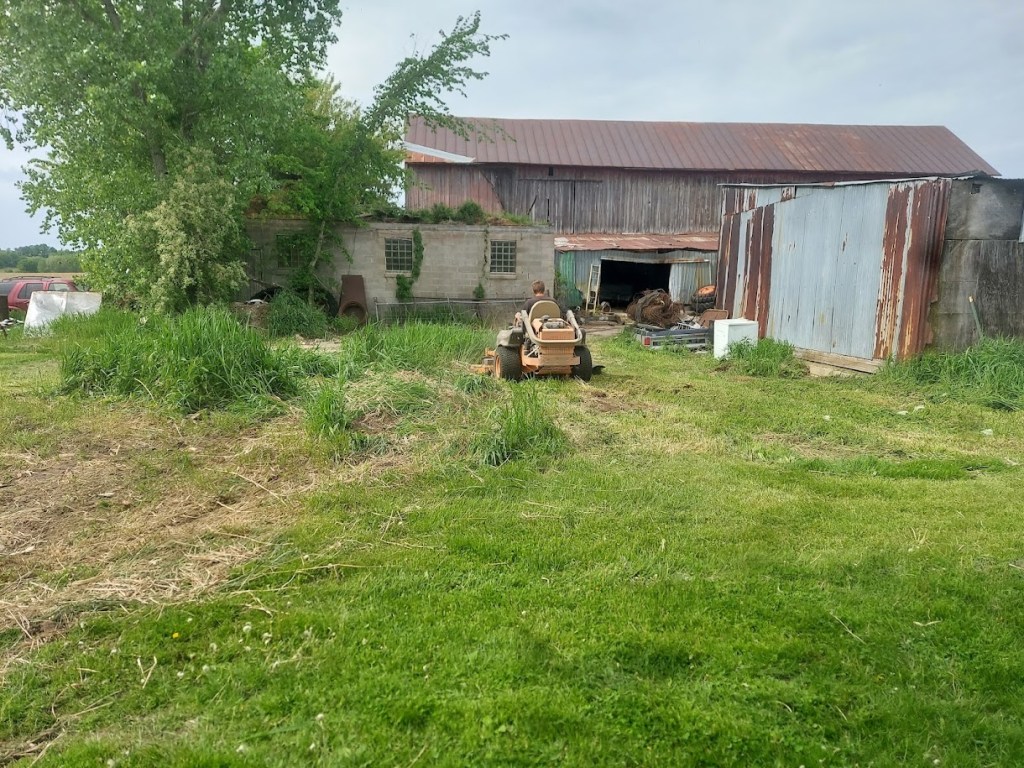
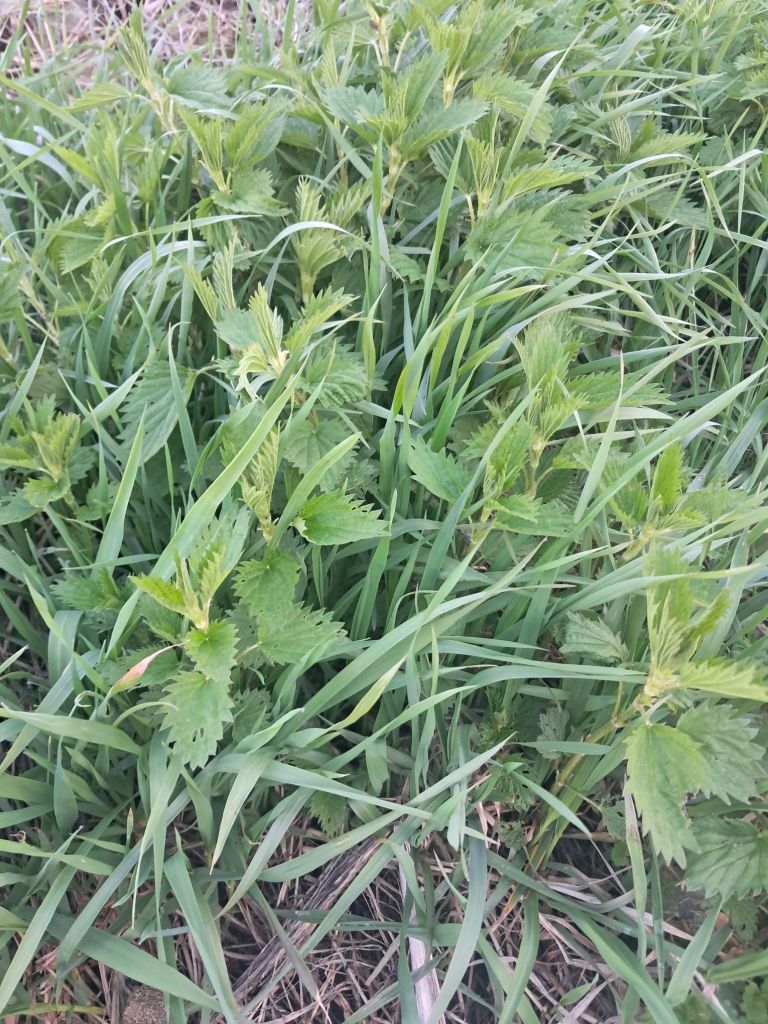
As I walk outside armed with a plant identification book, rubber gloves, and an open mind, I can’t help but feel that I’m about to violate a fundamental law of food. Among the waterlogged ground, I scan for juvenile stinging nettles—those tough, serrated leaves covered in tiny, hair‑like stingers. This spring, I’ve begun foraging stinging nettles on our property, turning a backyard “weed” into a free, nutrient‑dense green for our family. It’s especially welcome in the early months of the year, when fresh vegetables are harder to come by.
Foraging Nettles Safely
From experience, I know that if I’m not careful, I’ll quickly become aware that the plant has grazed my skin: the stingers bring an immediate, sharp pain and soon after a scattering of blisters. As someone who is slowly learning to step away from the industrialized food system, I feel hesitant to collect food that can actually hurt me. Yet there’s also a quiet humility in working with a plant that demands respect—this is nothing like reaching for a plastic‑wrapped bunch of lettuce at the grocery store.
I chuckled at the thought of how hungry the first person must have been to discover how to disable the stingers and savor this tasty, nutritious wild larder hiding in plain sight. On the other hand, there’s a childlike wonder in identifying a “weed” that others avoid. That sense of discovery encourages me to continue my quest.
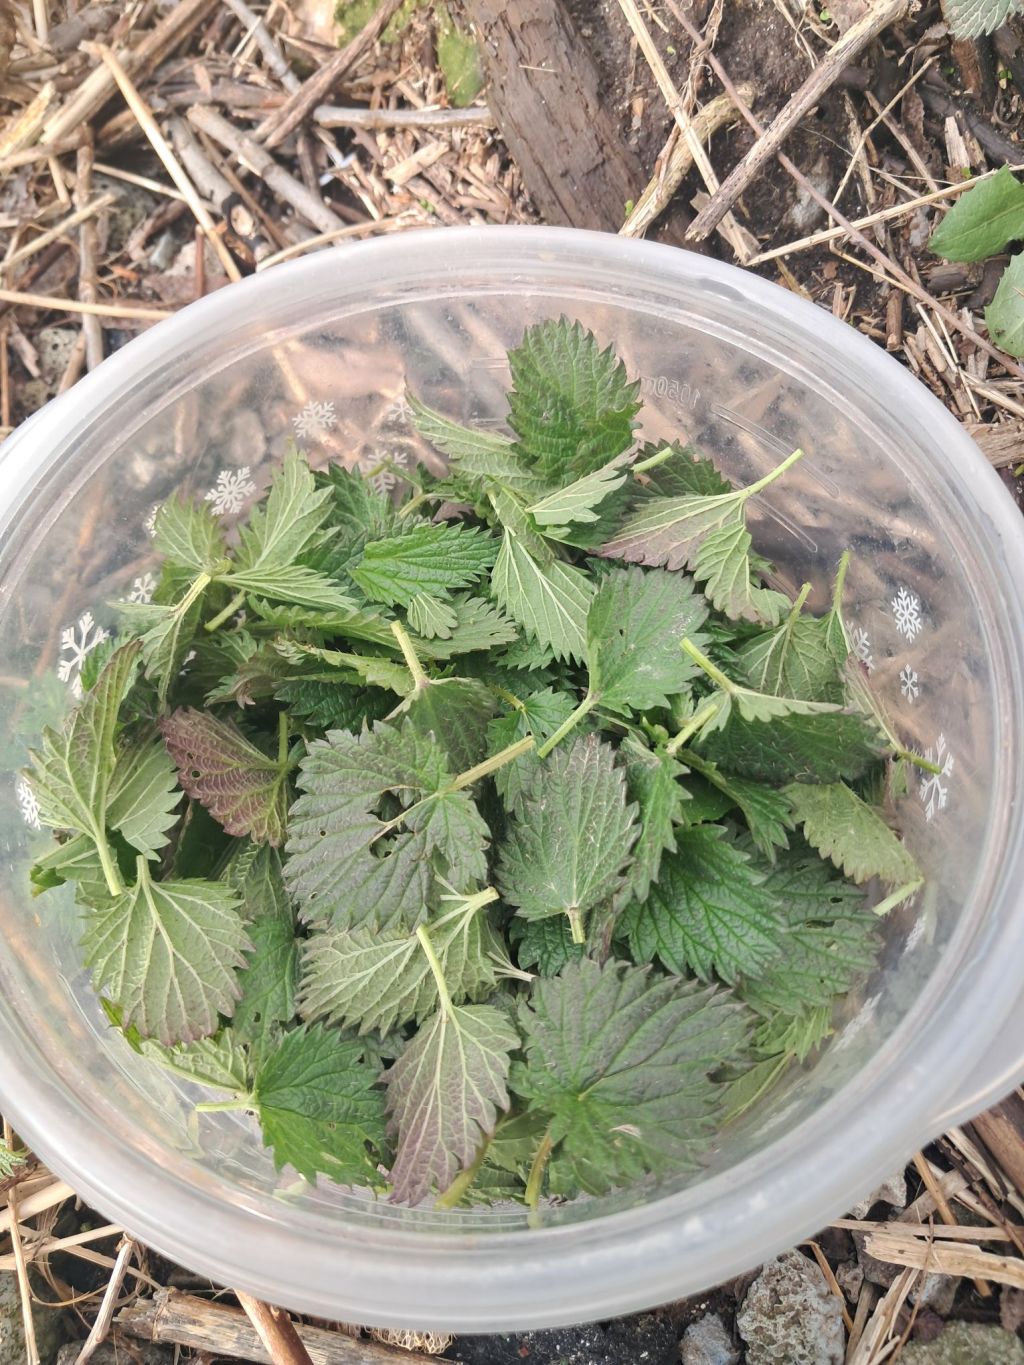
Harvesting becomes a mindful ritual. I crouch down and gently collect the plants, pinching off the leaves just above the stem. Where nettles grow most aggressively, I pull them from the ground—our property is overgrown with nettles that spread via rhizomes. The plants rustle as I work, releasing a faint, green herbal aroma into the air.

In a moment of carelessness, my arm grazes the plant, and I receive several painful blisters in turn. The soreness is uncomfortable, yes, but it also feels like a badge of honor. The temporary sting is a small price for the nutritional bounty. As my basket fills, I marvel at the efficiency of nature, at its pure, unmediated abundance.
To keep myself and my family safe, here are the practical steps I use to handle stinging nettles while working with them:
- Wear long sleeves and long pants to keep as much skin as possible covered.
- Use thick rubber or leather gloves that fully cover the wrists.
- Pull the gloves over the cuffs of long sleeves so stingers can’t slip in between.
- Avoid touching your face or neck while harvesting.
- If a sting happens, rinse the area with cool water and mild soap, then apply a soothing cream or cool compress as needed.
- If you’re foraging with kids, let them wear gloves and long sleeves too, and keep them close by so you can guide their hands and steps.
These simple precautions make the experience feel less intimidating and more like a teachable moment, not a painful surprise.
Cooking Nettles Safely: How to Neutralize the Sting
By the time I’m back in the kitchen, the nettles are in a vibrant heap in the sink. Before I wash them, I remind myself: Stinging nettles must never be eaten raw. The stingers release a mildly irritating compound that can cause discomfort and a burning sensation in the mouth and throat.
To make them safe to eat, I always use one of these two methods:
- Blanch in boiling water:
- Bring a pot of water to a boil.
- Drop the nettle leaves into the boiling water for 1–2 minutes.
- Drain and rinse with cool water.
- The leaves will feel soft and silky and will no longer sting.
- Sauté in a hot pan:
- Add the fresh nettles to a hot pan with a bit of butter or oil.
- Stir constantly for 2–3 minutes until the leaves wilt and darken.
- The heat neutralizes the stingers and turns the leaves into a tender, spinach‑like green.
Both methods are quick and simple. The important point is: any stinging nettle serving larger than a small nibble should be processed with heat. That’s the non‑negotiable rule if you don’t want a painful, unpleasant experience.
Once the sting is gone, the nettles are ready to shine. I usually sauté them in garlic and butter, then season with salt. The simplicity of the dish is empowering; the only extras are salt, garlic, and butter to let the flavor of the greens shine. They taste grassy and slightly nutty, with a depth that store‑bought greens rarely match.
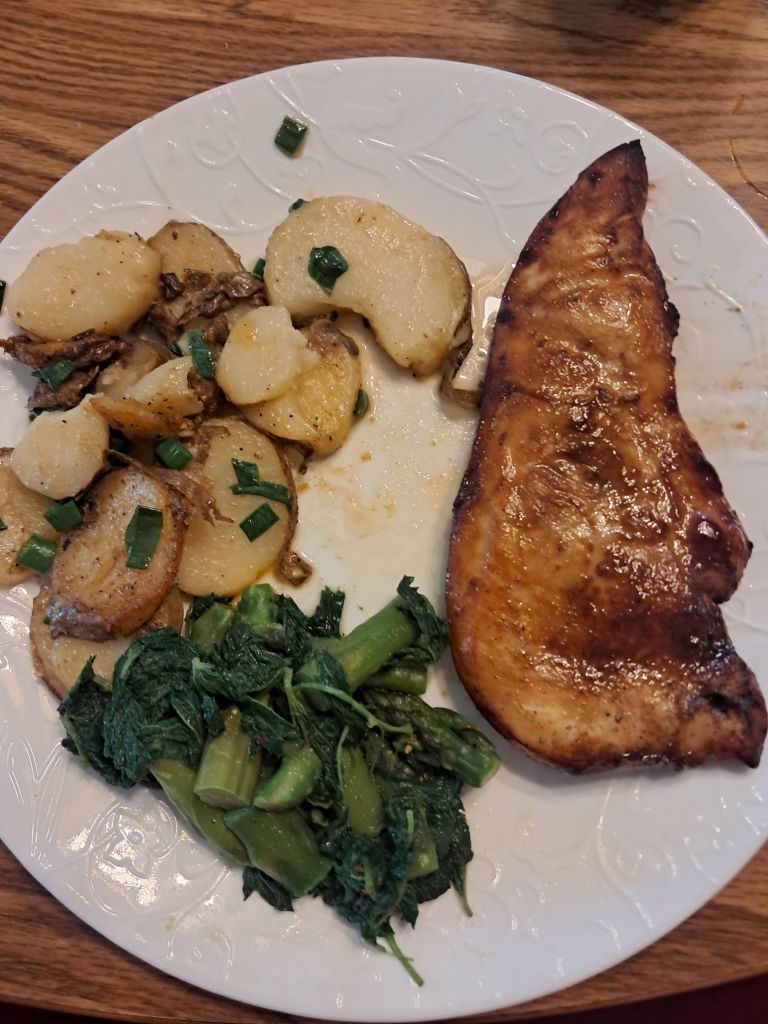
Every bite carries the satisfaction of knowing that at least some of the food on our table comes directly from the land, unmediated by plastic packaging or price tags and paid for instead with time and attention. This is the kind of meal I want to share with my children, teaching them that “weeds” can become dinner and that food is something the earth offers, not just something we buy.
Nutritional Benefits of Nettles
Stinging nettles are often called a “wild supergreen” for good reason. A small serving of cooked nettles delivers a surprising amount of important nutrients, including:
- Iron (useful for supporting energy and blood health)
- Calcium (beneficial for bones and teeth)
- Vitamins A and C (supporting immune function and skin health)
- Magnesium and other trace minerals
- A moderate amount of plant‑based protein for a leafy green
- Nettles have also been traditionally used for their gentle antihistamine‑like properties, especially when prepared as an herbal infusion.
In a world where we often think of “healthy food” as something expensive or packaged, nettles remind me that deep nourishment can emerge from the edges of the yard, if we’re willing to learn how to use it.
Reflections on Foraging and Community
Later, I ponder the experience, which was more rewarding than I imagined. Supplementing my diet with nettles shrinks my food miles while my pantry is enriched by the seasons. Grocery store runs feel less urgent when the yard offers a free, nutrient‑dense green harvested in spring. There’s a quiet pride in crafting meals from plants many call weeds, a small act of rebellion against the idea that all good food must be bought.
On a deeper level, I’m participating in a cycle that predates grocery stores, rekindling a bond with the earth that modern life often severs. I’m learning to see my yard—and my children’s yard—as a living pantry, not just a backdrop to our days. And when I share a pot of nettle soup or a plate of sautéed greens with a neighbor, the act of foraging becomes part of a small, quiet web of community, where knowledge and food move between people instead of only through registers.
Defiance, Devotion, and the Gift of the Land In a world built on convenience, foraging for nettles becomes an act of both defiance and devotion. It roots me in the present, reminds me that the earth provides—often lavishly, and often in plain sight—for those willing to look, learn, and gratefully receive.
Have you ever foraged stinging nettles or another wild green? Or would you ever try nettles in your family’s meals? Let me know in the comments—I’d love to hear your stories and tips!
If this post inspires you to look at your yard a little differently, I’d love it if you shared it with another parent or forager who’s curious about wild food. You can like or share it on Facebook, pin it on Pinterest, or forward it to a friend who loves seasonal, hands on food adventures.
Subscribe for weekly homesteading tips:
Read Next: Foraging Ramps with Kids in the Midwest