Tag: food preservation

  • How to Dehydrate Food at Home: Air Drying, Oven Drying, and Dehydrators

    How to Dehydrate Food at Home: Air Drying, Oven Drying, and Dehydrators

    I love the many different ways food can be preserved at home and enjoyed throughout the year. In my last three posts, I covered different methods of freezing garden produce. Today, I’m starting a new preservation series with one of the oldest methods: dehydration.

    Dehydration removes most of the moisture from food, which changes its texture and helps it keep longer when it is dried and stored properly. Some foods become chewy, some become crisp, and some can later be rehydrated and added to soups, casseroles, or other meals.


    In this dehydration series, I’ll cover three simple topics:


    Want a kitchen-friendly reference?
    My Garden Drying Guide includes printable preparation, temperature, drying time, storage, and rehydration charts for garden produce.


    There are several ways to dry food at home. Some are simple and inexpensive, while others take a little more equipment. The important things are gentle heat, moving air, and enough time for moisture to leave the food before it has a chance to spoil or mold.


    Drying Methods at a Glance

    Before we get into each method, here is a quick look at the different ways you can dry food at home.

    Drying MethodBest ForWhat You NeedBenefitsThings to Keep in Mind
    Air dryingHerbs, stale bread for croutons or bread crumbsCookie sheet, drying rack, or hanging bundles; a dry indoor space with airflowSimple, inexpensive, and requires no special equipmentBest for herbs and dry bread rather than fresh produce; protect food from dust and moisture; do not overcrowd pans
    Sun dryingFruit in hot, dry climatesDrying racks or screens, insect protection, and consistent sunshineTraditional method with no electricity requiredDepends on hot, dry weather; bring food in at night; protect it from insects and animals; not practical in every climate
    Oven dryingSmall batches, tomato paste, and foods you want to dry without a dehydratorLow-temperature oven, racks or trays, and careful monitoringUses equipment many people already ownWorks best if the oven can hold about 140–150°F; moisture needs a way to escape; can use more energy and requires close attention
    Dedicated dehydratorRegular dehydrating, garden harvests, larger batches, and more consistent resultsElectric dehydrator and traysConsistent airflow and temperature control; useful for larger batchesCosts more upfront; round models may need tray rotation, while rectangular models often provide more even airflow

    Air Drying Food at Home

    The most basic drying method is air drying. This works especially well for herbs such as basil, mint, and parsley. You can spread clean, dry leaves in a thin layer or hang small bundles in a dry place with good airflow until they are fully dry.

    I have also used this method very effectively with old stale bread. I cut the bread into cubes for croutons or crumble it for homemade bread crumbs, then spread it on a cookie sheet in a dry spot out of the way and stir it from time to time. It is a simple way to use bread that might otherwise go to waste.

    The key with air drying is not to overcrowd the pan or pile the food too densely. Food needs plenty of room for air to move around it. Stir small pieces occasionally, and make sure everything is completely dry before putting it away.

    Dehydrating old bread for crutons or bread crumbs couldn’t be easier

    Sun Drying Food

    Sun drying is another traditional preservation method, although it is not one I have used enough to give much personal advice about it. Between my roaming chickens and other curious homestead critters, I am afraid my food would be gone before I got the chance to enjoy it myself.

    Sun drying is similar to air drying, but it depends on consistently hot, dry, sunny weather. It is most practical in climates with very low humidity, which is also not here in southeastern Wisconsin. In more humid areas, food may mold before it has a chance to dry thoroughly, so an oven or dehydrator is usually a more dependable choice.

    If you do try sun drying, protect food from insects and animals, bring it in at night, and watch the weather closely. Because sun drying depends so heavily on the weather, I see it as more of a traditional option than an everyday preservation method for my own kitchen.

    How to Use an Oven as a Dehydrator

    Before I owned a dedicated dehydrator, I used my oven often. It works, although it does take a little extra attention.

    Spread food in a single layer on oven-safe drying racks or trays. If your oven can be set as low as 140–150°F, that is ideal for many fruits and vegetables. Prop the oven door open slightly so moisture can escape, and check the food regularly.

    I still use the oven method when I make tomato paste because it works so well. Creating tomato paste from juiced tomatoes takes time, but the slow oven heat helps cook down and dry the tomatoes into something thick, rich, and caramelized.

    Oven drying can be less efficient than using a dedicated dehydrator, and not every oven holds a low temperature evenly. Check food regularly, especially toward the end, so it does not scorch or become overly brittle. Always follow your oven manufacturer’s guidance, and do not leave a propped-open oven unattended.

    If your oven’s lowest setting is 170°F, it can still be useful for certain projects. Just check food often, since the higher heat can dry the outside more quickly than the inside.

    Why I Prefer a Dedicated Dehydrator

    My favorite method is using a dedicated dehydrator. These machines are made to move heated air steadily over the food, which helps it dry more evenly. They also make it much easier to control the temperature, which is helpful when you are drying different kinds of food.

    There are two common styles of dehydrators. Round or stacked-tray dehydrators usually move air vertically through the unit. Rectangular dehydrators generally move heated air from the back across the trays.

    I have used both kinds, and I personally prefer rectangular dehydrators. For me, the results seem more even, and I find the trays easier to load. I like being able to spread food out in a single layer without trying to fit everything around a center opening. The biggest downside is that rectangular dehydrators are usually more expensive.

    Here’s the rectangular dehydrator that I use.

    Horizontal-airflow dehydrators can be especially helpful when you are drying different foods at once because the air moves evenly across the trays. Vertical-flow models can work well too, but they may require more tray rotation for even drying.

    Basic Tips for Dehydrating Food

    No matter which drying method you use, a few habits make a big difference:

    • Start with fresh, good-quality food. Drying will not improve food that is already bruised, moldy, or beginning to spoil.
    • Wash and prepare food before drying.
    • Cut pieces into similar sizes so they dry evenly.
    • Arrange food in a single layer without overlapping.
    • Stir small pieces or rotate trays when needed.
    • Let dried food cool before testing it or packaging it.
    • If you are unsure whether something is dry enough, give it a little more time. It is better to dry food thoroughly than to store it with hidden moisture.
    • Remember that warm food can feel softer than it will after cooling.

    Fruits should usually be leathery or pliable, with no moisture squeezing out when pressed. Vegetables are often dry when they are crisp, brittle, or leathery. Herbs should crumble easily between your fingers.

    Storing Dried Food

    Let dried food cool completely before putting it into airtight jars, containers, or bags. Label each container with the food and date, then store it in a cool, dark, dry place.

    If you notice moisture collecting inside a container after a day or two, return the food to the dehydrator before storing it again. I usually label each container with the food and date so I can keep track of what needs to be used first.

    Taking the time to cool, label, and store dried food properly helps protect your hard work and keeps it ready to use later.

    Properly dehydrated food typically keeps for 6 months to 1 year at peak quality when stored in a cool, dark, and dry place. While safe to eat for longer if kept completely dry, quality, flavor, and nutrients begin to fade after 12 months

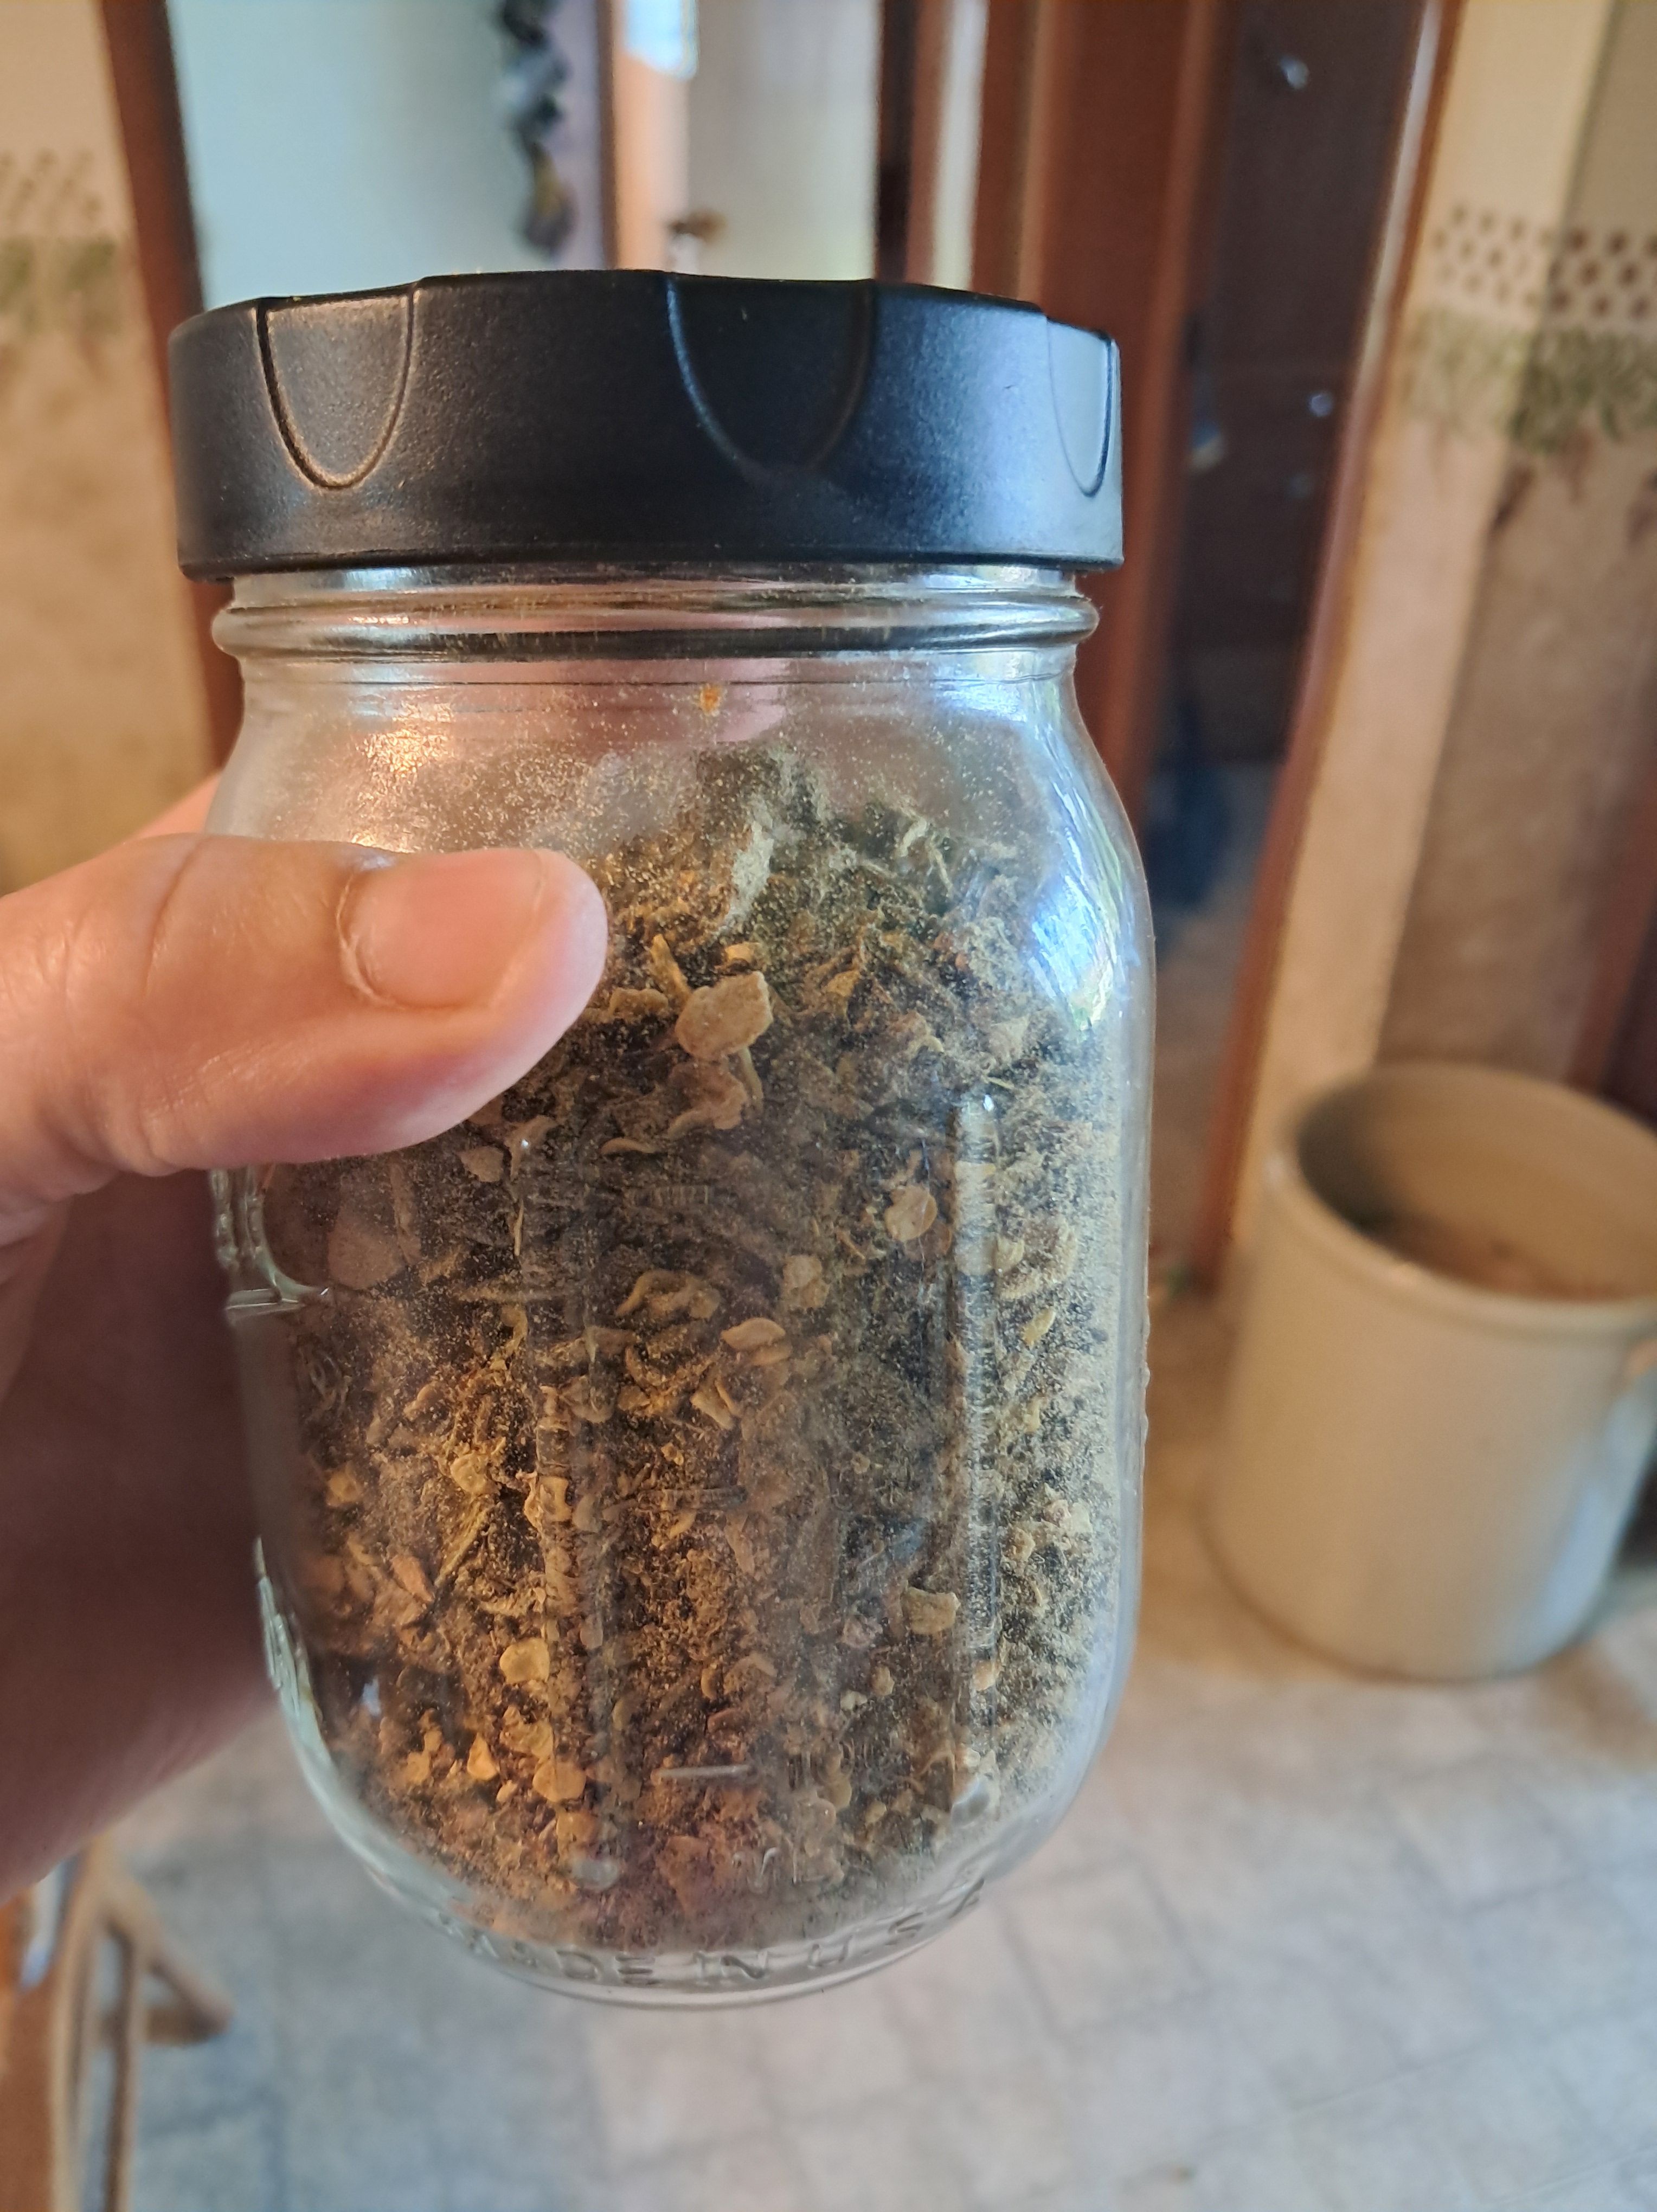
    Dehydrated jalopeno peppers make a wonderful (if potent) spice addition and keep a long time in a dry dark space.

    Next in This Series

    In the next post, I’ll cover how to prepare different foods for dehydration, including fruit, vegetables, herbs, and a few of my favorite garden foods.


    Have you ever dehydrated food at home? I’d love to hear which method you use most often—an oven, a dehydrator, or something simpler like air drying herbs.

    If this post was helpful, please like and share it with a friend who enjoys gardening, preserving food, or stocking a pantry for later.

    Read More Here: Zone 4B Vegetable Garden Ideas: What We Planted in 2026

  • How to Blanch and Freeze Broccoli and Other Garden Vegetables

    How to Blanch and Freeze Broccoli and Other Garden Vegetables

    This post is the second in my garden freezing series, where I’m sharing three simple ways to preserve the harvest:

    In this post, I’m covering the next step — the simple process of blanching and freezing garden produce.


    Want all three freezer methods in one printable guide?


    Why I Freeze Broccoli

    I love harvesting vegetables from the garden and putting them up for later. There’s something satisfying about knowing summer’s work will carry us through the colder months. One of my favorite ways to preserve vegetables is by blanching and freezing them, and broccoli is one of the easiest places to start.

    I usually plant far more broccoli than our family can eat during the summer, which makes it a perfect candidate for the freezer. The same method also works well for other garden vegetables like green beans, cauliflower, and carrots, depending on the vegetable and how it holds up to blanching.

    How to Blanch Broccoli

    I start by harvesting broccoli heads when they are ready, then cut them into bite-size pieces with some stem attached and soak them in cold water. While the broccoli is soaking, I bring a large kettle of water to a boil.

    Select good heads of broccoli that have not flowered and are full

    Once the water is boiling, I add the broccoli and blanch it for 2.5 minutes. Then I remove it immediately and plunge it into icy water to stop the cooking process. This helps preserve the broccoli’s color, flavor, and texture for long-term storage by slowing the enzymes that can cause spoilage and off-flavors.

    Before blanching
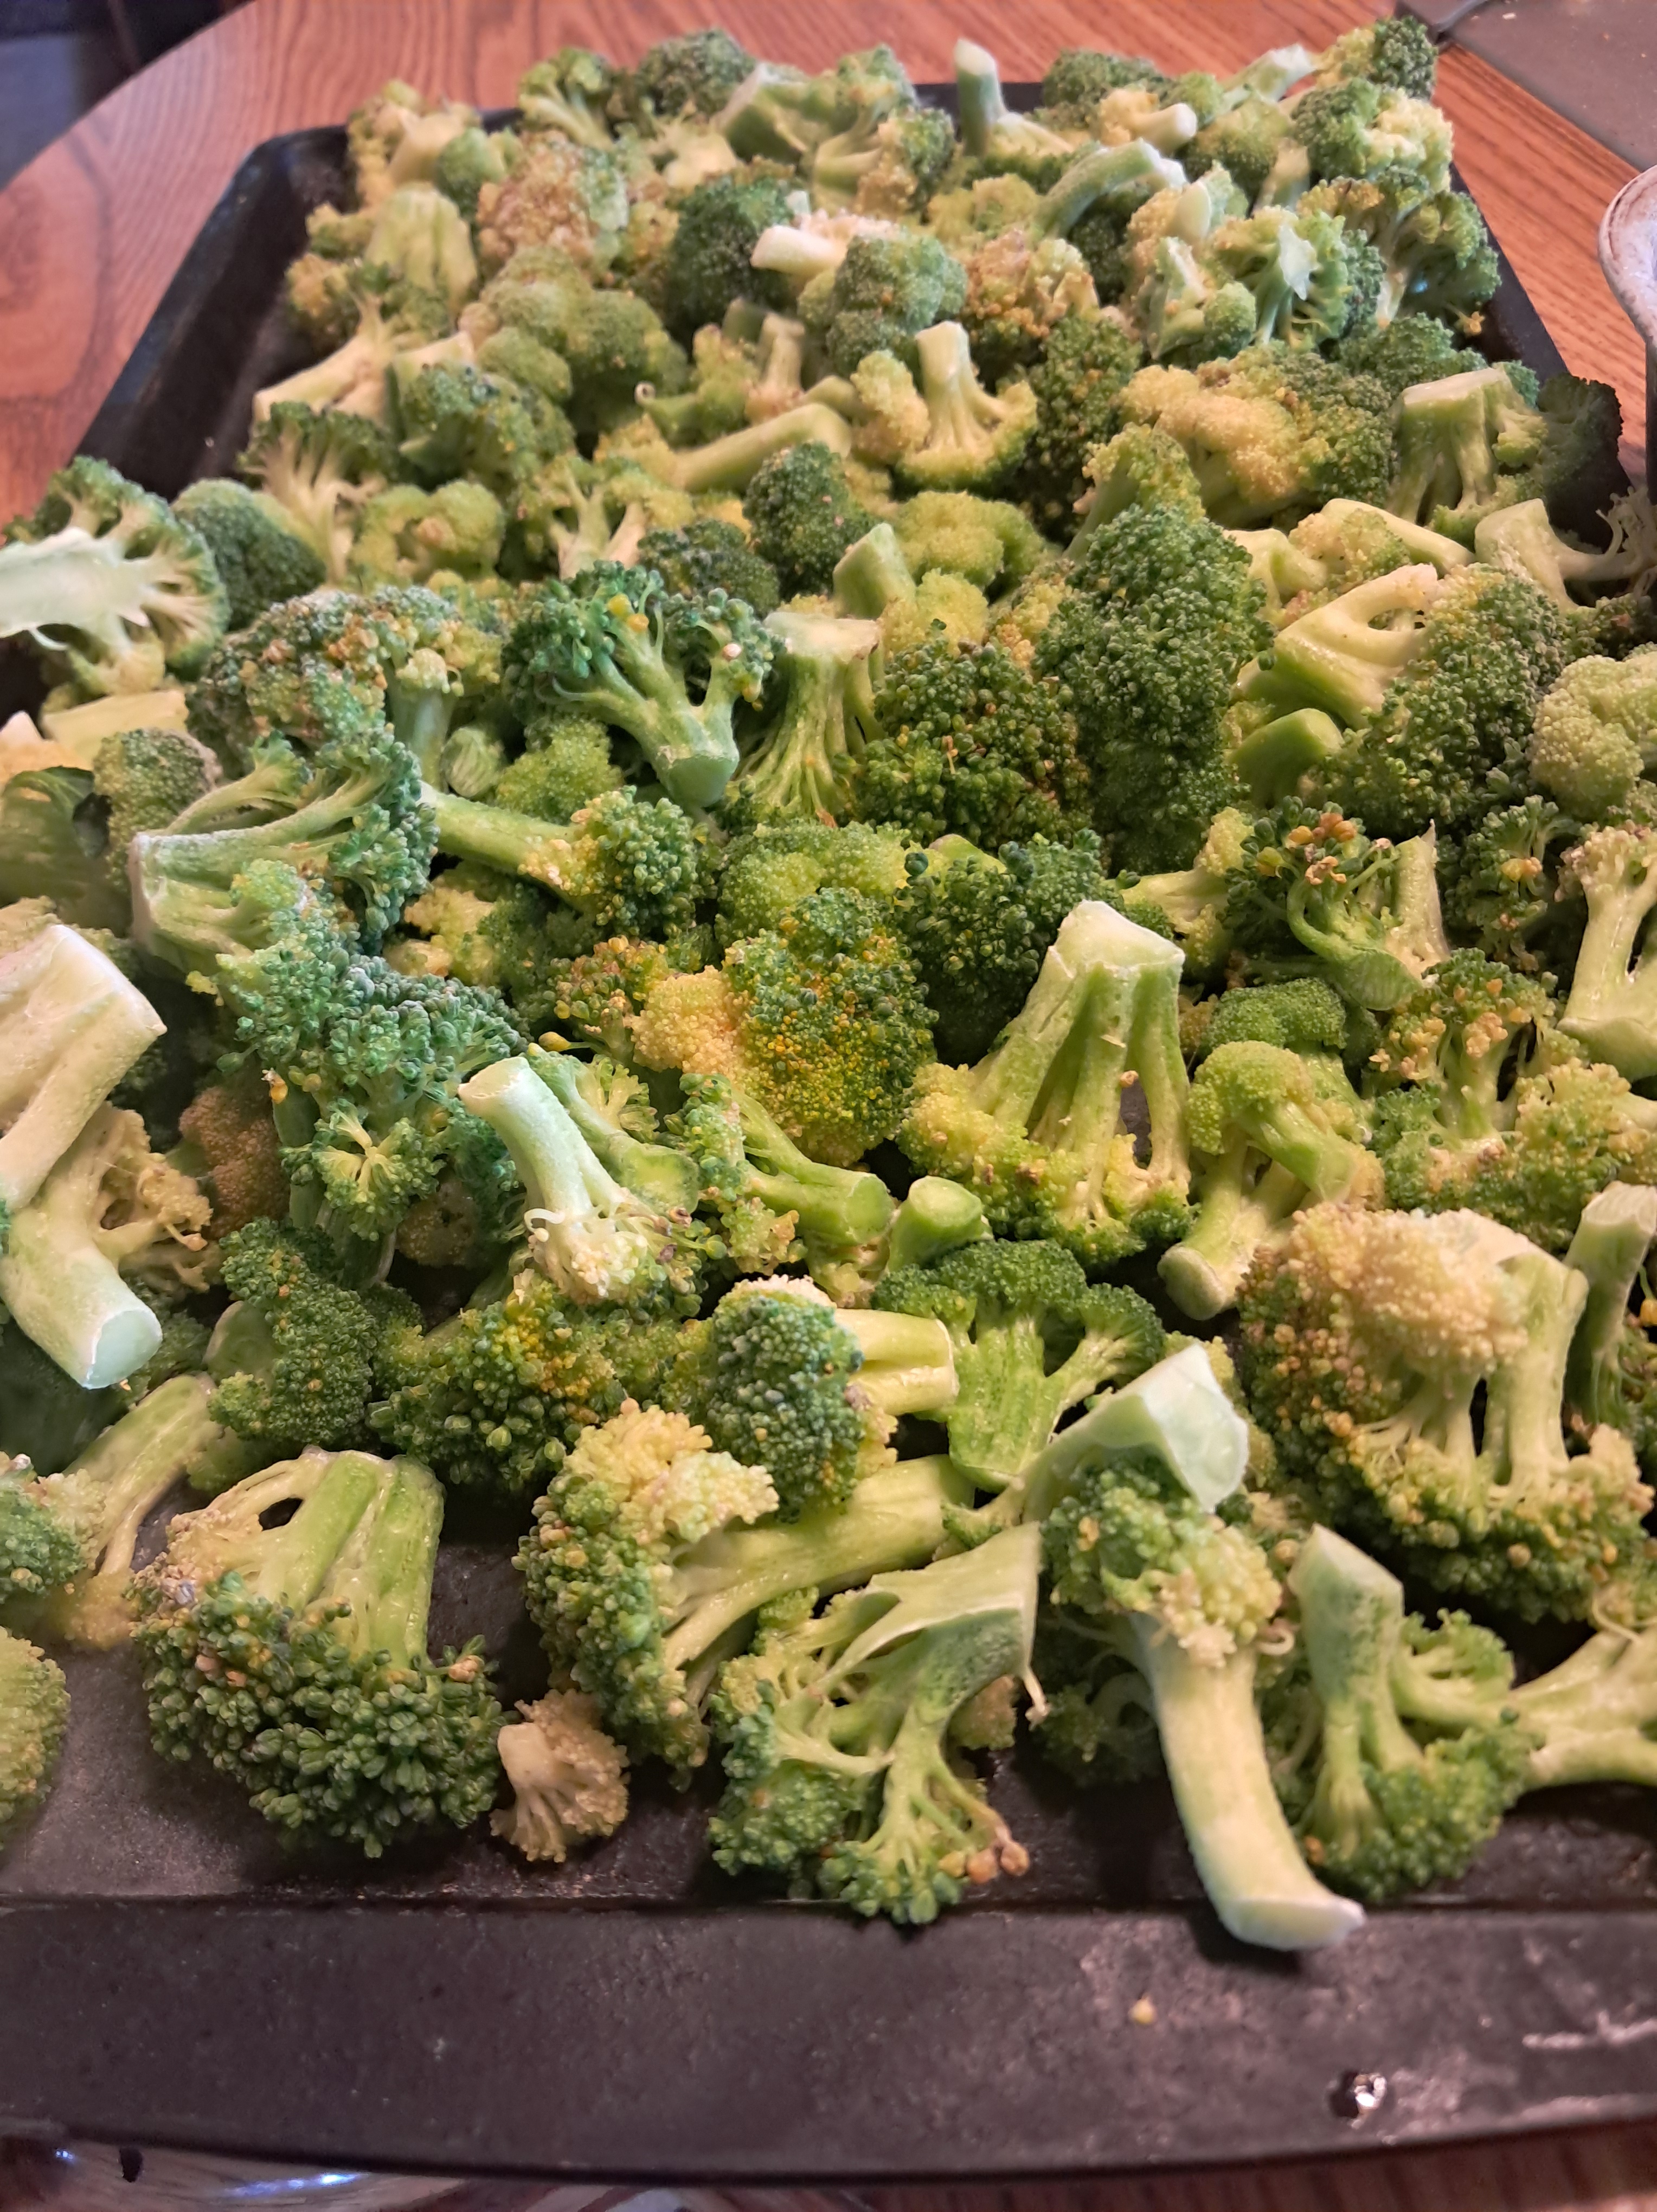
    After blanching

    How to Freeze Broccoli

    After the broccoli has cooled completely, I spread it out on a cookie sheet and place it in the freezer overnight. This step keeps the pieces from freezing into one big clump, so I can easily grab just what I need later. Once frozen, I transfer the broccoli into quart- or gallon-size freezer bags and store it in the freezer until I’m ready to use it.

    I spread the broccoli onto a cookie sheet and place it in the freezer overnight so I can pull out as much as I need.
    Don’t forget to properly label the bags! Here, I kept it simple: food, and month/year of harvest.

    Frozen broccoli is one of my favorite vegetables to pull out in the middle of winter. I use it in dressed-up ramen, soups, stir-fries, and as a simple side dish with dinner. It never seems to last until the next harvest season. Even with my best efforts, we usually run out by February, right around the time I’m planting broccoli again from seed.

    Other Vegetables to Blanch and Freeze

    The same basic blanch-and-freeze method works well for other vegetables from the garden too. Green beans are a freezer favorite, and I also like to preserve cauliflower and carrots when we have extra. If you grow a garden, freezing vegetables this way is one of the easiest ways to avoid waste and enjoy your harvest later in the year.

    Blanching Guide for Garden Vegetables

    If you like having a quick reference, here’s a simple blanching guide for a few common garden vegetables, along with the kinds of dishes they work best in after freezing.

    VegetableBlanch TimeFreezer LifeBest For
    Broccoli2.5 minutes8–12 monthsRoasting, soups, stir-fries, side dishes
    Green beans3 minutes8–12 monthsSide dishes, casseroles, sautés
    Cauliflower3 minutes8–12 monthsRoasting, soups, mash, casseroles
    Carrots2–3 minutes10–12 monthsSoups, stews, roasting, glazing
    Brussels sprouts3–5 minutes8–12 monthsRoasting, skillet dishes, side dishes

    Blanch times can vary a little depending on the size and freshness of the vegetable, so use this as a starting point. When I freeze vegetables, I usually label the bag with the date so I can keep track of what needs to be used first.

    More Garden Freezer Ideas

    In my next post, I’ll cover how to freeze garden vegetables that you fully cook first, such as sweet corn, beets, and squash.


    Do you preserve vegetables from your garden? What are your favorites to freeze? Share your favorites in the comments.

    If this post was helpful, please like and share it with a friend who loves preserving garden produce.

    Read More Here: Zone 4B July Garden Tour: Our 2026 Garden Updates

  • How to Freeze Peppers, Tomatoes, Zucchini, and Berries for Later

    How to Freeze Peppers, Tomatoes, Zucchini, and Berries for Later

    This post is part of my garden freezing series, where I’m sharing three simple ways to preserve the harvest:

    In this post, I’m covering the easy stuff — the garden produce you can prep and freeze without blanching.


    Want all three freezer methods in one printable guide?


    I love putting up garden produce for later in the year, especially when the freezer starts to feel like a quiet little backup pantry. Some vegetables need to be blanched before freezing, but a few summer favorites are even easier: just prep them, freeze them, and stash them away for winter.

    Peppers

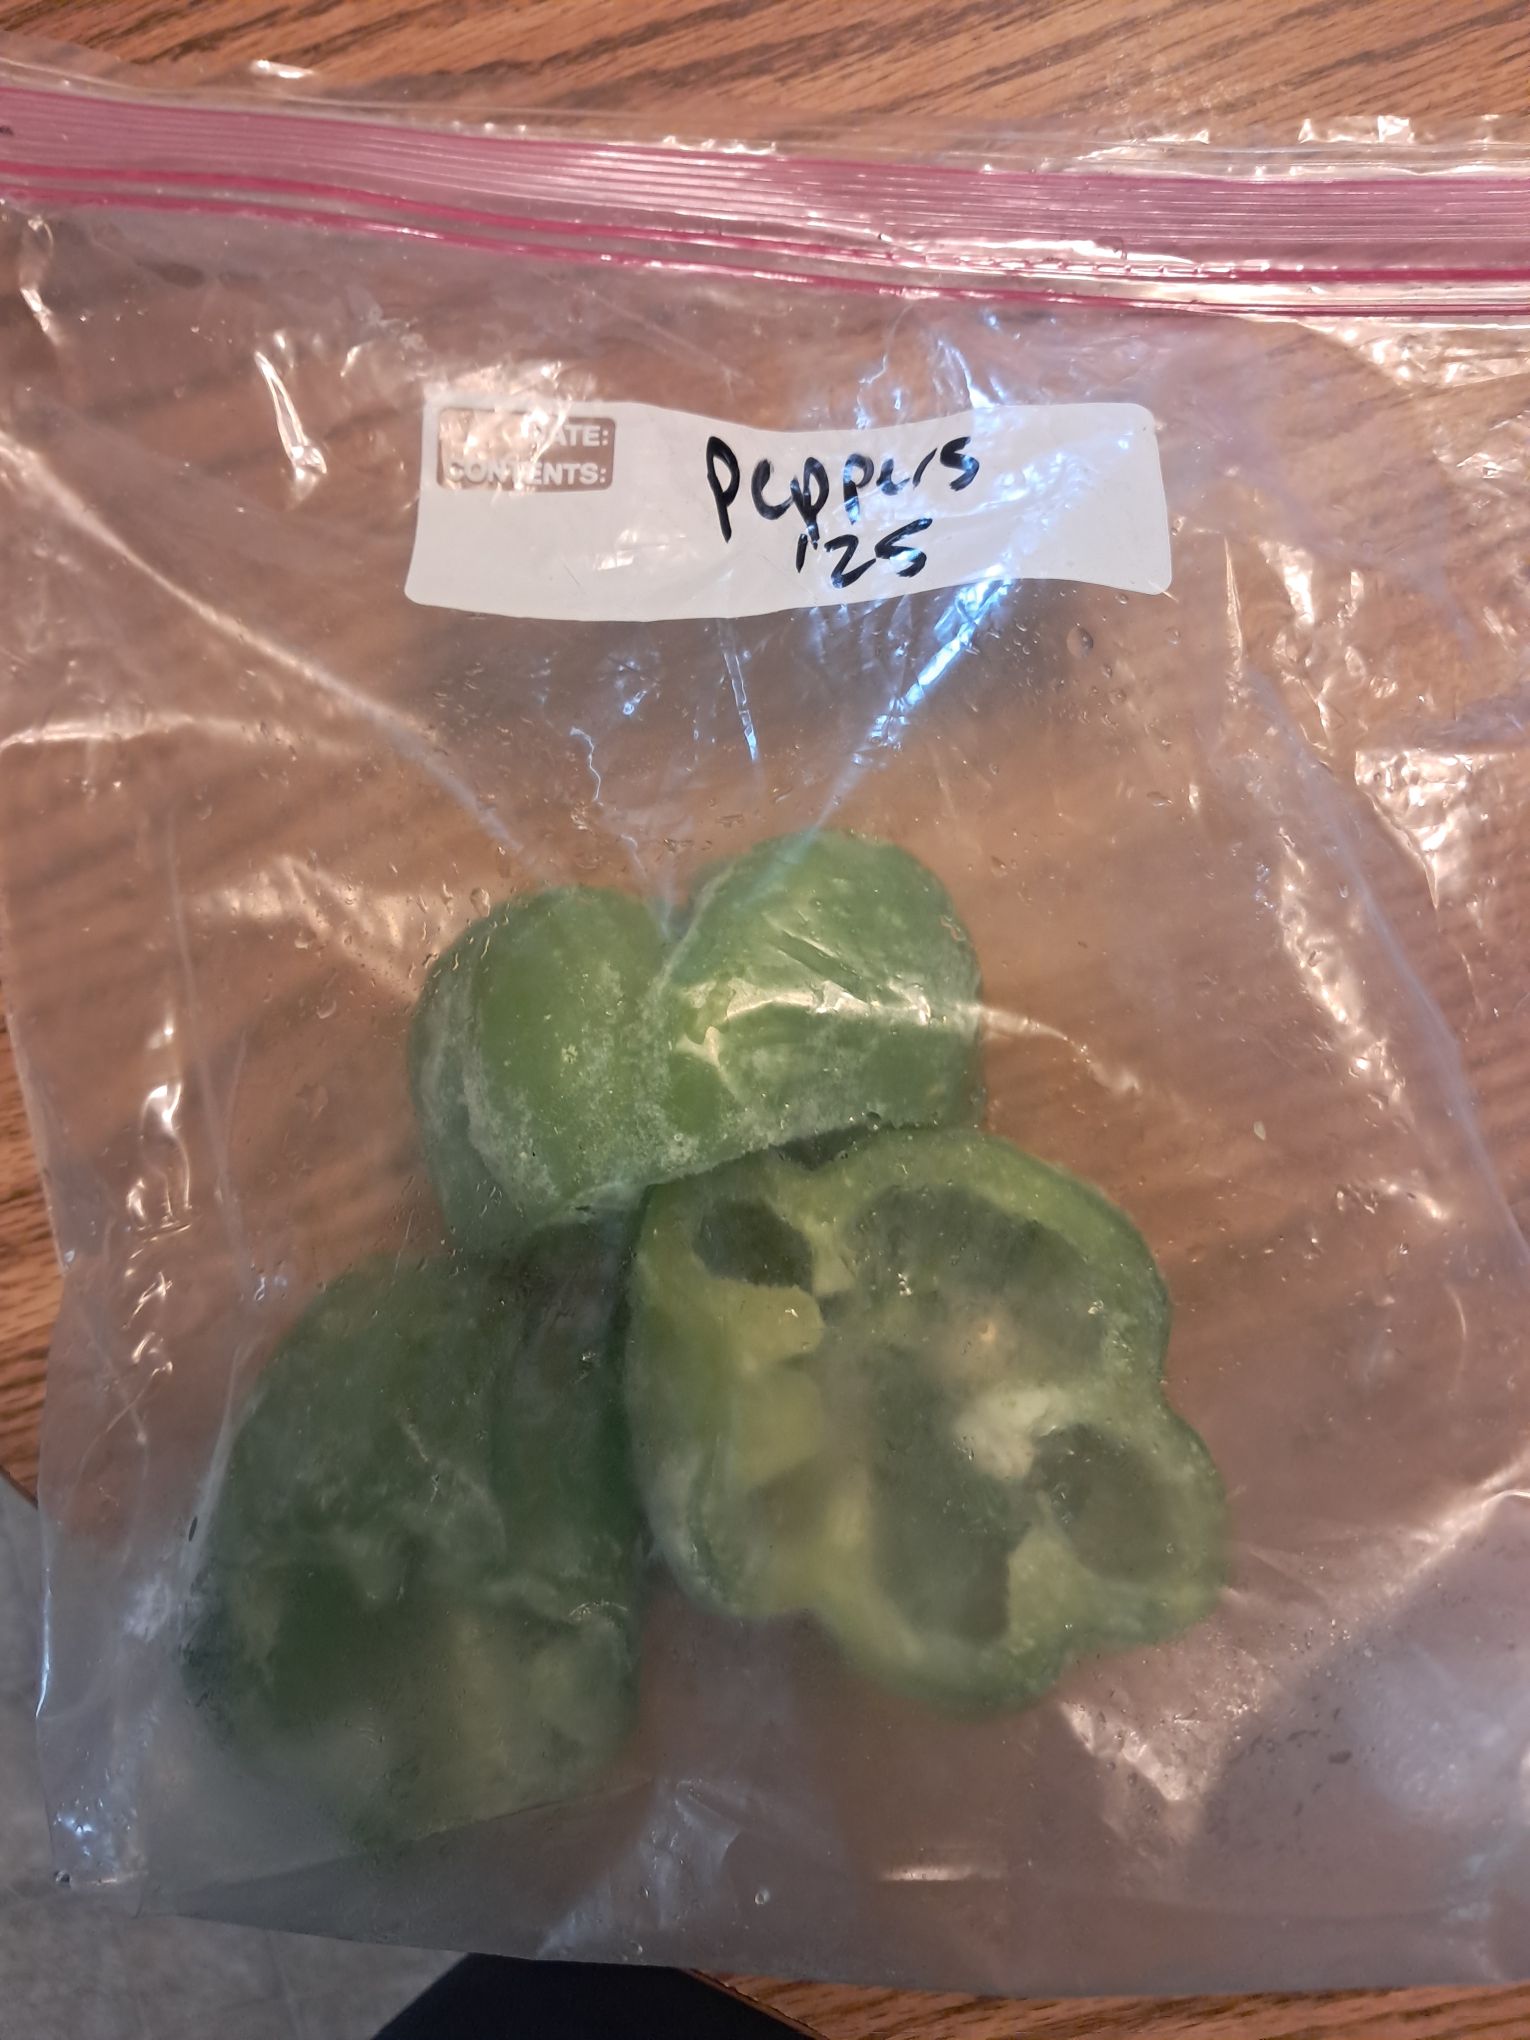
    Peppers are one of the easiest things to freeze. I wash them, remove the stems and seeds, and slice or chop them depending on how I plan to use them later. Sometimes I leave them whole for stuffed peppers. Then I spread the pieces on a tray or place them directly into freezer bags. Frozen peppers are great for soups, omelets, stir-fries, casseroles, and stuffed peppers.

    Tomatoes

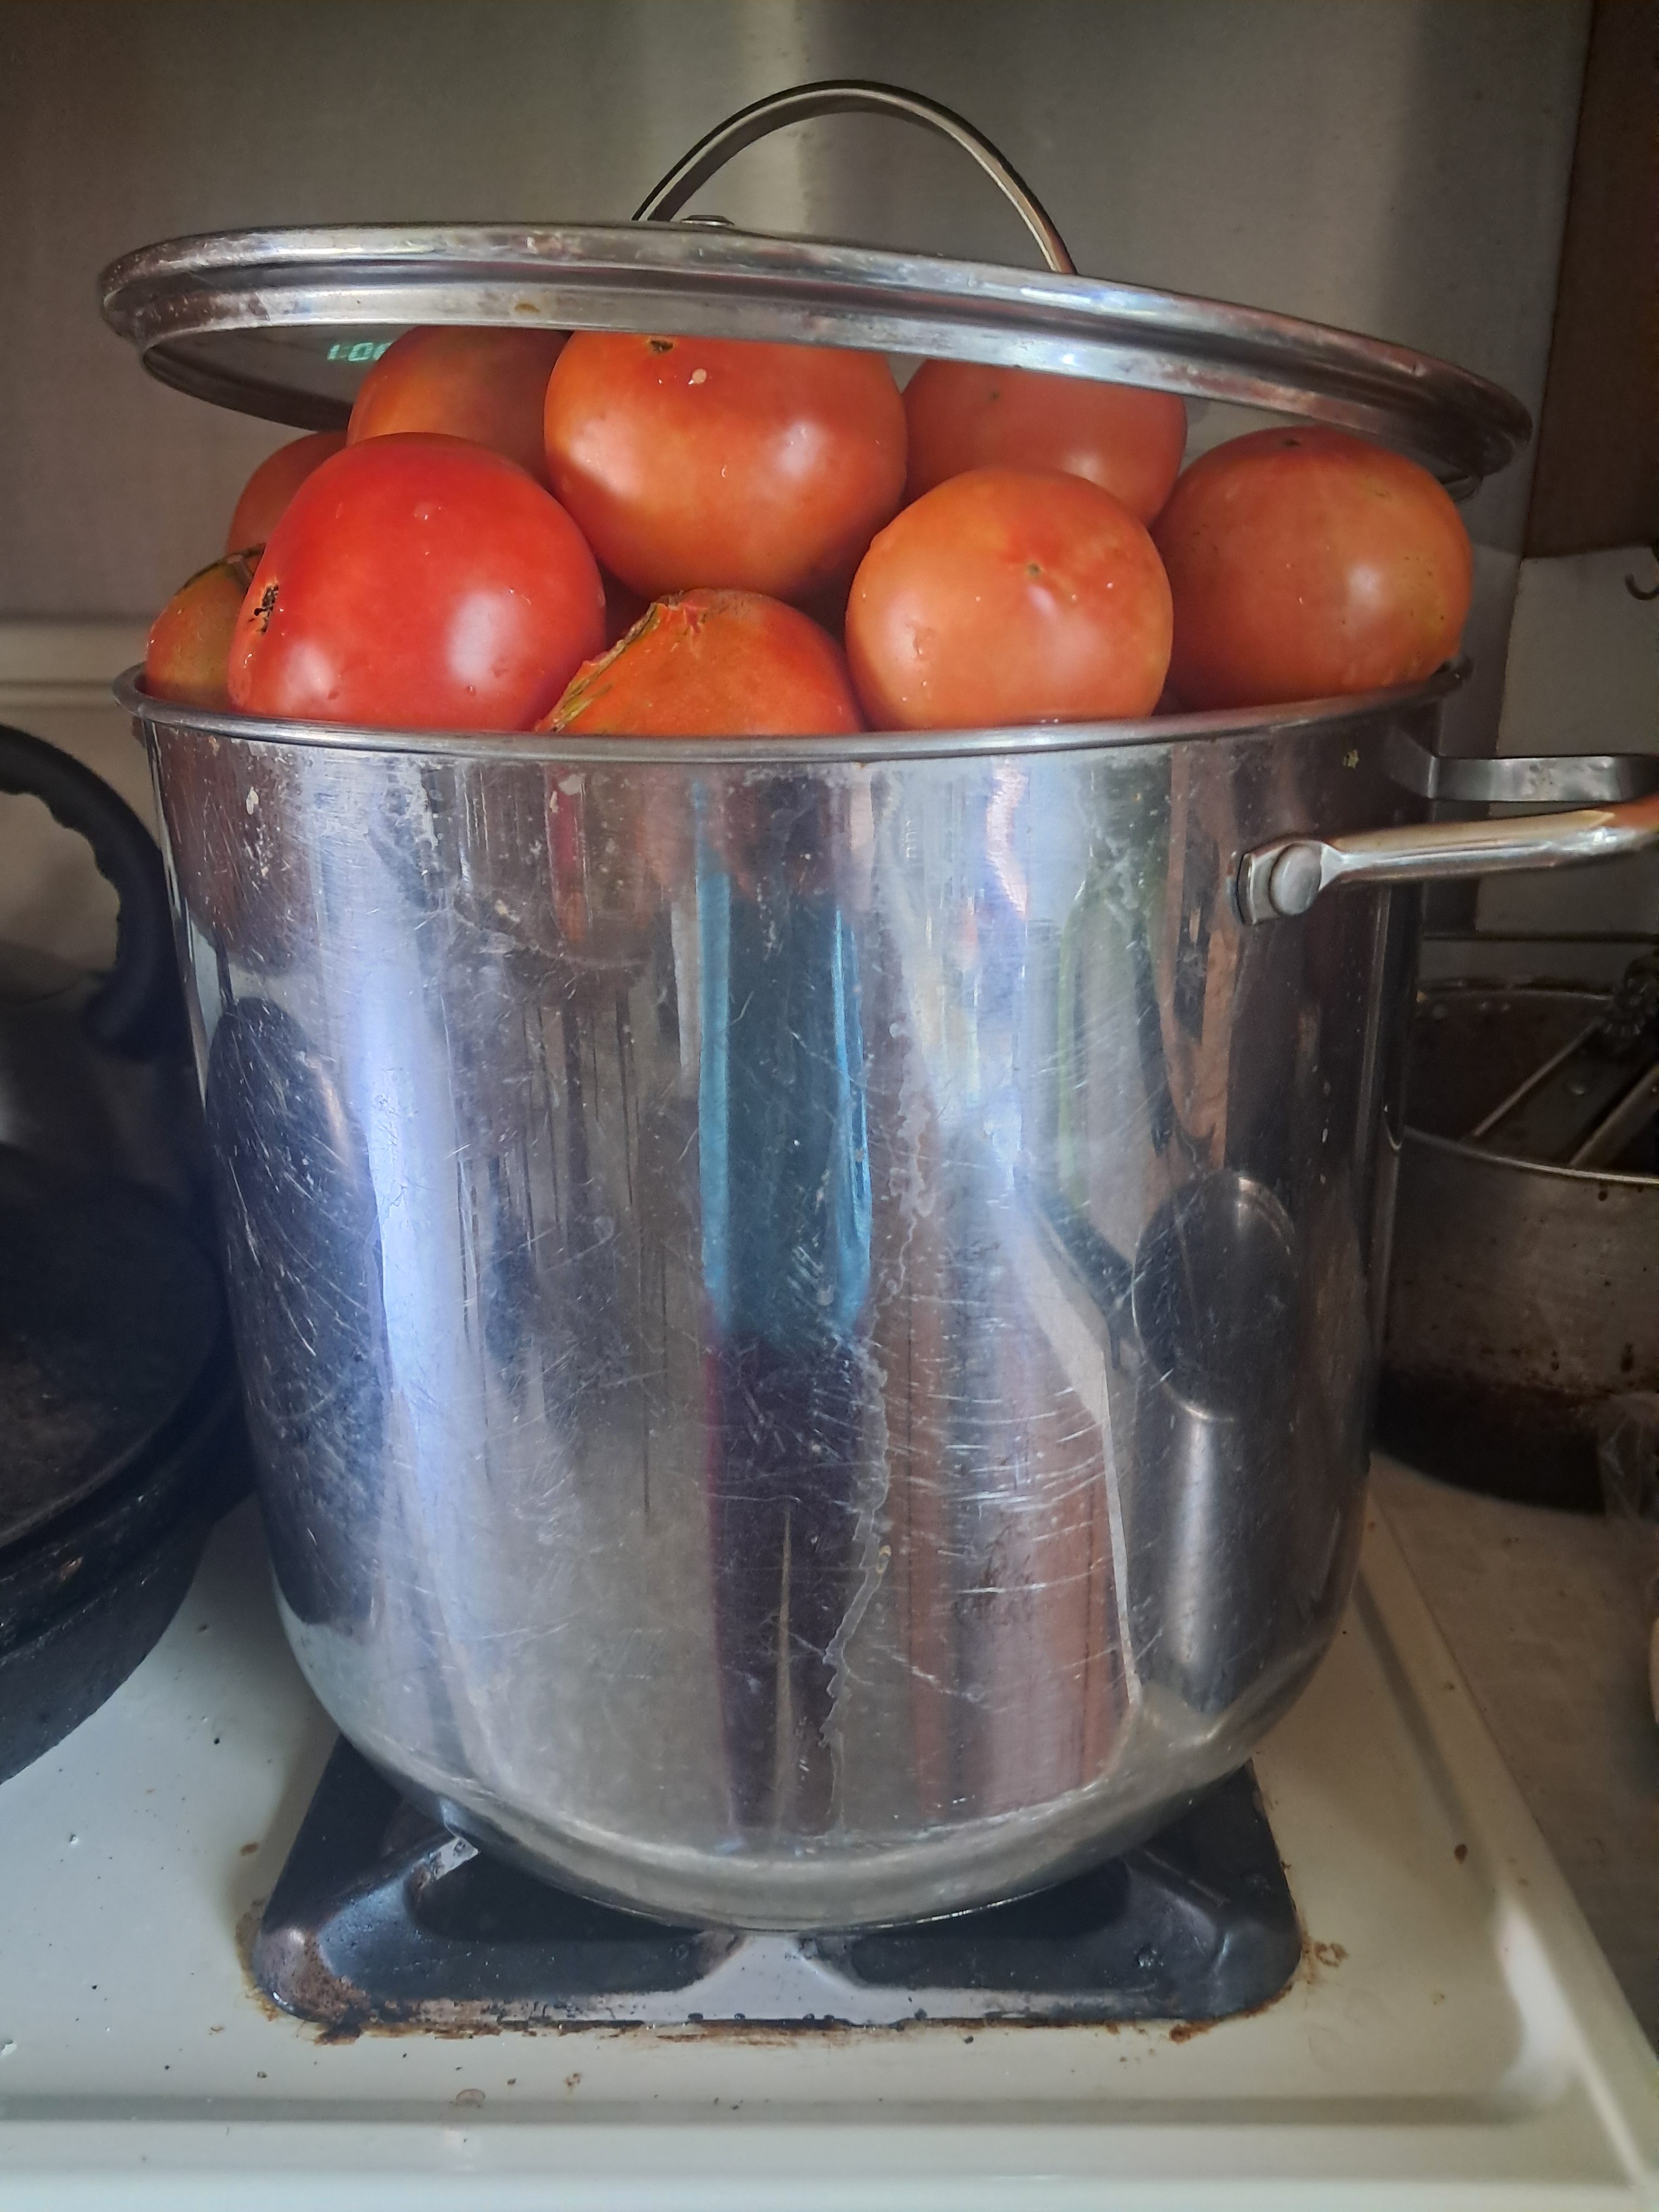
    Tomatoes are another simple freezer food. I usually core them, then place them whole into a gallon freezer bag. This is especially helpful in August when I’m overwhelmed with produce and don’t have time to process everything right away. In winter, when I have more time, I take them out of the freezer. Once they thaw, the skins slip off easily, which makes them especially handy for sauces, soups, and stews.

    If I have a bumper crop, freezing tomatoes is one of the fastest ways to deal with them before they start to soften on the counter.

    Zucchini

    Zucchini is a little more flexible. I usually shred it before freezing, since that works well for muffins, breads, and casseroles. If I want to use it in soups or skillet dishes, I may slice it instead. Zucchini has a high water content, so it won’t always hold its texture perfectly after thawing, but it is still worth freezing when the garden is overflowing. I’ve found that it helps to prep the veggie the way I expect to use it later, because that makes it much more likely I’ll actually use it.

    Berries

    Berries are one of my favorite easy freezer foods. After washing and drying them well, I spread them on a tray and freeze them before bagging. This keeps them from clumping together so I can grab just what I need for smoothies, muffins, pancakes, or cobblers. Frozen berries are one of those things that make winter breakfasts feel a little brighter.

    If you like having a quick reference, here’s a simple guide for these easy freezer foods:

    FoodGeneral MethodHow Long It Keeps in the FreezerBest Use After Thawing
    PeppersWash, remove stems and seeds, slice or chop, then freeze on a tray or in bags8–12 monthsSoups, omelets, stir-fries, casseroles, stuffed peppers
    TomatoesCore and freeze whole in freezer bags6–12 monthsSauces, soups, stews
    ZucchiniShred or slice, then freeze in portions8–12 monthsMuffins, breads, casseroles, soups
    BerriesWash, dry well, tray-freeze, then bag8–12 monthsSmoothies, muffins, pancakes, cobblers

    The nice thing about these foods is that they don’t require a lot of extra steps. If you’re short on time, they’re a great way to preserve a harvest quickly and keep food from going to waste.


    What easy freezer foods do you like to put away from the garden? Share your favorites in the comments.


    If this post was helpful, please like and share it with a friend who loves preserving garden produce.

    Read More Here: Zone 4B Vegetable Garden Ideas: What We Planted in 2026

  • What I Complain About Most: Why Farmers Deserve More Appreciation (And How We’re Reconnecting)

    What I Complain About Most: Why Farmers Deserve More Appreciation (And How We’re Reconnecting)

    Daily writing prompt
    What do you complain about the most?

    I used to be a champion complainer—until I realized it never planted a single seed worth growing.


    I try not to complain too much. It’s a nasty habit that usually leaves me feeling worse than before I started. Instead, I try to live by the words of the Serenity Prayer:

    “God, grant me the serenity to accept the things I cannot change,
    The courage to change the things I can,
    And the wisdom to know the difference.”

    When I catch myself slipping into that spiral of frustration, I remind myself of those lines. If there’s something I can fix, I get to work on it. If there isn’t, I try to shift my perspective. Some days, that works beautifully. Other days, not so much—but it’s a practice, and a worthwhile one.


    When Passion Comes from Frustration

    Still, there are some things bigger than myself that I can’t quite let go of—issues that deserve our collective attention. That’s where my frustration tends to turn into passion.

    If you really want to know what gets me on my soapbox, it’s this: how undervalued the foundation of our society has become—the farmer.


    Lessons from the Milking Barn

    I grew up on a dairy farm surrounded by fields, animals, and five hardworking older sisters. My dad, like many farmers, cautioned us not to follow in his footsteps. He didn’t say that out of bitterness; he said it out of love.

    He knew farming demanded endless hours, uncertain pay, and a body that rarely got a day off. The cows still needed milking before dawn, even after a night of broken sleep or if you were sick. The hay still needed to come in, even if rain clouds were gathering on the horizon. And no matter how hard you worked, the weather or the market could undo it all in a single season. With today’s global markets, that uncertainty feels even sharper than it did thirty years ago.


    The Great Disconnect

    Despite all that labor, society often treats farmers as an afterthought. We depend on them for our most basic need: food. Yet we seem disconnected from what it truly takes to put dinner on the table. It’s astonishing how quickly that disconnect happened. In just two or three generations, we’ve gone from home gardens, backyard chickens, and canning jars in the pantry to drive‑thru dinners and foods that travel thousands of miles before reaching us.

    Our modern food system is complicated. We’ve gained convenience but lost some wisdom along the way—wisdom about soil, seasons, and self‑sufficiency. Many children have never pulled a carrot from the ground or gathered a fresh egg. Even adults often feel surprised to learn where their food comes from.


    Marketing Replaces Memory

    Not long ago, I saw a potato chip bag proudly labeled “Made with Real Potatoes,” as if that were some sort of revelation. It made me laugh—and then it made me sad.

    Somewhere along the way, marketing replaced knowledge. We began trusting brands more than the soil, and food became a product instead of a shared experience. When I mentioned it on my Facebook page, people chimed in from everywhere. It turns out, so many of us feel the same way—grateful for convenience, but yearning to reconnect.


    Growing, Raising, and Reconnecting

    That little moment reminded me why I care so deeply about growing food, raising kids, and building community. These things are intertwined. When children understand where their meals come from, when we grow even a small piece of what we eat, when neighbors come together to share skills, seeds, and harvests—we start to rebuild that lost connection. Even something as simple as buying from a local farmers market, planting herbs on a windowsill, or teaching a child how to cook can make a difference.

    So maybe I don’t really complain all that much anymore. Maybe what I’m doing is something better: advocating, educating, and planting small seeds of change and connection in my backyard and in my community. Because while I can’t change the world overnight, I can nurture the soil right in front of me. And that feels like a pretty good start.


    Resources I Recommend

    Disclosure: This section contains Amazon affiliate links. If you purchase through them, I may earn a small commission at no extra cost to you. Thank you for supporting Practical Homesteading!

    If this post stirred something in you, here are a few places to start learning, growing, and preserving more of your own food. I only share resources I truly find useful.

    • Read and reflect: One book that has deeply shaped how I think about food and farming is The Omnivore’s Dilemma by Michael Pollan. It follows several different meals from source to table and invites you to really consider where your food comes from and who grows it. You can buy it in my link or borrow it from your local library.
    • Learn the basics of preserving: The Ball Book of Preserving is a solid, economical place to start if you’re new to canning. It covers the fundamentals clearly without feeling overwhelming, and it’s a great first step into safe home food preservation.
    • Go deeper with more recipes: The Ball Complete Book of Home Preserving is a much more comprehensive resource, with many more recipes and techniques. It’s a bigger investment, but worth it if you discover that preserving is something you love and want to keep expanding.
    • My home preservation essentials: I’ve put together an Amazon list of tools and books I use or recommend for dehydrating, canning, and freezing food at home. You can find it here: Home Preservation Essentials.

    If you have favorite books, tools, or simple tips for beginners who want to grow or preserve their own food, please share them in the comments—I’d love to learn from you, too!


    Loved this? Hit that ❤️ if it resonated. Share with a friend who needs to hear it. Subscribe for more real talk about growing food and building community. Your support means everything!

    Related Posts

    Why I Chose Homesteading

    Working mom of 2 shares her homesteading origin story – from Wisconsin dairy farm rebel to choosing chickens, gardening and bread making. Environmental professional finds freedom in practical homesteading.

    Keep reading