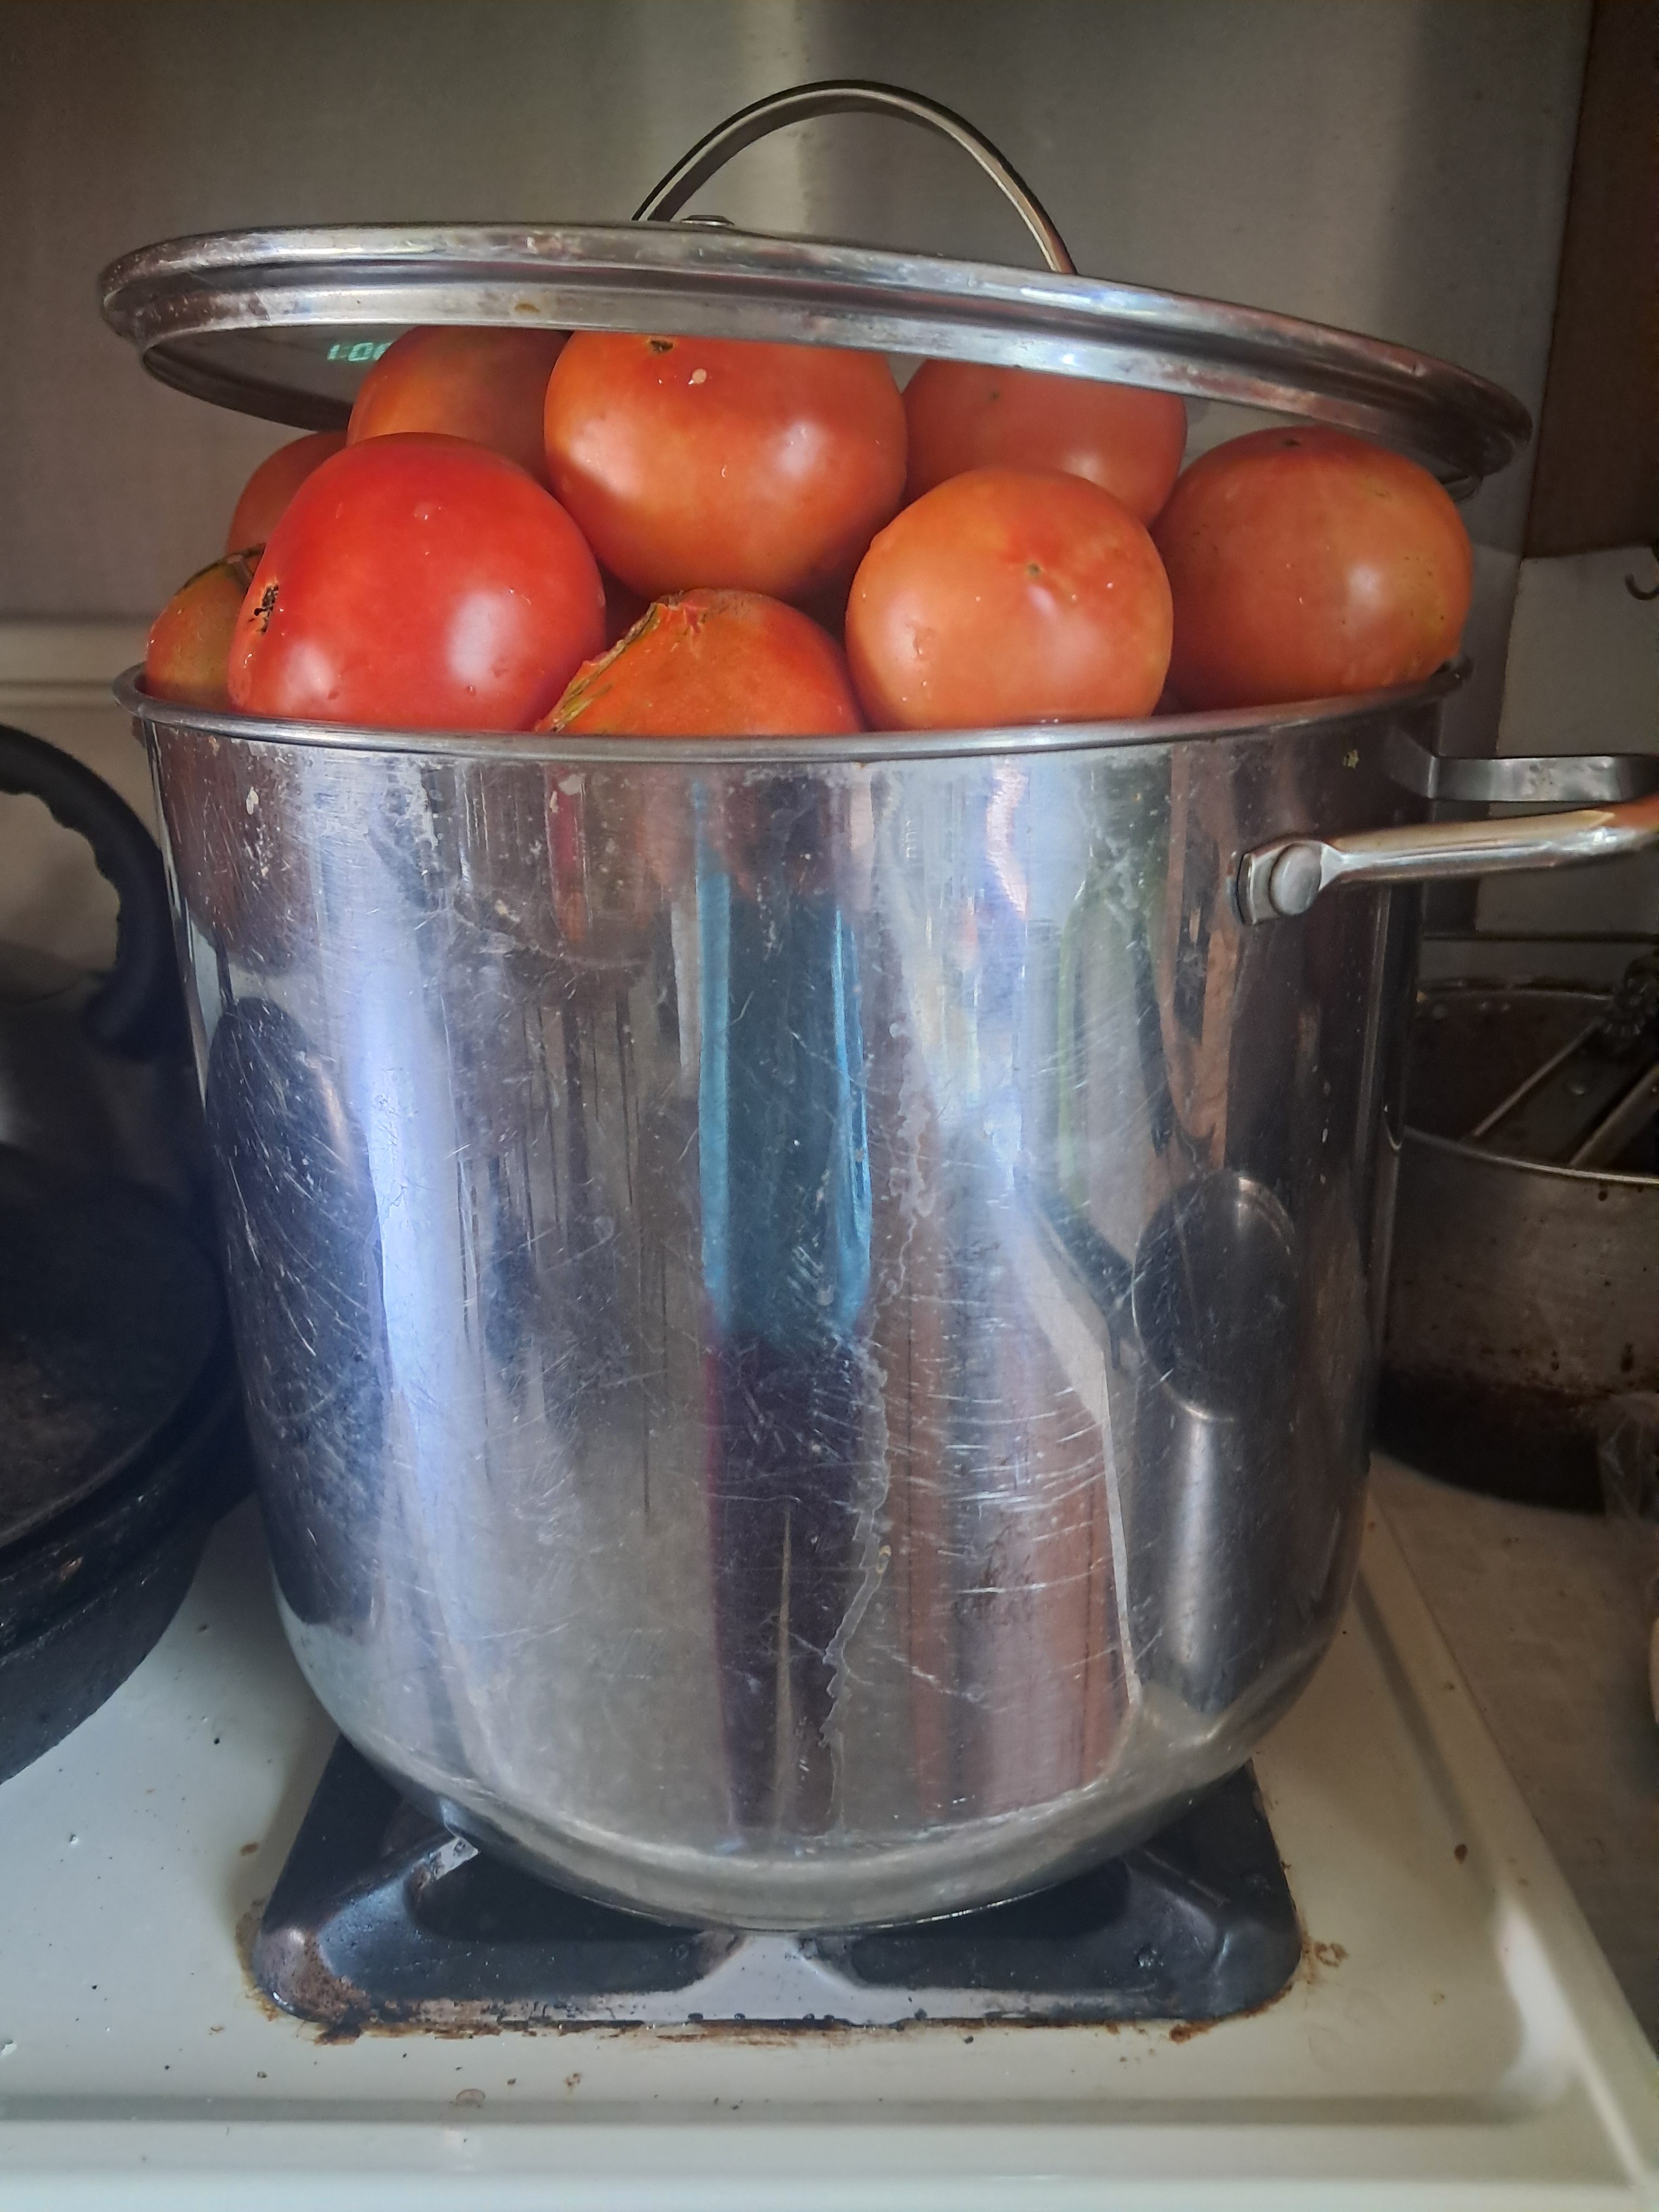
By the end of tomato season, there is always a moment when I look at the kitchen counter and wonder how we got here.
At first, the ripe tomatoes feel like a reward. The first few become BLTs, tomato sandwiches, chopped tomatoes beside eggs, and slices eaten straight over the sink with salt.
Then the bowls begin filling.
There are tomatoes on the counter, tomatoes waiting in the garden, tomatoes that need to be picked before the weather turns, and tomatoes ripening faster than we can possibly eat them fresh.

It is a good problem to have. But a tomato glut still asks the same practical question: what will you do with all of them before they go soft?
For our family, the answer is often tomato juice. This is how I preserve tomato juice from our garden each year.
Why I can tomato juice every year
I make sauce too, but tomato juice may be the single most useful thing I preserve from our garden.
We use it for:
- Bloody Mary mix, which we make alcoholic or nonalcoholic
- Tomato juice gently warmed with a little salt
- Chili
- Soups and stews
- A base for sauce when I want to cook it down later
- Any meal that needs a little garden-grown tomato flavor
A shelf of tomato juice may not look as exciting as jars of salsa or thick spaghetti sauce, but it earns its space in our pantry. It is useful, flexible, and easy to turn into a meal when the garden feels very far away.
How I make tomato juice
I start with ripe tomatoes from the garden, picking through them carefully and setting aside any that are damaged, overly soft, or not worth preserving.
After washing and trimming them, I heat the tomatoes until they are soft enough to run through my screw press juicer, which separates the juice from the seeds and skins.
I have had this press for 10 years, and while I have my complaints—it is annoyingly hard to clean, and it leaks—I have not found a better setup yet. If you have a better system, tell me in the comments.
My kids absolutely love to help: my daughter stamps down the tomato mush, and my son turns the screw-press crank.

I send the pulp through twice because I want to get as much juice as is practical before moving on to the next step. Then I heat the juice, ladle it into jars, and preserve it for the pantry.
My tomato juice canning notes
I add 1/2 teaspoon citric acid powder to each quart jar. I also add 1 teaspoon of salt per quart for flavor. Then I fill the jars with hot tomato juice and process quart jars in a boiling-water canner for 40 minutes. This is the process I use in my southeastern Wisconsin kitchen, at roughly 900 feet above sea level. Processing time depends on altitude, so always consult a current tested preservation source for your location.

The National Center for Home Food Preservation and Wisconsin Extension recommend acidifying tomatoes because their natural acidity can vary. Their guidance specifies 1/2 teaspoon of citric acid per quart for acidification. For tomato juice, use current tested processing directions that match your jar size, product, and altitude.
Food-preservation note
This post shares my household process and the ways we use our tomatoes. It is not a substitute for an up-to-date tested canning recipe. Use sound, ripe tomatoes, follow current Extension or National Center for Home Food Preservation guidance, and adjust processing time for your altitude.
When I want a thicker sauce
I also make and preserve tomato sauce, especially when I know I want something ready for pasta, pizza, or another meal that benefits from a thicker base.
This year, I have been experimenting with a small shortcut before I press the tomatoes. After heating them until they are soft and mushy, I use my soup ladle almost like a little weir, collecting some of the clear tomato water that rises around the cooked pulp.
I set that watery liquid aside rather than adding it to the sauce, leaving me with a thicker tomato base before I even begin pressing. That means less time simmering sauce on the stove and less heat filling the kitchen during an already warm stretch of late summer.
It is not a fancy tool or a perfectly measured process. It is simply a small kitchen experiment that helps me work with the harvest more efficiently.
Because tomato sauce is thicker than juice, I follow a current tested tomato-sauce recipe when I can it rather than using the processing directions for tomato juice.
Turning leftover pulp into tomato powder
After I have run the tomatoes through the screw press twice, I am left with pulp.
I hate to waste anything that still has flavor after the work of growing, harvesting, washing, heating, and pressing all those tomatoes. So I spread the remaining pulp in my dehydrator and dry it until it is thoroughly dry and crisp.

Once it is dry, I grind it into tomato powder.
Tomato powder is one of those pantry ingredients that does not look like much but makes all kinds of food better. It adds concentrated tomato flavor and umami without adding the liquid that tomato juice or sauce would bring.
I especially like it in jambalaya, but it is useful anywhere I want tomato flavor without thinning out the dish. I also add it to soups, rice dishes, seasoning blends, and sauces when something needs a little more depth.
The garden gives me tomatoes. The press gives me juice. The dehydrator gives me powder. By the end, I have used nearly every useful part of the harvest.
For a kitchen-friendly reference with preparation, temperature, drying time, storage, and rehydration charts, see my Garden Drying Guide. Thank you for supporting my mission to help aspiring homesteaders gain the knowledge they need.
When freezing is an option
Sometimes, especially toward the end of the season, I have too many other kitchen projects happening at once. Yesterday, for instance, I was making pumpkin muffins for the kids to take to school, venison jerky, fruit leather, and another batch of hot sauce. I did not have the bandwidth for one more preservation project.
So I cleaned the tomatoes I harvested and placed them in a gallon-size freezer bag to handle later. They will be softer when they thaw, but they will still be perfect for cooked sauces, soups, and juice. I talk more about freezing tomatoes here: How to Freeze Peppers, Tomatoes, Zucchini, and Berries for Later.

This winter, when I have more time, I will pull them out and turn that frozen harvest into juice, sauce, or soup.
Too much garden produce arriving at once?
My free Grow What You’ll Use planner helps you decide what to eat fresh, freeze, dehydrate, store, share, or use up this week—before the harvest gets ahead of you.
What I preserve most
I have tried other tomato projects too, including ketchup. But most years, I come back to the things our family actually reaches for: juice, sauce, and powder.
The work is still significant. Tomato season means sticky counters, splatters on the stove, jars cooling on towels, and the smell of cooked tomatoes settling into the kitchen.
But when snow is on the ground, I can open a jar for chili, warm some for my husband with salt, or reach for tomato powder when a pot of jambalaya needs more depth. Those are the things that make the work feel worth it.
The best preservation project is not always the most impressive one. It is the one your household will actually use.
A question for readers
What tomato product does your household use most in winter? Do you can sauce, make juice, dry tomato powder, freeze tomatoes, or preserve something else entirely?
If this post helped you think through your own tomato glut, I would be grateful if you would like and share it with another gardener, homesteader, or friend whose kitchen counters are overflowing right now.
Read More Here: How to Make Lacto-Fermented Dill Pickles in a Crock
Leave a Reply