Looking for a way to turn fresh venison into something truly delicious and shelf-stable? You’re in the right place! In this post, we’re walking through how we took a deer we recently processed and transformed it into mouthwatering homemade venison jerky—a high-protein, low-fat snack that’s perfect for hunters, hikers, and anyone who loves wholesome, from-scratch food.
If you’ve ever wondered what goes into making jerky from scratch or whether smoking or dehydrating tastes better, read on—because we tested both methods side by side and have the results for you!
Processing the Venison
After harvesting the deer, my husband handled the messy part—removing the hide and quartering the meat. While I didn’t snap photos of this step, it’s essential for breaking the animal down into workable portions. Once the meat was ready, we began deboning—a labor-intensive process!
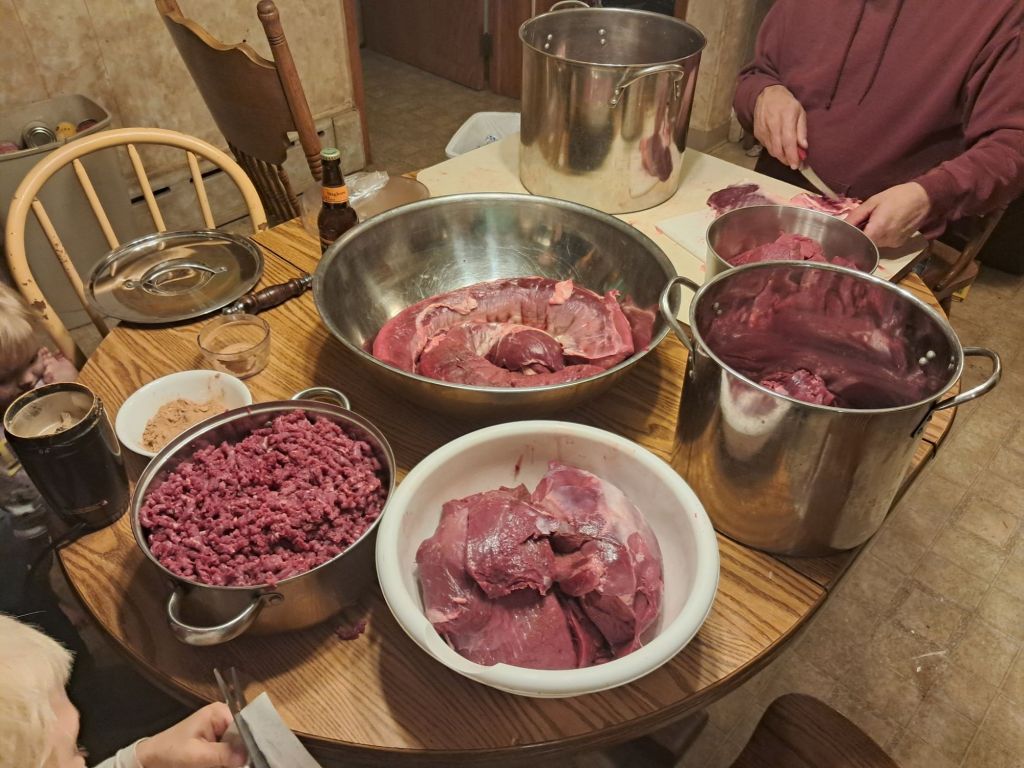
But here’s the payoff: processing your own game ensures quality and freshness with the satisfaction of providing your own food. Plus, venison is leaner and lower in fat than beef, while being packed with protein, iron, and essential nutrients. It’s an excellent, heart-healthy meat to keep in rotation alongside veggies, fruits, and other proteins.
Grinding and Seasoning the Meat
Once the bones were removed, we ground the tougher cuts and trimmings using our trusty meat grinder. (Ours has been a solid investment—it’s strong, doesn’t clog easily, and is simple to clean. If you’d like a product recommendation, drop a comment below!)
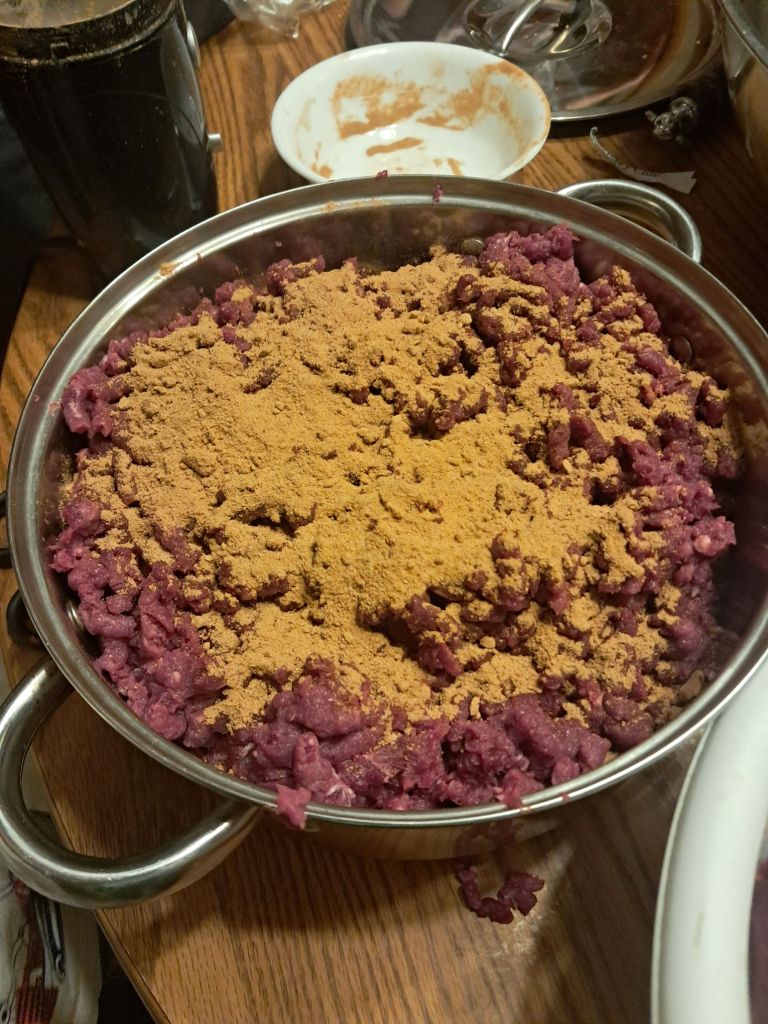
For seasoning, we used a Fleet Farm Original Flavor jerky seasoning mix, which offers a balanced blend of savory and slight sweetness—perfect for venison’s natural richness. We mixed the seasoning thoroughly, ensuring every bite would be flavorful, then refrigerated the seasoned meat overnight to let all those seasonings work their magic.
Shaping and Drying the Jerky
The next day, we got creative with our setup. Instead of a dedicated jerky gun, we improvised with our meat grinder using a sausage tube narrowed down with a vice grip. Sometimes, homesteading means working with what you have, and this hack worked beautifully!

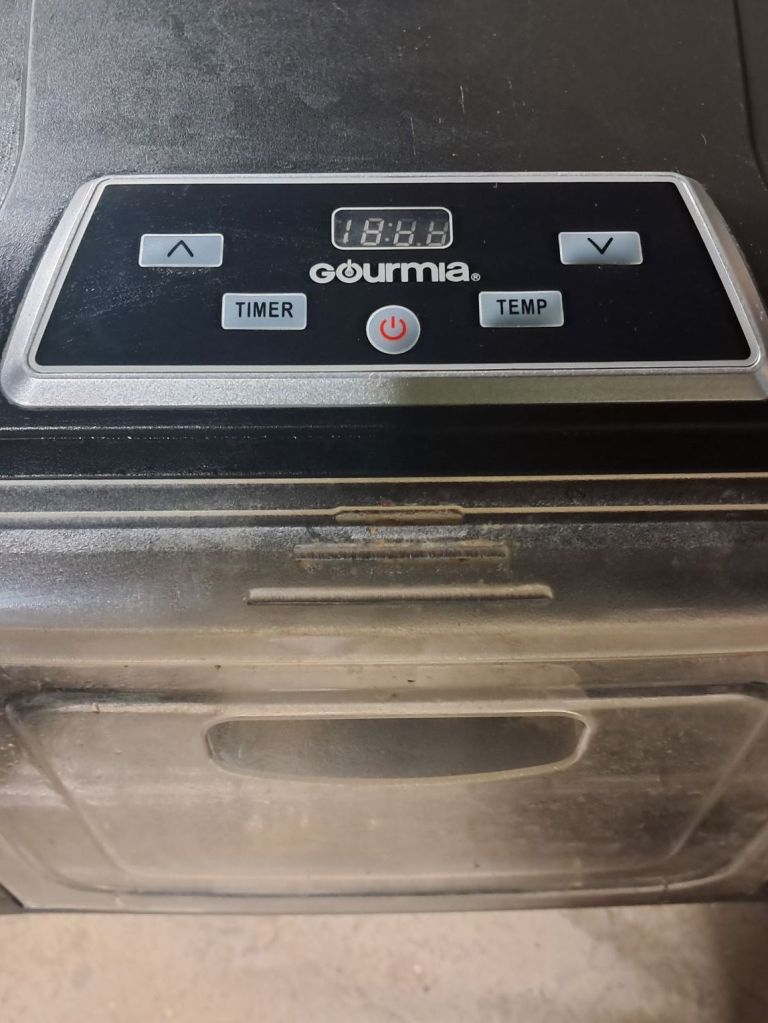
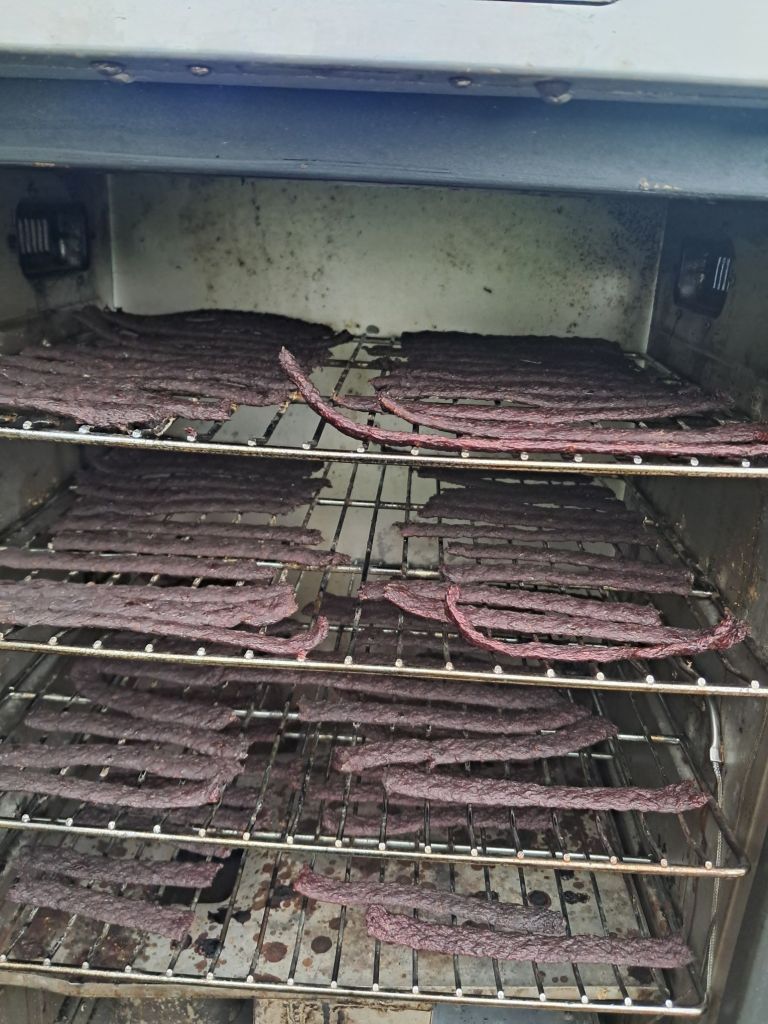
After shaping the jerky strips, we placed them on racks and divided our batch in two for a taste test: smoked vs dehydrated.
• Smoker: Applewood chips, 160°F, for 6 hours
• Dehydrator: 160°F, for 12 hours
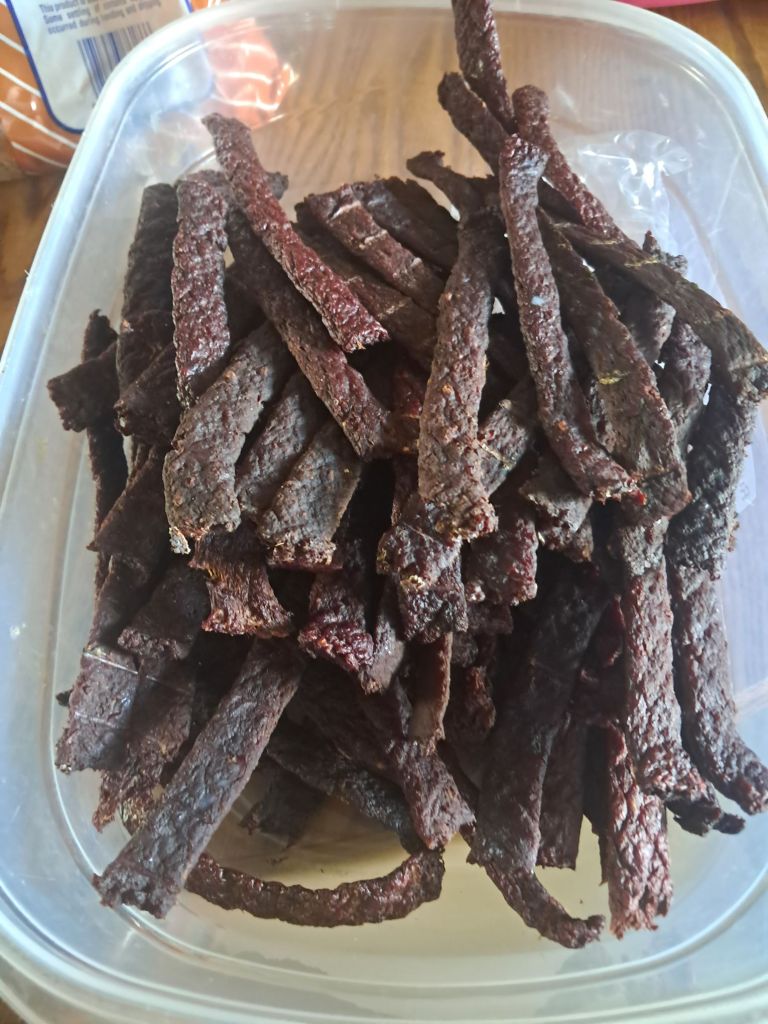
The Verdict: Smoked vs. Dehydrated Venison Jerky
Both batches turned out delicious, but slightly on the dry side—a note for next time!

The applewood smoked jerky, however, stole the show. The smoky aroma, subtle sweetness, and depth of flavor make it hard to beat. If you’re on the fence about getting out the smoker, trust me—it’s worth it.
Smoked or dehydrated, homemade venison jerky tastes incredible, packs well for adventures, and gives you that satisfying “I made this!” pride every time you open a bag.
Final Thoughts and Tips
Making homemade venison jerky takes time, but it’s incredibly rewarding. You know exactly what’s going into your food, it’s healthier than store-bought, and it captures the true flavor of the hunt.
If you’re new to jerky-making, I recommend experimenting with both smoking and dehydrating to see which method suits your taste best. Adjust drying time slightly to achieve your ideal texture.
Join the Conversation!
Have you made venison jerky before? What seasoning blend or wood smoke do you swear by? Comment below—I’d love to hear your tips! And if you enjoyed this post:
👉 Like, share, and subscribe for more homesteading, cooking, and DIY food adventures. Your support helps us keep creating helpful content for folks like you!
Follow us on social for daily kitchen and homestead inspo.
#VenisonJerky #HomemadeJerky #WildGameCooking #HomesteadingLife #DIYFood #JerkyRecipes #SmokedJerky #DehydratorRecipes #FoodPreservation #FromFieldToTable

Leave a comment