Disclosure: This post contains Amazon affiliate links. If you purchase through these links, I may receive a small commission at no additional cost to you. I only recommend products our family actually uses and finds helpful in the garden or kitchen. Thank you for supporting Practical Homesteading—it helps me keep sharing our stories of growing food, raising kids, and building community.
In my last post, I wrote about planting onions with my son—the quiet winter ritual that reminds me how growth begins long before it’s visible. Today, I’m sharing our simple process so you can start your own onion seeds, too. It’s an easy, rewarding way to bring some green life into the cold months.
- Start early.
Begin about 10–12 weeks before your last expected frost. Here in the Midwest, that usually means late January or early February. - Choose the right varieties.
Long‑day onions, such as ‘Yellow Ebenezer’ or ‘Red Wing’, do best in northern climates where summer days are long. Southern gardeners should look for short‑day types like ‘Texas Early Grano’. - Prepare containers and soil.
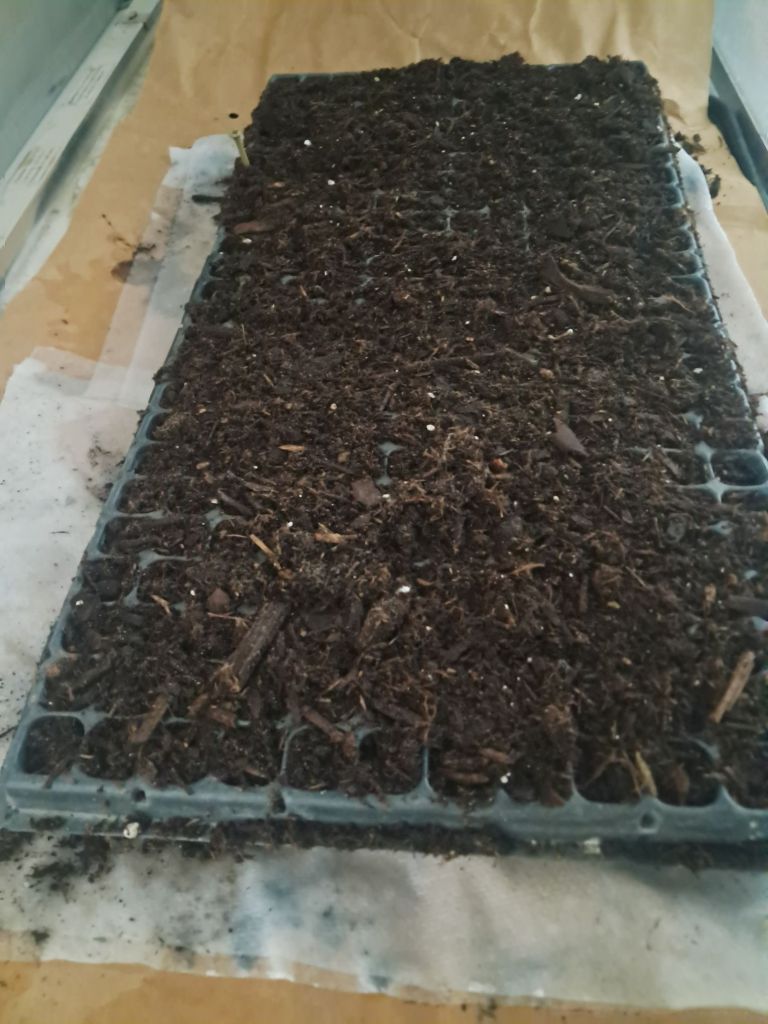
Reuse shallow berry cartons or seed trays (Amazon affiliate link)—just make sure they have drainage holes. Fill them with a light, fine seed‑starting mix about two inches deep. Place the tray on a cookie sheet or shallow pan to catch water.
Lay a paper towel underneath the tray and moisten it. The towel helps distribute water evenly so moisture wicks up through the soil. Repeat until the mix feels uniformly damp but not soggy. - Sow the seeds.
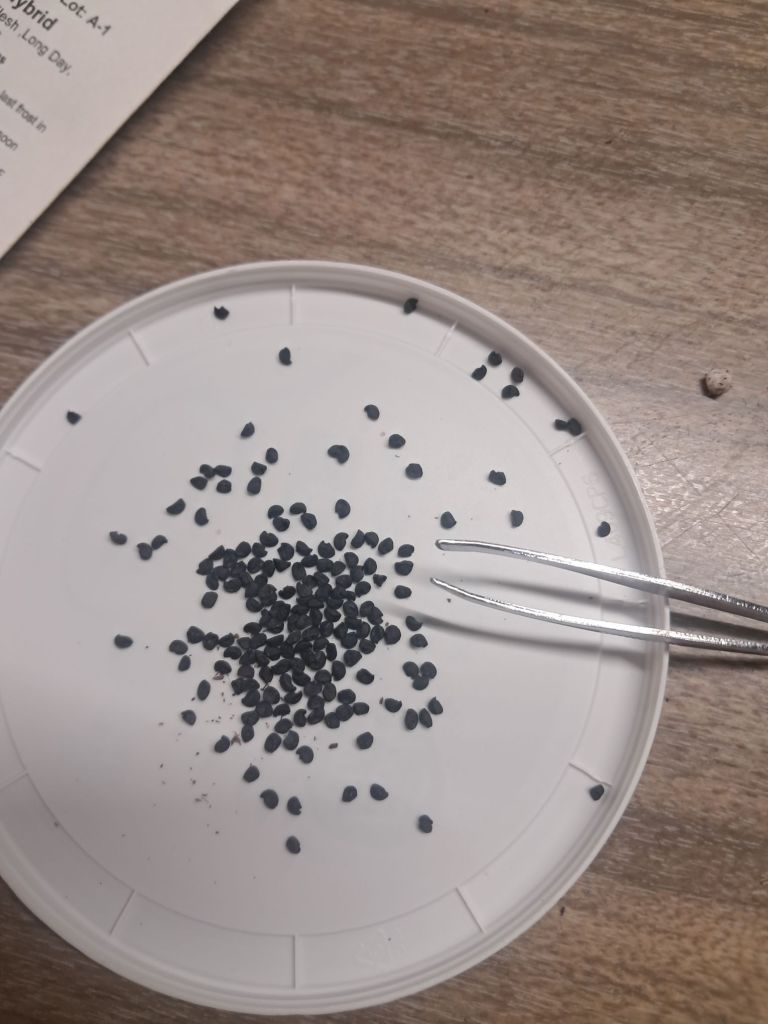
Sprinkle seeds evenly across the surface. If you prefer precise spacing—and an easier time separating seedlings later—use tweezers to place them individually. - Provide warmth and cover.
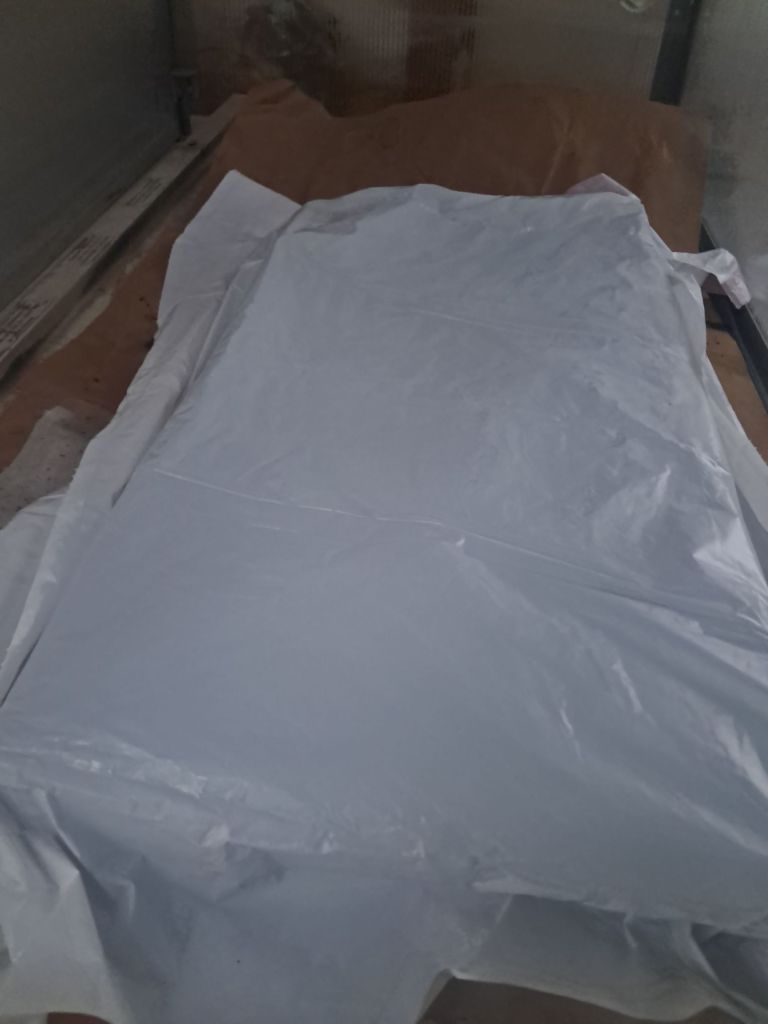
Cover the tray with cling wrap or a clear plastic bag to retain moisture. Keep the setup warm, around 65–70°F, until you see seedlings poking through. A seed‑starting heat mat (Amazon affiliate link) helps maintain steady warmth.
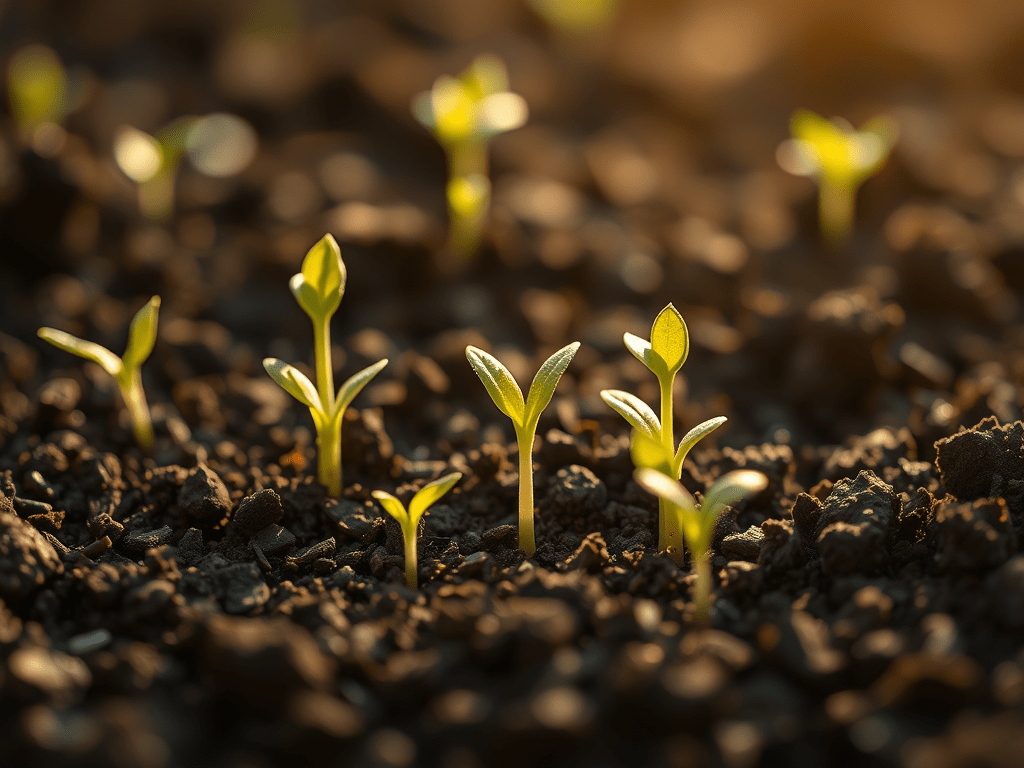
Once germination begins (after 7–10 days), remove the cover and move the tray beneath a grow light (Amazon affiliate link) or into a sunny south‑facing window for 12–14 hours per day. - Water and trim.
Continue watering from below using the same paper‑towel technique. When the soil surface begins to dry, add a bit of water to the tray. Trim tops to about three inches once a week—this strengthens the stems and encourages root growth. Bonus: the cuttings are delicious! My son loves snacking on them fresh. - Harden off and transplant.
When seedlings reach 6–8 inches tall and the soil outdoors can be worked, begin hardening them off. Gradually expose them to outdoor conditions for about a week, then plant them four inches apart in rows.

By late spring, those tiny green shoots will have grown into sturdy plants ready to feed your family—and perhaps your neighbors, too. Sharing a meal of homemade French onion soup with loved ones is one of my favorite ways to grow community as well as food.
Here’s to green shoots, patience, and the small beginnings that nourish far more than we expect.
🌱 Enjoyed this guide? Let me know how your onion seedlings are coming along in the comments below!
💬 Share this post with a friend who’s dreaming of spring gardening.
❤️ Subscribe to get my newest posts on growing food, raising kids, and building community—straight to your inbox every Thursday and Sunday.
Related Posts
My Mission: Growing Food, Raising Kids, and Building Community — A Path Back to Connection
Discover why growing food, raising children, and building community are at the heart of my homesteading mission. Together, we can return to the roots of connection, resilience, and hope.
Keep reading
Why Is Beef So Expensive? The Real Story Behind Your Steak — and How You Can Help Support Local Farmers
Beef prices are soaring—but the reasons go deeper than supply and demand. Learn what’s driving costs and how your choices can support local farmers.
Keep reading
My Top 5 Essential Grocery Staples for Homesteading and Scratch Cooking
Discover the five grocery staples that power my homestead kitchen — from flour and coconut oil to yeast and bouillon. Learn how old-fashioned ingredients build modern self-reliance, flavor, and family connection.
Keep reading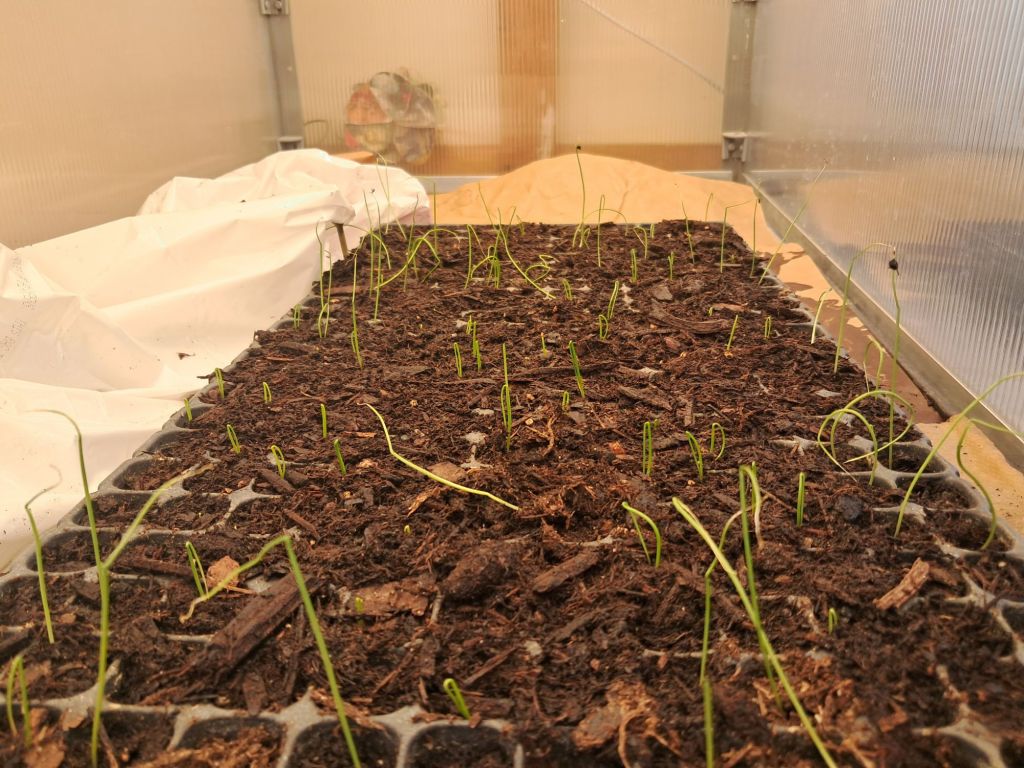

Leave a reply to fzangl1 Cancel reply